
The RV Repair Centre shows us how to troubleshoot caravan lights.
Connection types
Putting it simply, your caravan lights mimic your tow vehicle lights by an electrical current flowing from the car to the van through wires. A trailer plug and socket enable the connection between the tow vehicle and the van wires. Sometimes resolving the van’s lights not working is as simple as improving the electrical contact in the plug/socket connection.
The conventional setup on modern vans and tow vehicles is a 12-pin flat plug and socket. The socket side is fitted to the car and has 12 holes. The plug side is fitted to the van and has 12 pins. The 12 connection points are made up of two rows with seven points in one row and five points in the other row. The seven-point row connects the wires related to the lights and the important brake signal to activate the trailer brakes. The five-point row is used for running additional power to devices such as fridges, stability control systems, disc brake systems, 12V charge systems and DC-DC chargers.
Some older vans may have just a seven-pin flat plug — a single row which is identical to the seven pins in one of the rows of the 12-pin flat plug. In other words, this older seven-pin plug just caters for lights and brakes. Some even older vans may have a round seven-pin plug. Although the shape is different, the wiring configuration is identical.
Simple connection fixes
Here are four things to try that may get your van lights going regardless of your trailer connection type:
 |
1. With the plug and socket still connected, wiggle the two halves from side to side to improve the engagement of the plug pins into the socket. |
 |
2. Disconnect the plug and socket and inspect for any signs of corrosion — this may appear like a green coating. Remove corrosion with some steel wool or fine sandpaper. |
 |
3. Disconnect the plug and socket. If you look closely, you will see the pins in the plug are split. Use a fine blade or screwdriver to gently widen the split, effectively making the pins a little bigger. This will also improve the engagement. |
 |
4. Disconnect the plug and socket and spray electrical contact cleaner onto the pins and sockets. This is a solvent that breaks down contaminants to improve electrical conductivity. Allow the solvent to dry, which happens readily, then reconnect the plug and socket. It’s worth noting that spray lubricants should not be used for this application. |
Tow vehicle check
Malfunctioning van lights could be related to no electrical supply coming from the car. While this is not the most common cause of van light malfunction, a quick and simple procedure can be conducted with a test light to check for the presence of electricity.
Please consult your specific tow vehicle trailer plug wiring diagram before testing any circuit. Diagram 1 below shows the typical wiring configuration. The test light used here is probe with an electric bulb and lead built into it. The lead has an alligator clip which is connected to earth. The probe tip is then touched to each seven points on the trailer plug. If the bulb lights up it indicates the presence of electricity. If the bulb does not light up it indicates the absence of electricity. If you have identified the problem as relating to the car you can open up the trailer socket and check the connections. (Click here to head to a DIY article which covers replacing a trailer plug which would give you a very good insight into how to check the internal trailer socket wire connections.) Beyond this point, it is probably time to consult an auto electrician.
Caravan light checks
Modern caravans are likely to have LED lights which are very reliable. They are sealed units and non-serviceable. If LED lights fail the entire assembly must be replaced. Older-style van lights have incandescent bulbs and are more prone to failure. Fortunately, there are often a number of easy fixes you can try. In this instance, we tested a HELA-style lamp with a festoon globe. Some similar principles can apply to other styles of lamps with a bayonet globe. However, below are fixes that can be tried for the specific lamp pictured.
Tailhead light check — festoon globes
1. Remove the screws holding the light cover
|
2. Remove the light cover
|
3. Inspect the globes for a blown filament (as shown above) and replace them if necessary
|
4. Inspect the globes for loose caps and replace them if necessary
|
5. Example of failed bulb (left) and new bulb (right)
|
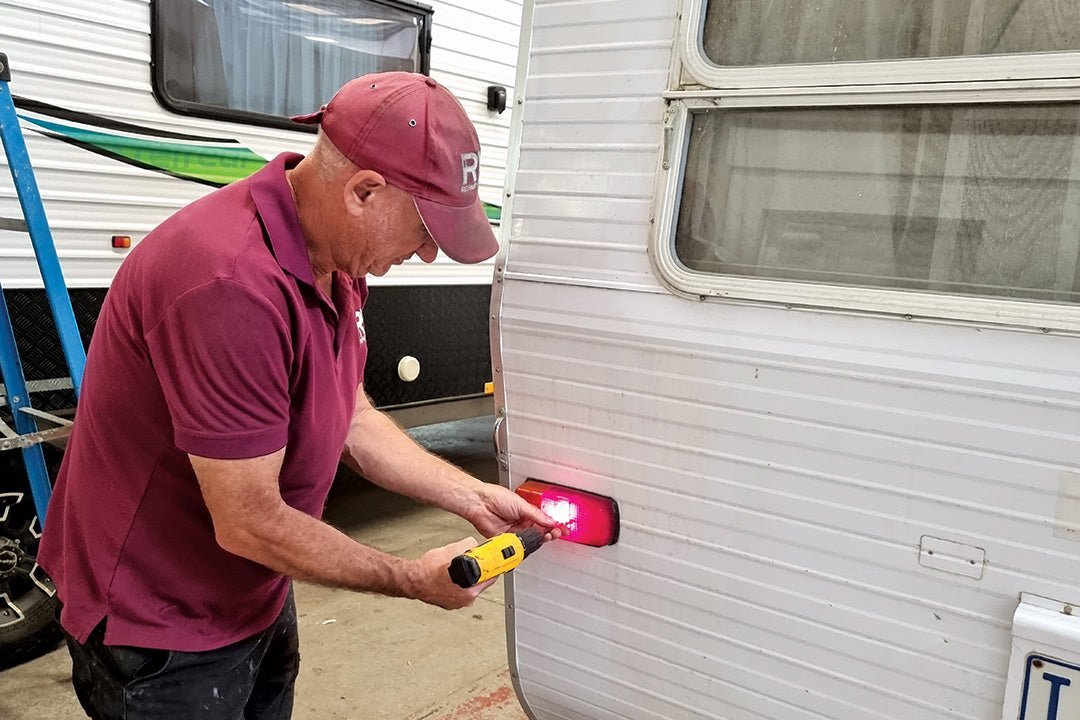
6. If all the globes are good connect a test light to earth to check all connections
|
7. We checked for positive power at the lower connection first. It proved to be an earth and did not light up the test light |
8. We checked the upper connection next. It lit up the test light showing there is power coming from the trailer plug at the vehicle and the caravan wiring is functional
|
9. Push the contact down to make a better contact |
10. Clean the contacts with sandpaper and the caravan wiring is functional
|
11. Bend the contact inwards slightly
|
12. Clean the globe contact |
13. Reinstall the globe
|
14. Replace the light cover
|
Prevention
Here are a few bonus tips to prevent any drama. Dust is the enemy of trailer connections. When travelling on rugged roads, wrapping a bit of electrical tape around the connection point of the plug and socket can minimise dust ingress and also reduce the chance of them coming apart due to bouncing around. Think about the optimal length of the trailer plug lead — you don’t want it so short that it can pull out when going around tight corners, or too long meaning it can drag on the ground and become abraded. Finally, it is not a bad idea to carry a spare trailer plug in case the connection does come apart and gets wrecked dragging down the road.
If in doubt, consult a professional
Improper maintenance can lead to injury, death or property damage. Maintenance work of this nature should only be undertaken by people with suitable competence. The information provided is general in nature, not comprehensive and should only be taken as a guide. Individual discretion must be exercised and persons undertaking described tasks do so completely at their own risk. Publishers and creators of this content accept no responsibility for loss or damage.
Thanks to Andrew Phillips and the team from the RV Repair Centre, 120 Canterbury Road, Bayswater North Vic 3151, P: 03 9761 4189.
THE NEXT STEP
If you want to learn the latest caravan news, find the most innovative new caravans and camping gear or get inspired to plan your next adventure to some of Australia's best getaway destinations, subscribe to our weekly newsletter. We promise to send you only the best content.
Related Articles:


DIY: How to troubleshoot caravan lights