DIY: One-way valve installation for your caravan
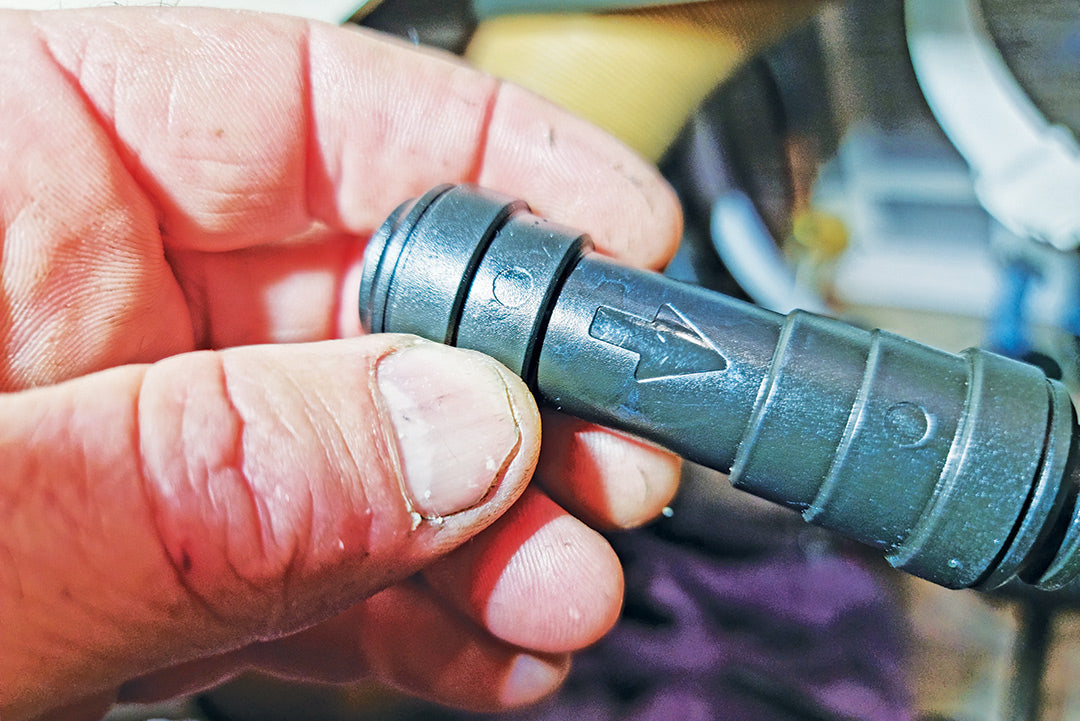
Our friends at The RV Repair Centre step us through the process of adding a push-fit, plastic one-way valve into a plumbing system on the discharge side of the water pump.
A caravan typically has two water supplies. 1) Water is drawn from an onboard tank and fed by a 12V pump, or 2) Water is fed by mains water such as when you connect up at a caravan park. Therefore, there is an inlet where you put water into the tanks and another inlet where you connect directly into the van plumbing. Both water supplies run into a common plumbing system distributing water throughout the van to various outlets such as taps, showers and so on. Diagram 1 shows a very simplified representation of this system.
When the system is pressurised, water wants to escape wherever it can, including potentially the water inlets. When the pump is in use, there needs to be a system to prevent water from being pushed out the wrong way through the mains water inlet connection. Similarly, when the mains water is in use, there needs to be a system to prevent water from being pushed out the wrong way through the pump, into the water tank and then overflow out the tank inlet. In both cases, a one-way valve is used to allow water to flow in the desired direction and prevent flow in the undesired direction.
Sometimes one-way valves can fail causing various problems with the flow of water in caravan plumbing. Also, sometimes caravan manufacturers don’t fit one-way valves on the discharge side of the pump as they rely on the check valve built into the pump to prevent backflow. Over time the pump check valve may fail while the rest of the pump is still functional. Typical issues related to one-way valve failure are tabled below.
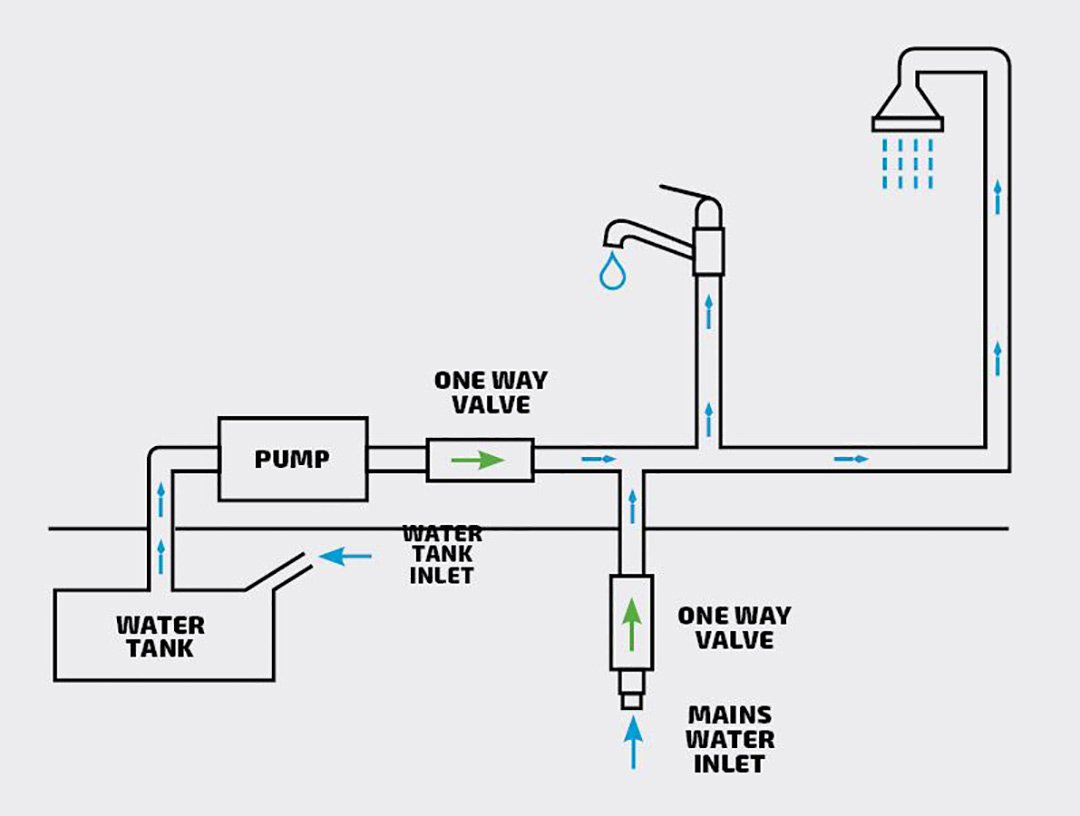 Diagram 1: Simplified caravan water supply system
Water flow issues associated with non-functioning one-way valves
| Issue | Cause/Solution |
| When the pump is in use water runs out of the mains water inlet. |
The one-way valve on the water inlet supply side is not working, allowing water to run two ways. Solution — service or replace. |
| When connected to the mains water supply, water backfills into water tanks and flows out tank inlet. |
The one-way valve on the pump discharge side is not working, allowing water to run two ways. The check valve built into the water pump has failed, allowing water to run two ways. Solution — service or replace. |
| When connected to the mains water supply, water flow is restricted. |
The one-way valve is partially blocked restricting water flow through the system. Solution — service or replace. |
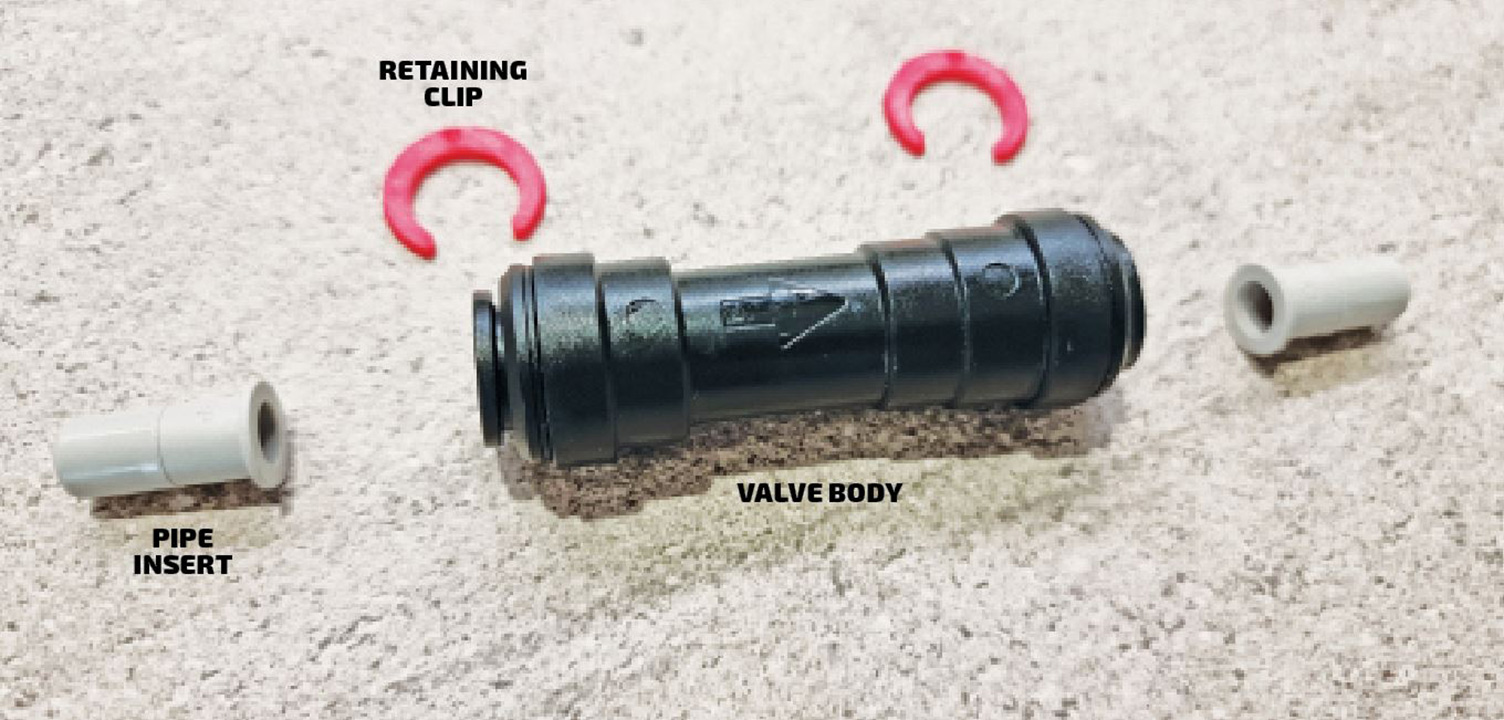 Push on one-way valve components
Traditionally, one-way valves were made of brass. Some could be disassembled and serviced, and some were non-serviceable. One-way valves supplied to the RV industry today are more likely to be plastic and non-serviceable.
Below, The RV Repair Centre steps us through the process of adding a push-fit, plastic one-way valve into a plumbing system on the discharge side of the water pump. You could also apply the general concepts for removing a faulty brass one-way valve from the system and replacing it with a push-fit one-way valve.
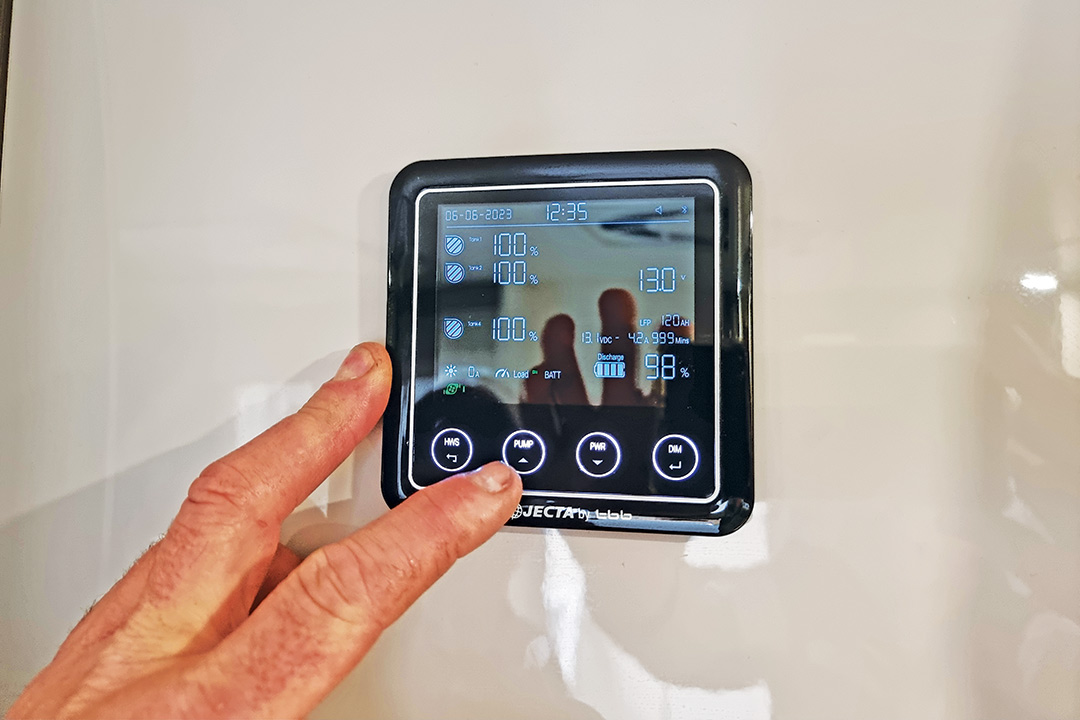 STEP 1 Turn off the pump STEP 1 Turn off the pump |
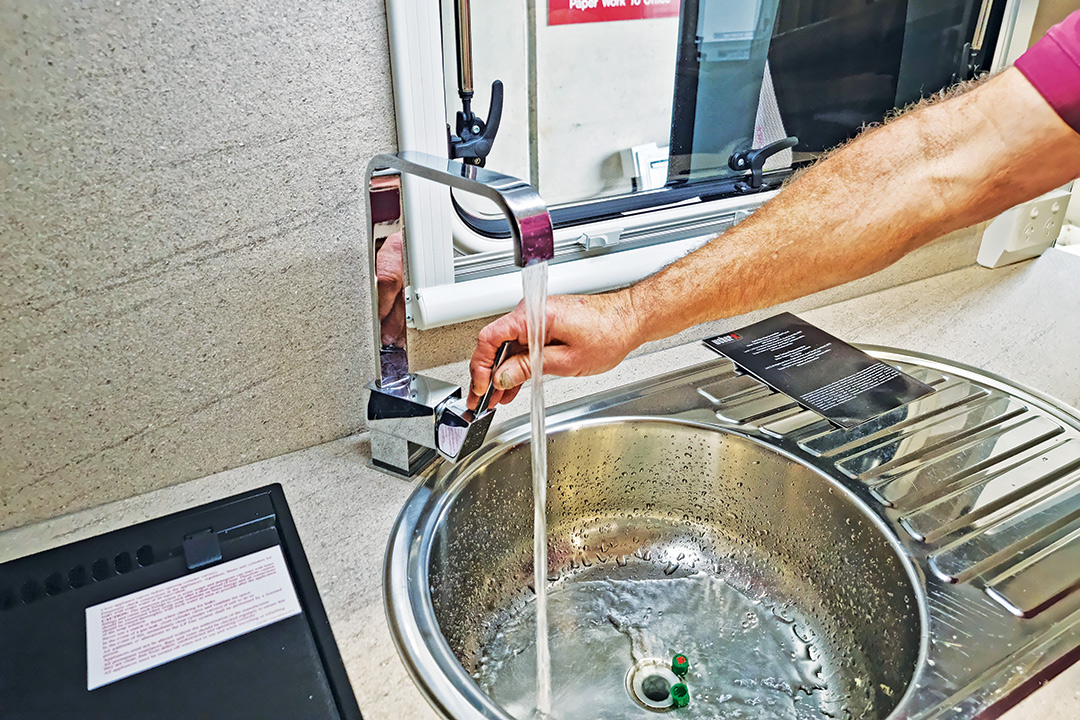 STEP 2 Release the pressure in the plumbing lines by opening a tap STEP 2 Release the pressure in the plumbing lines by opening a tap |
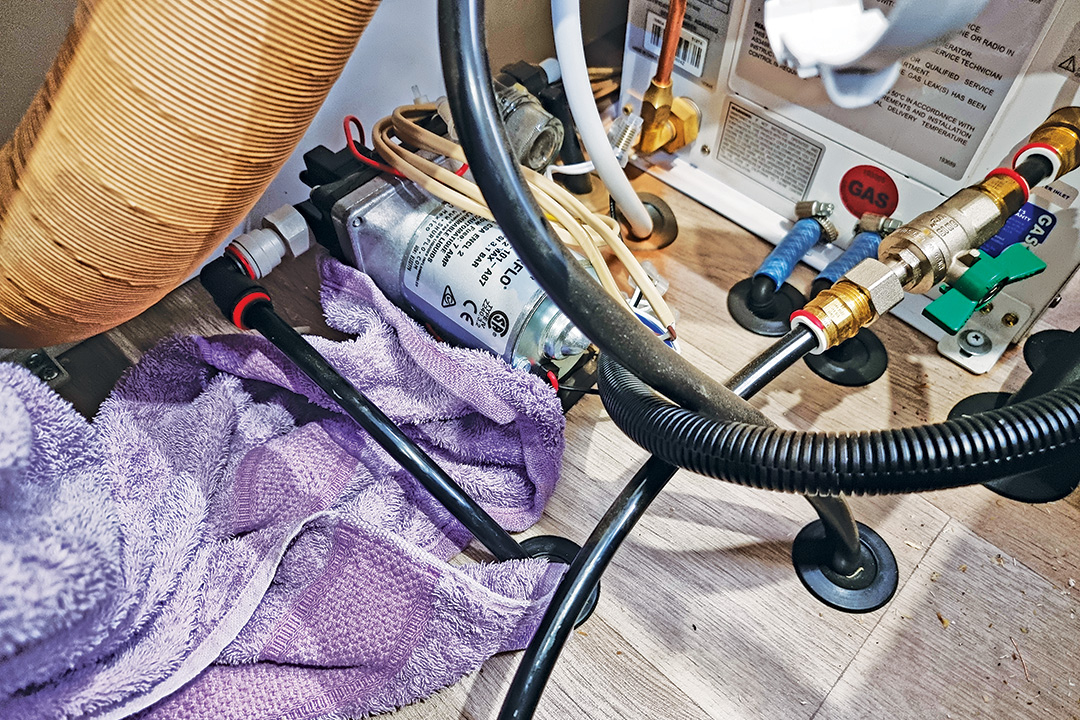 STEP 3 Identify the plumbing line to cut STEP 3 Identify the plumbing line to cut |
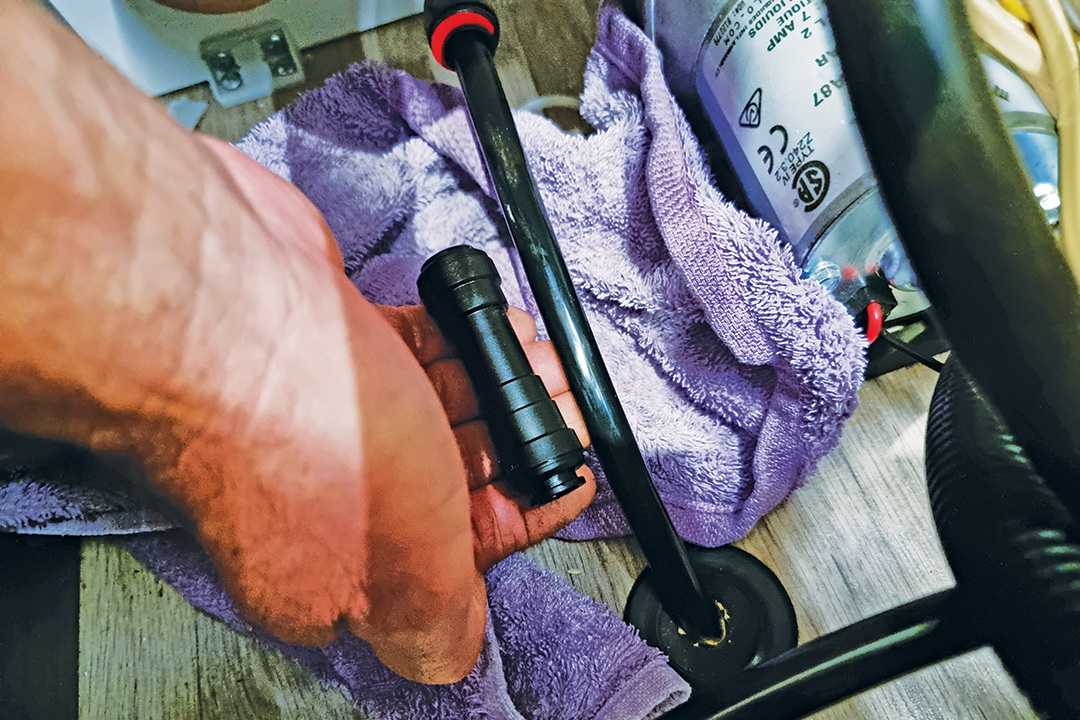 STEP 4 Choose a section of the line without too much of a curve and enough length to fit the one-way valve STEP 4 Choose a section of the line without too much of a curve and enough length to fit the one-way valve |
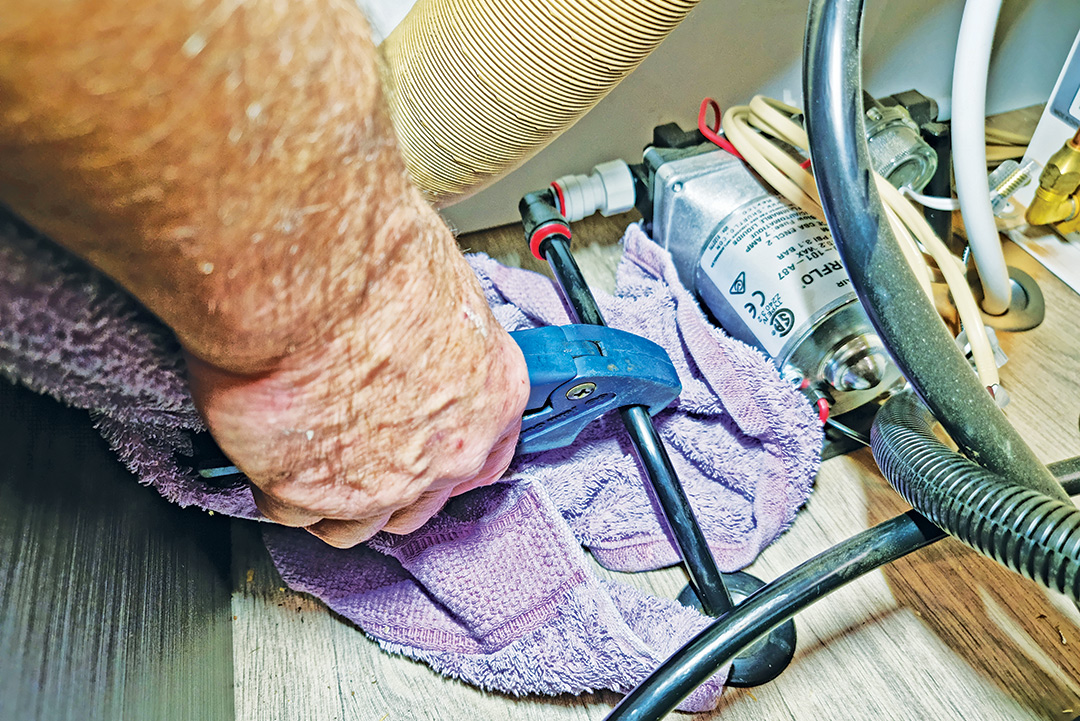 STEP 5 Cut the pipe with a pipe-cutting tool or blade — do not use snips etc. which may squash the pipe STEP 5 Cut the pipe with a pipe-cutting tool or blade — do not use snips etc. which may squash the pipe |
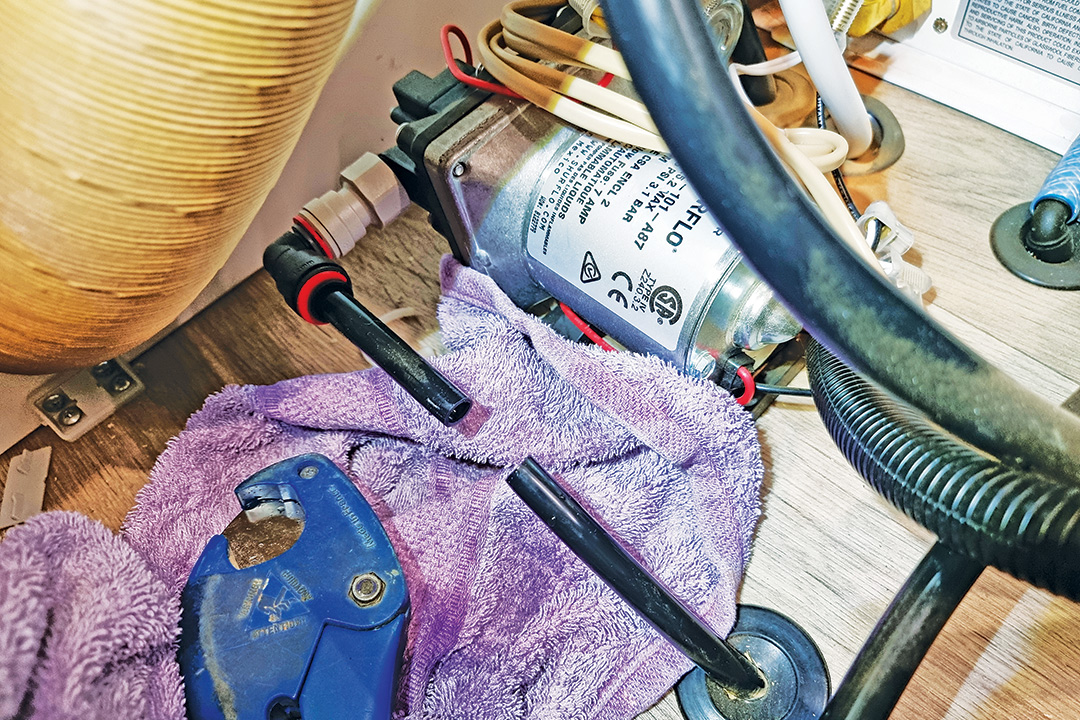 STEP 6 It may be necessary to make a second cut to remove a section of pipe to allow room for the one-way valve STEP 6 It may be necessary to make a second cut to remove a section of pipe to allow room for the one-way valve |
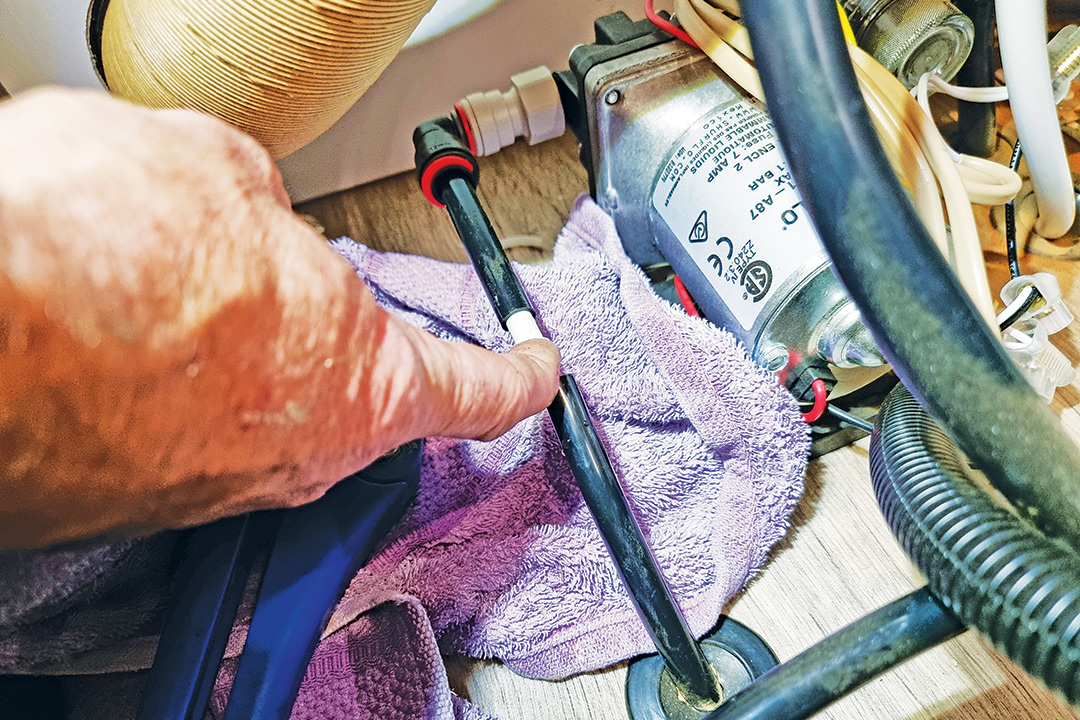 STEP 7 Place a pipe insert inside one end of the cut pipe STEP 7 Place a pipe insert inside one end of the cut pipe |
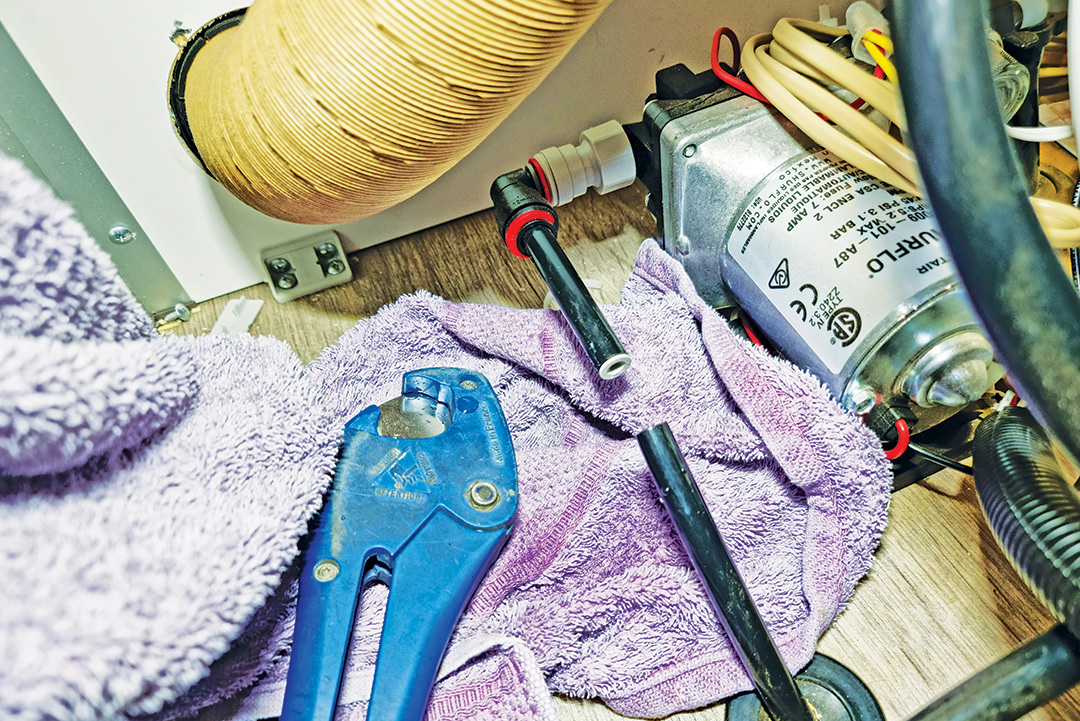 STEP 8 Push the pipe insert all the way into the pipe STEP 8 Push the pipe insert all the way into the pipe |
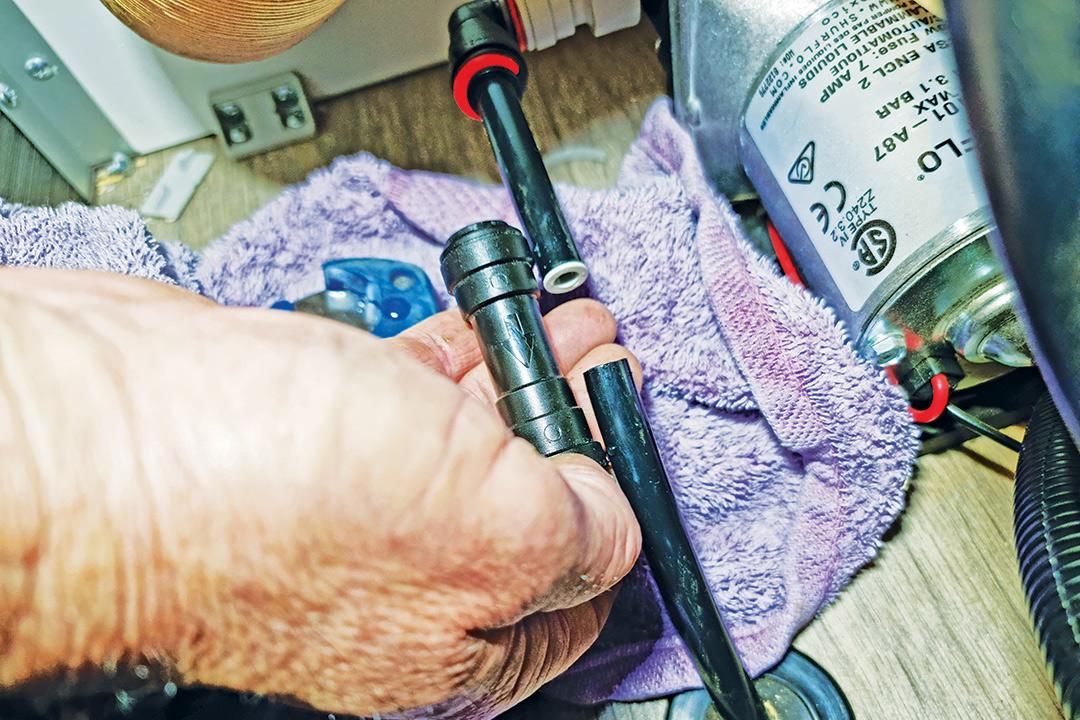 STEP 9 Orient the one-way valve the correct way for the desired flow STEP 9 Orient the one-way valve the correct way for the desired flow |
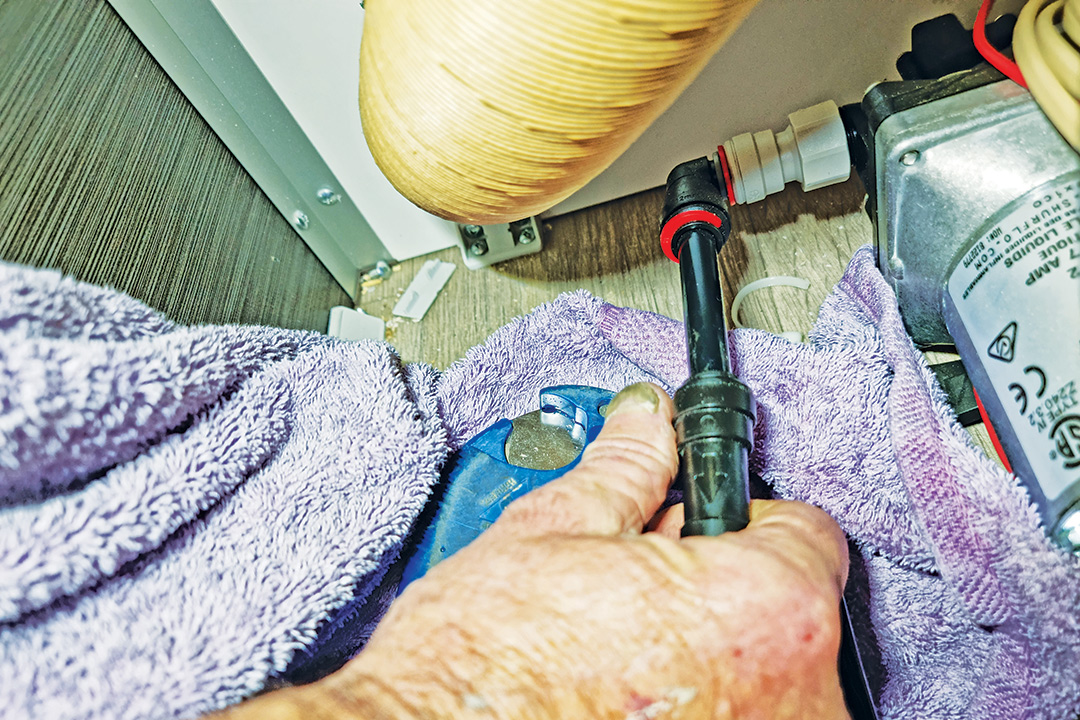 STEP 10 Push the one-way valve body all the way onto the pipe — the pipe needs to pass through the o ring and the retention teeth inside the body STEP 10 Push the one-way valve body all the way onto the pipe — the pipe needs to pass through the o ring and the retention teeth inside the body |
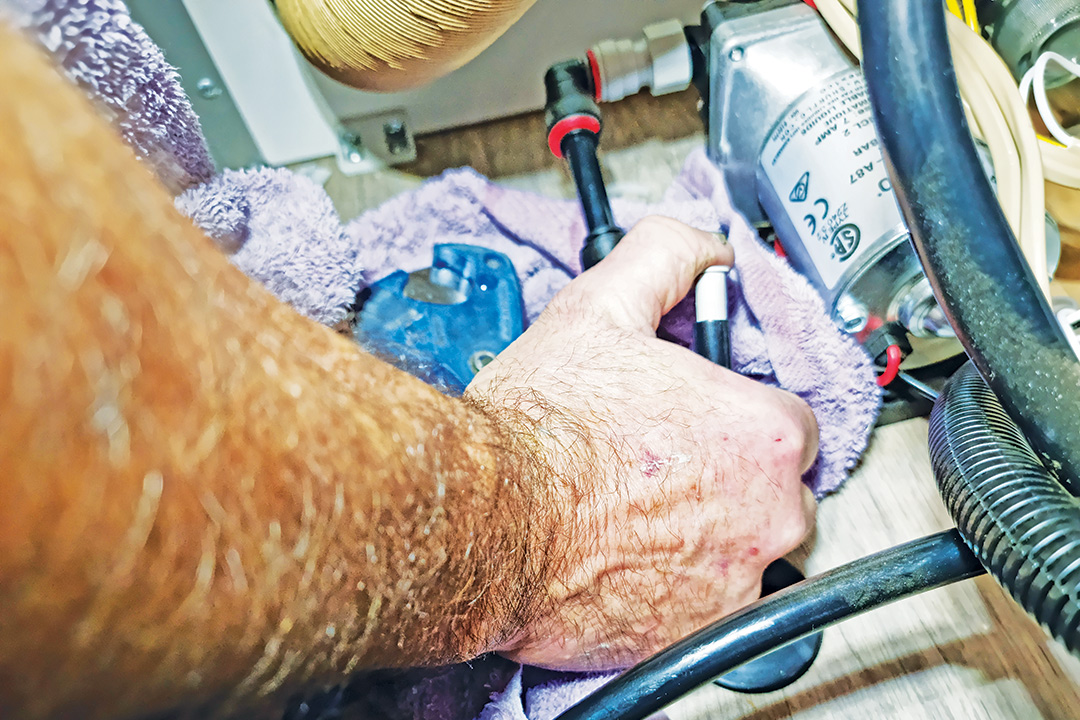 STEP 11 Place a pipe insert inside the other end of the cut pipe STEP 11 Place a pipe insert inside the other end of the cut pipe |
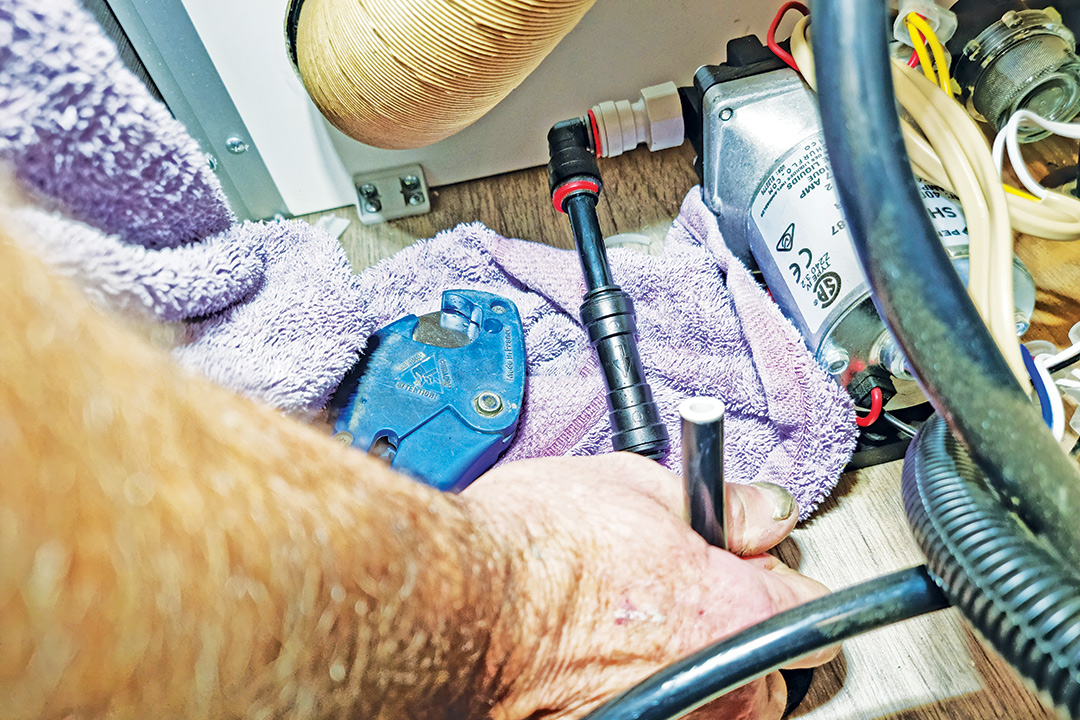 STEP 12 Push the insert all the way into the pipe STEP 12 Push the insert all the way into the pipe |
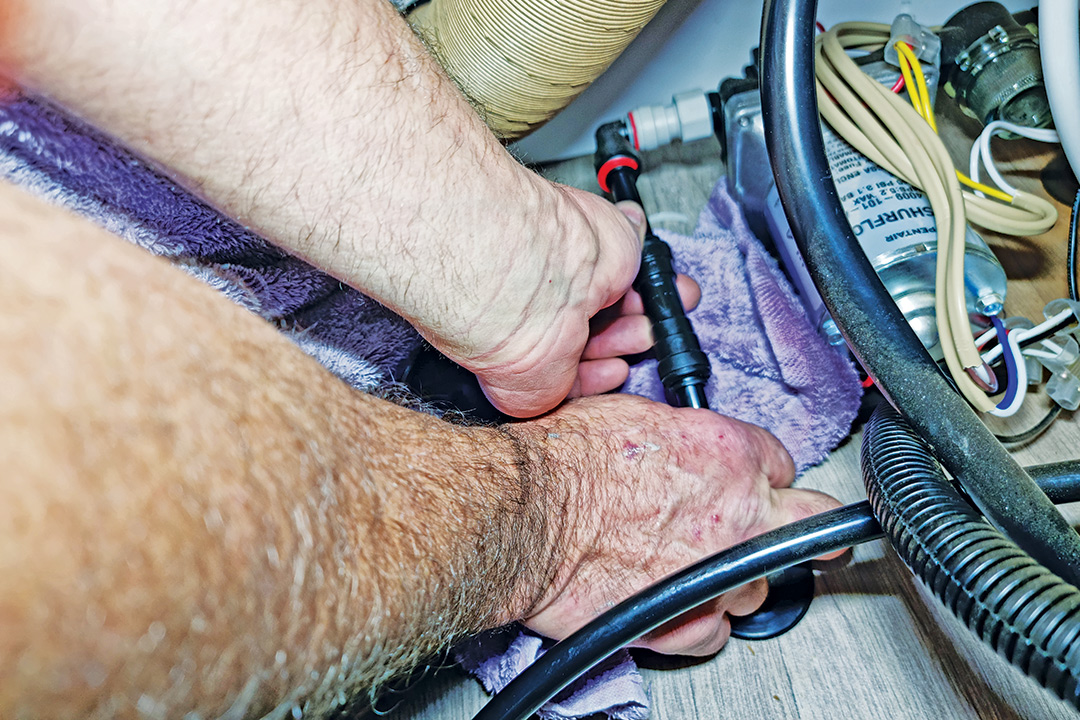 STEP 13 Push the pipe all the way into the one-way valve STEP 13 Push the pipe all the way into the one-way valve |
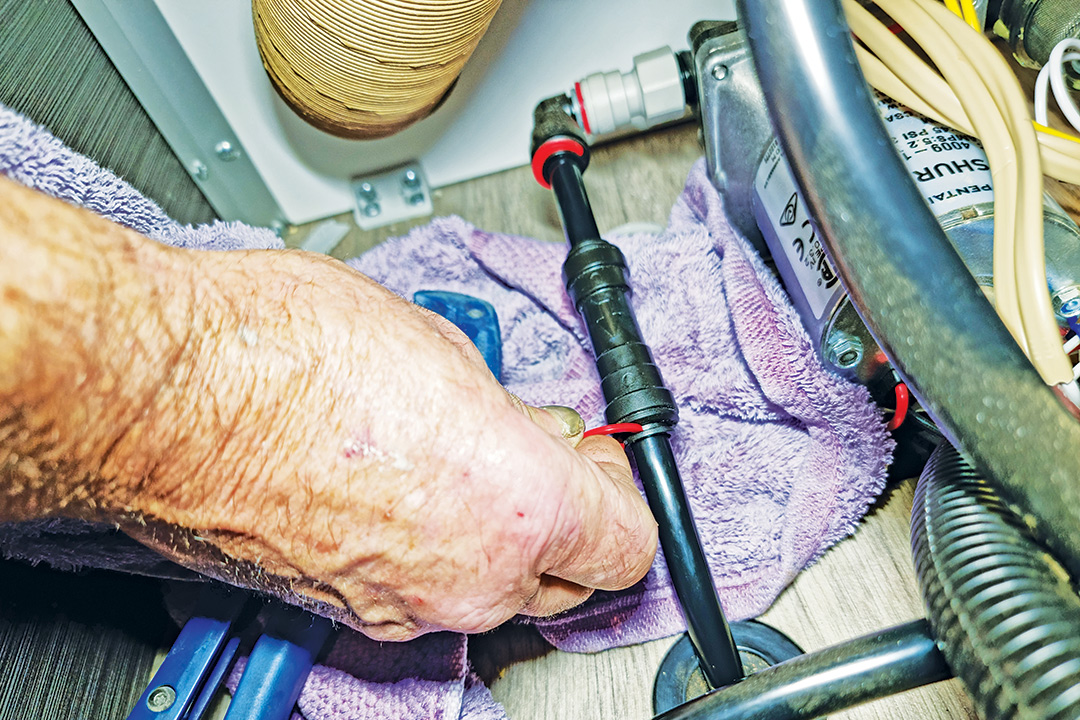 STEP 14 Place a retaining clip in the groove on one end of the one-way valve STEP 14 Place a retaining clip in the groove on one end of the one-way valve |
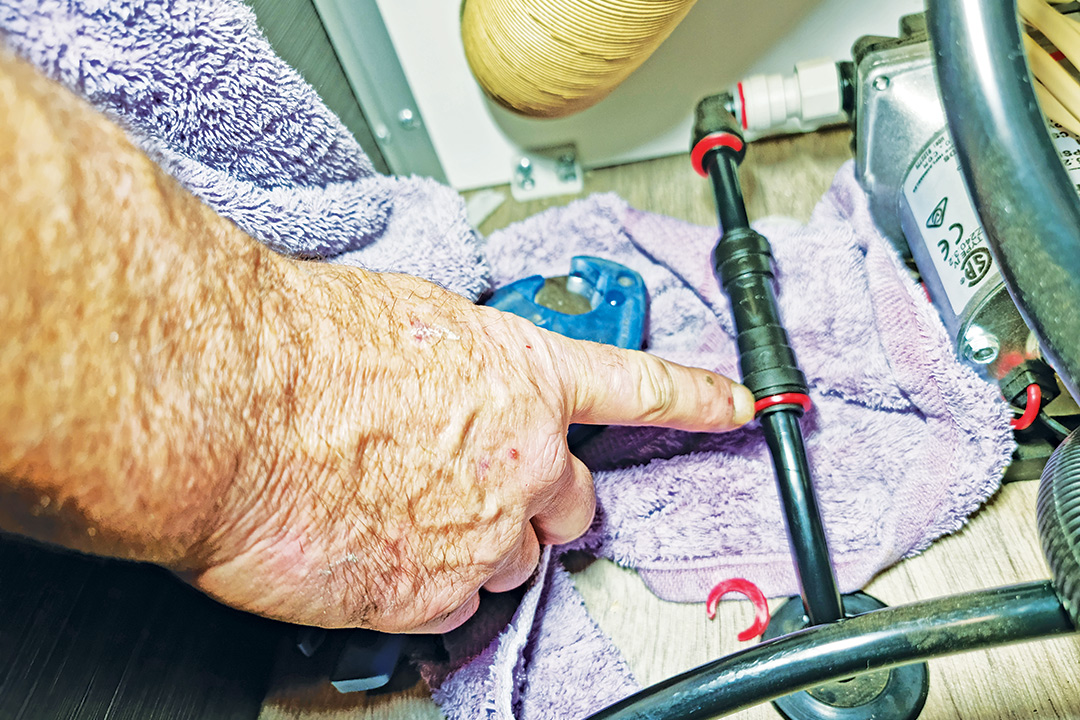 STEP 15 Push the retaining clip fully onto the valve body groove STEP 15 Push the retaining clip fully onto the valve body groove |
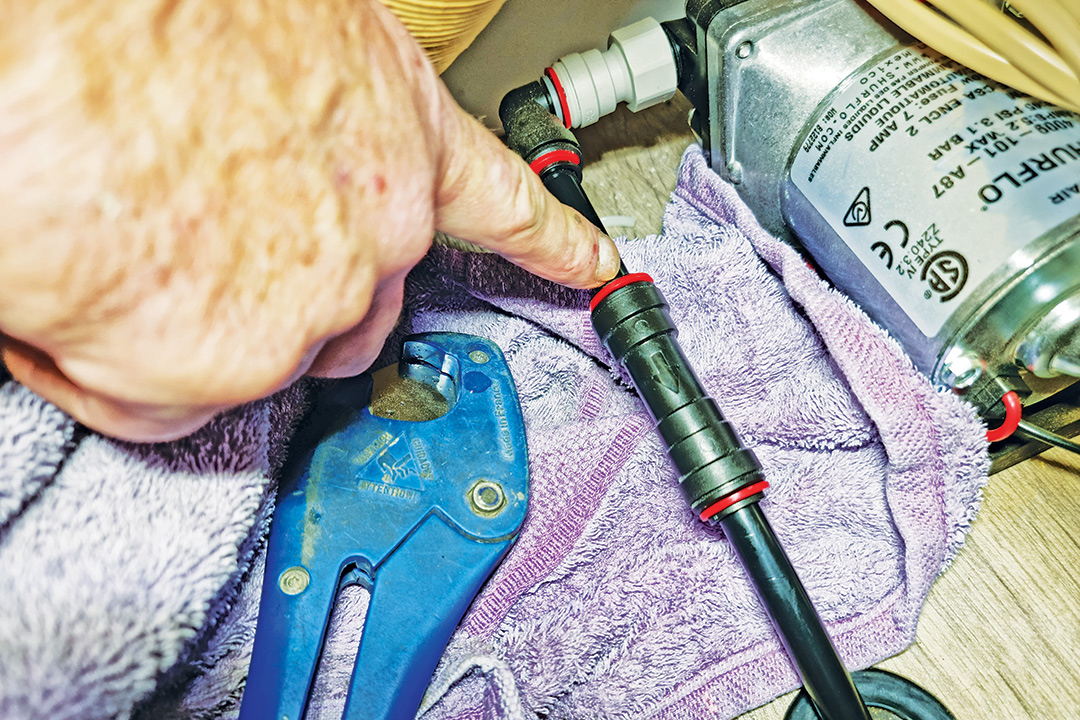 STEP 16 Repeat installing the retaining clip on the other end of the one-way valve body groove STEP 16 Repeat installing the retaining clip on the other end of the one-way valve body groove |
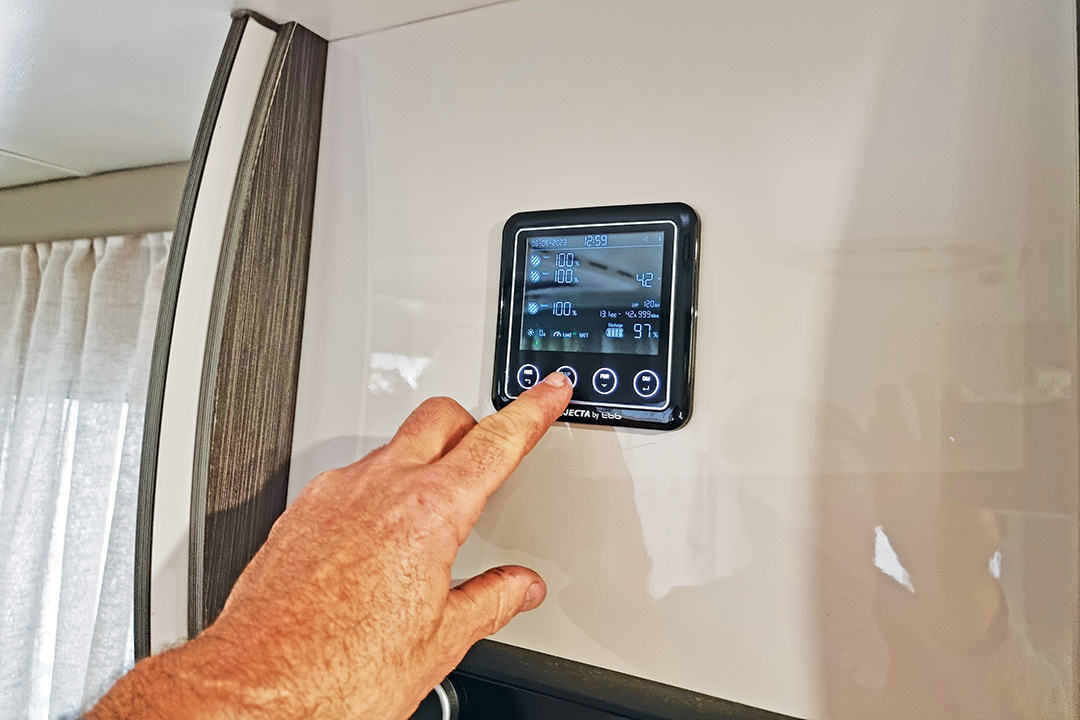 STEP 17 Turn the pump back on STEP 17 Turn the pump back on |
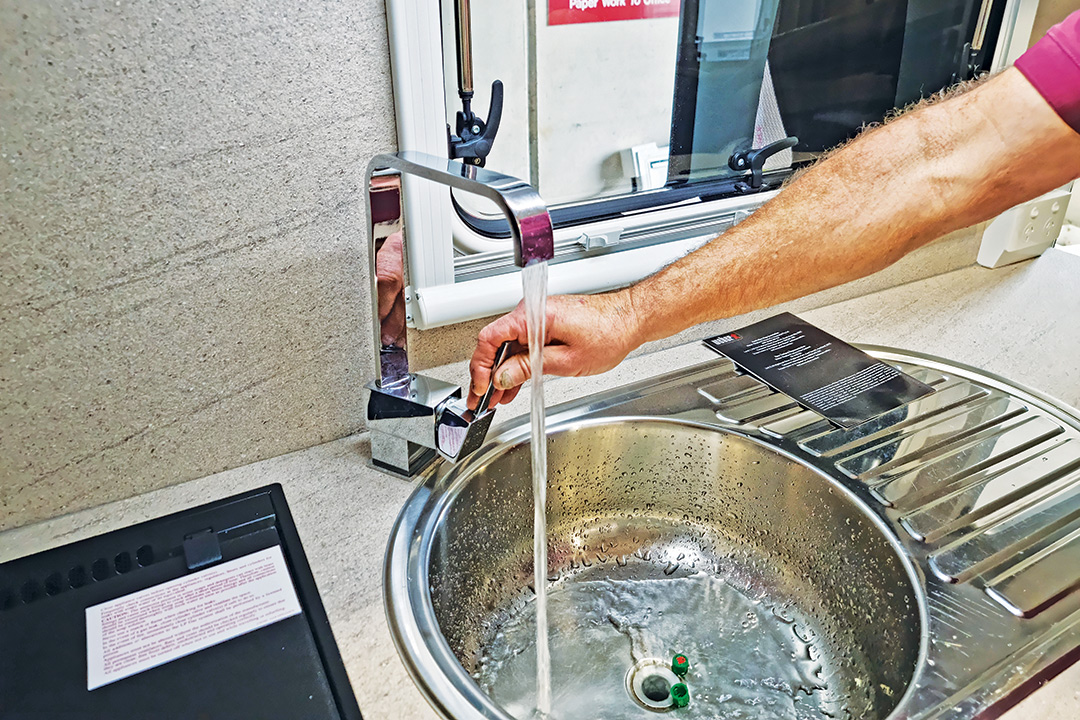 STEP 18 Turn the tap on to allow water to flow through the system STEP 18 Turn the tap on to allow water to flow through the system |
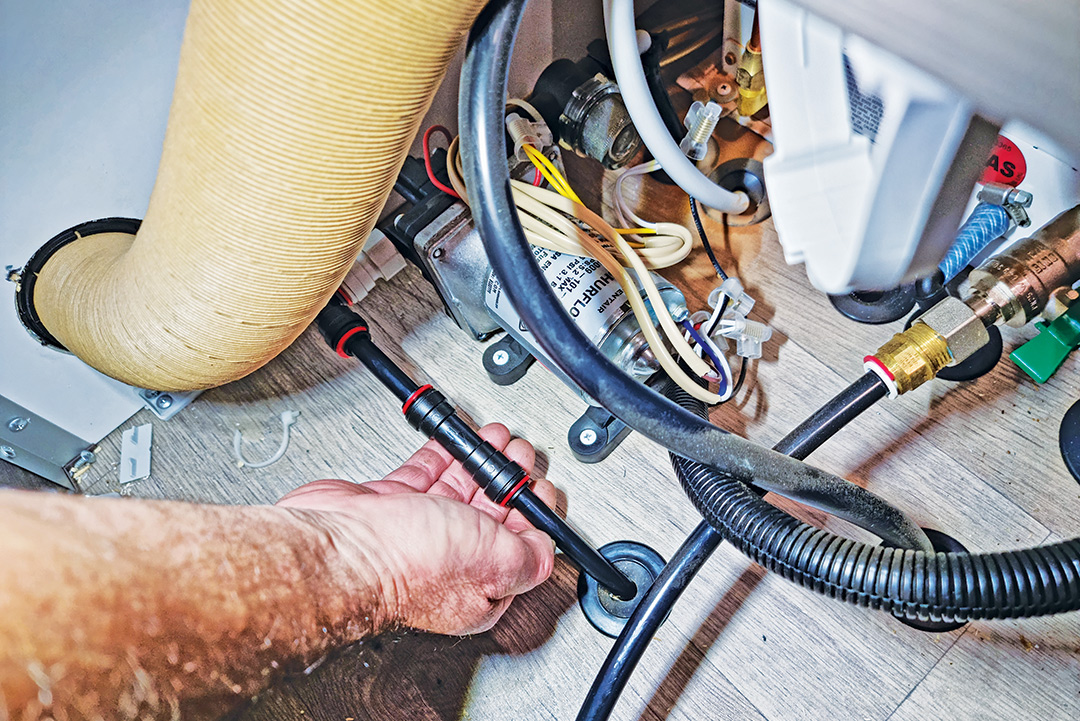 STEP 19 Check connections on the one-way valve for leaks STEP 19 Check connections on the one-way valve for leaks |
If in doubt, consult a professional
Improper maintenance can lead to injury, death or property damage. Maintenance work of this nature should only be undertaken by people with suitable competence. The information provided is general in nature, not comprehensive and should only be taken as a guide. Individual discretion must be exercised and persons undertaking described tasks do so completely at their own risk. Publishers and creators of this content accept no responsibility for loss or damage.
Thanks to Andrew Phillips and the team from the RV Repair Centre, 120 Canterbury Road, Bayswater North Vic 3151, P: 03 9761 4189.
THE NEXT STEP
If you want to learn the latest caravan news, find the most innovative new caravans and camping gear or get inspired to plan your next adventure to some of Australia's best getaway destinations, subscribe to our weekly newsletter. We promise to send you only the best content.
Related Articles:
How To: Replacing a 12V water pump


