
How To: Replacing a 12V Water Pump
Before attempting to replace the pump we need to verify it is faulty. Here is a checklist to get you started:
- If mains pressure water is available, plug this into the inlet manifold of the RV and turn a few taps on to ensure water flows through the hoses. Then disconnect.
- Ensure there is at least 50 per cent water in the water tank(s) the water pump is connected to. Ensure your RV is as level as possible. If your water tanks have an isolation tap, ensure it’s in the open position.
- Ensure the on board 12V battery is fully charged and connected to the RV 12V circuit.
- Switch on the 12V water pump and check if water is flowing to a few outlets. In this test there is no flow.
- Find the location of the 12V water pump and obtain a 12V test light or similar. The pump has a positive and negative wire. Use the test light to check for 12V voltage when the water pump switch is turned 'on'. In this test we assume there is 12V to the water pump.
- On the assumption there is 12V power to the water pump when the switch is turned 'on', we can then assume the water pump is faulty and requires replacement.
NB. These images and step-by-step captions depict the simplicity of this replacement of a Shurflo 12V RV water pump performed by The RV Repair Centre foreman, Paul Hewat, in Bayswater, VIC.
STEP 1
Removing the old 12V water pump may help if images (via your mobile phone) are taken before dismantling commences. Disconnect the on board 12V battery positive terminal. Release water pressure (if any), by turning on a tap that is lower than the water pump if available.
STEP 2
Release the water hoses using multigrips or similar. Beware not to use excessive clamping force.
STEP 3
Cut the wires at a location that provides enough length to reconnect using bullet or similar connectors.
STEP 4
Release the mounting clamp(s) that attach the water pump to the floor. Mounting methods could vary pending location of the pump.
STEP 5
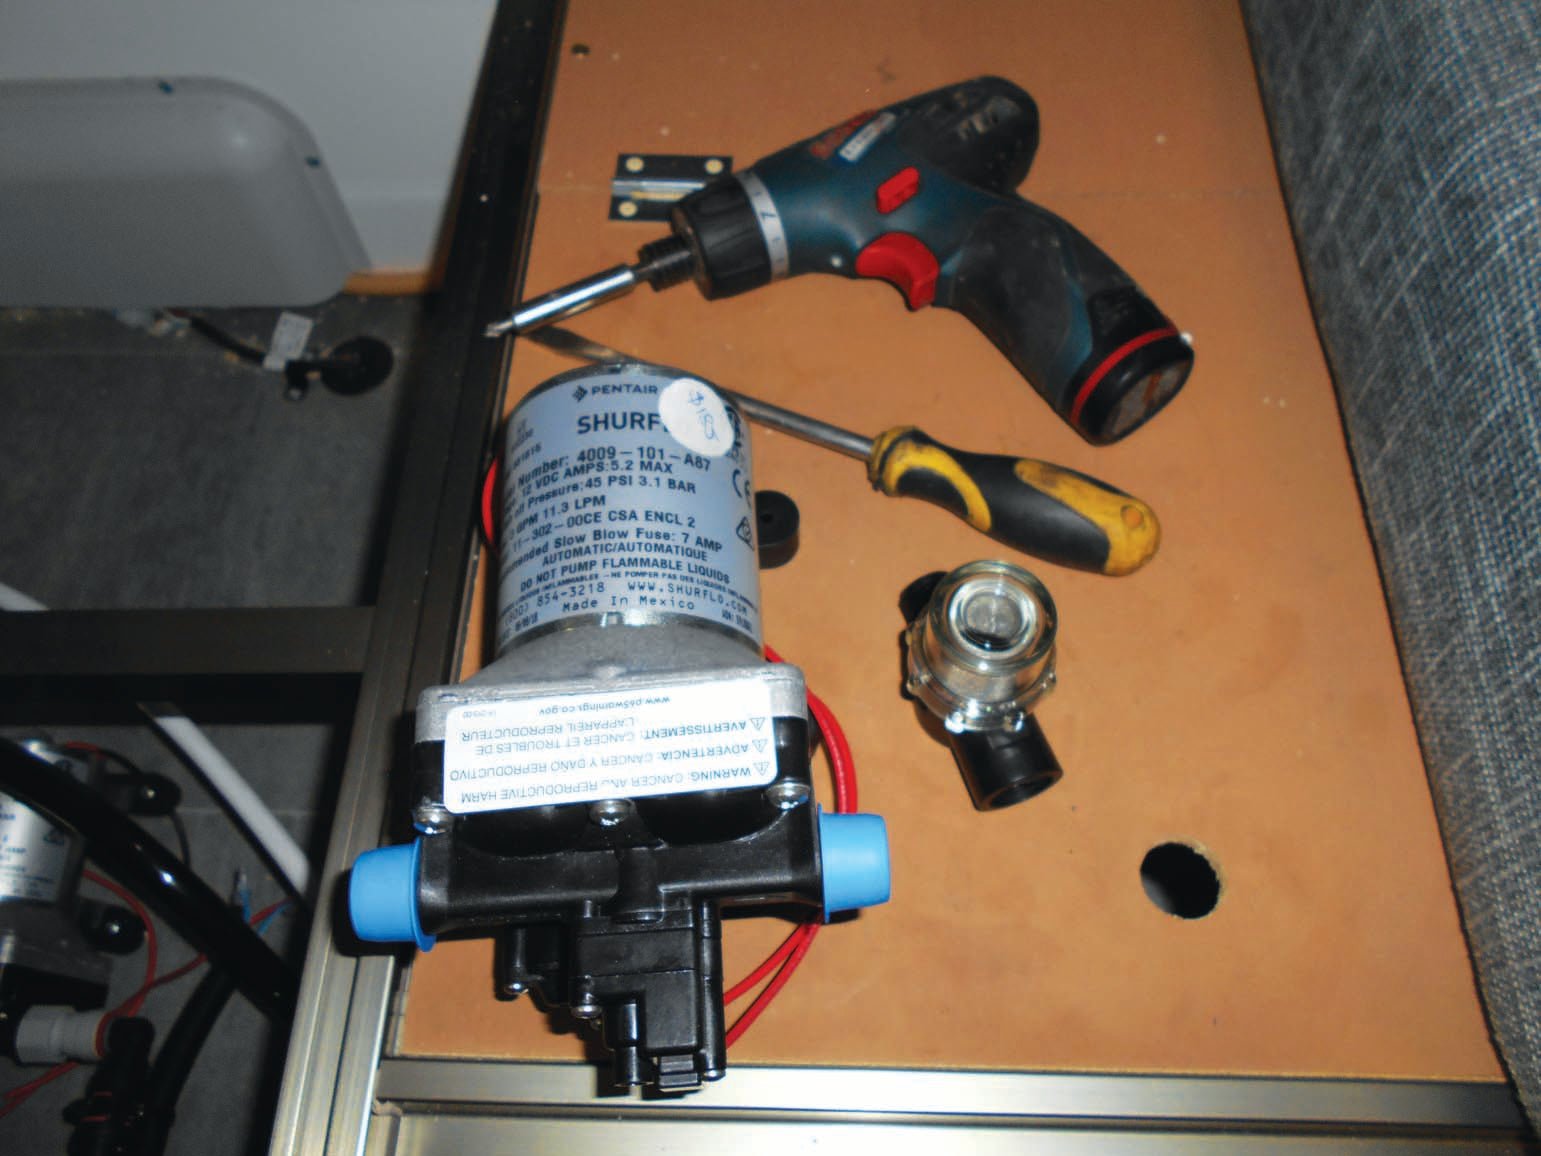
Remove the old water pump with filter attached and place beside the new pump. Ensure the pumps are the same. Be aware that a 24V model is also available.
STEP 6
It’s recommended to either clean the old filter or replace with a new version as shown in this image.
STEP 7
Use plumber’s tape or similar on all water hose thread fittings where applicable to minimise leak.
STEP 8
Place the new water pump in the same location as the old version.
STEP 9
Remount the water pump to the floor as shown.
STEP 10
Prepare to reconnect the hoses and electrical wires as shown.
STEP 11
Use 12V wire joiners or bullet connectors to rejoin the 12V wires as shown above.
STEP 12
Reconnect the 12V wires. Ensure positive and negative wires are connected correctly.
STEP 13
Reconnect the water hoses as shown taking care not to over-tighten the plastic fittings.
STEP 14
Recheck that all water hose connectors are tight before commencing the water pump test procedures.
Put to the Test
12V water pump test procedures as follows:
- Reconnect the 12V positive battery terminal
- Ensure there is at least 50 per cent water in the tanks
- Flick the kitchen or basin tap on full and in the cold water position only
- Switch the 12V water pump on
- Pending the location of the water pump you may hear the pump working as it builds up pressure. It may take a few minutes for the trapped air to clear before water flows from the open tap
- Once water starts to flow, keep the tap on until all air is removed, then shut off the tap
- Open other taps (one at a time) to remove air within each branch line
- If a hot water service is on board, purge the air from each hot water tap without the HWS on. Once all air is purged, the HWS can be switched on
- Turn off all taps and check the pump for water leaks. The water pump should also remain quiet for a few minutes whilst it’s switched on and all taps are in the off position.


