

Window insect screens need to be removed from time to time either to clean them or replace them. The RV Repair Centre takes us through a couple of different types of insect screens.
The old-school insect screen has a rubber surround/seal which is fairly intuitive to remove and replace because you can see everything you are working on. It just requires some care because the rubber may be aged and prone to being easily damaged.
Then we have the more contemporary insect screen which is built into an internal window frame known as a cassette. The cassette-style looks more intimidating because you can’t see what is inside. However, once you remove the window frame the process is straightforward. The insect screen could be partially cleaned without removing the window frame but removing it allows for a more thorough job. The RV Repair Centre recommends that the complete window frame should be replaced if the insect screen is damaged because replacing the insect screen only is too fiddly. It should be noted that some cassettes require different removal methods than those pictured on the following pages.
Traditional Starlite/Camec wind out window with rubber surround/seal insect screen
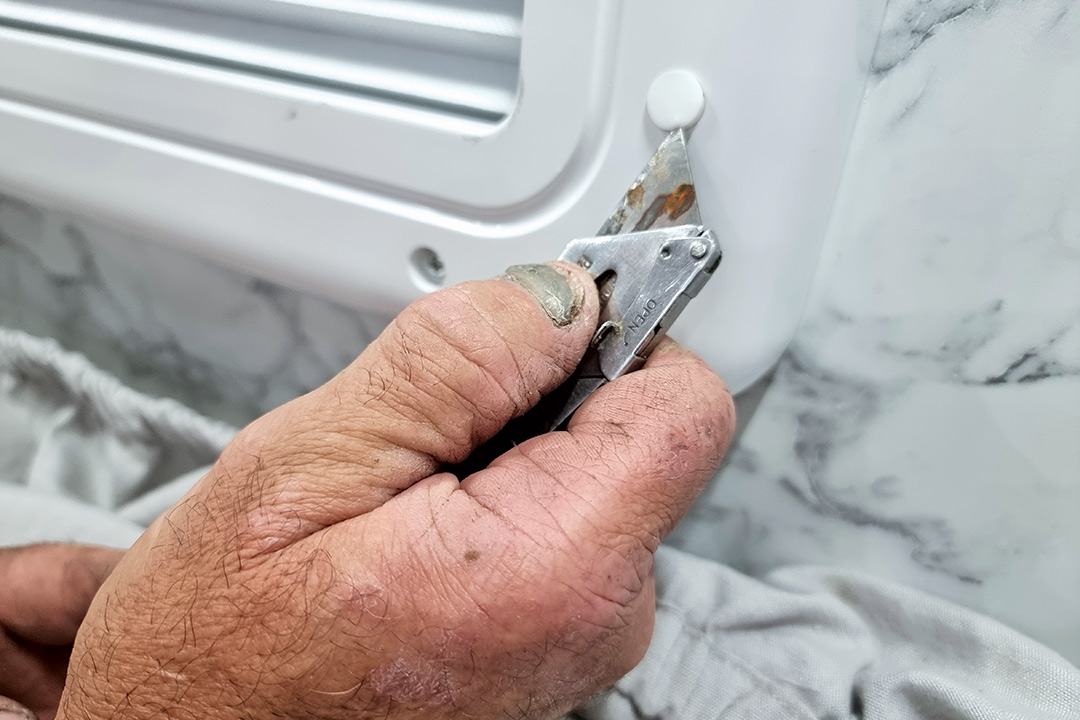
 1. Release the window latch 1. Release the window latch |
 2. Wind out the window 2. Wind out the window |
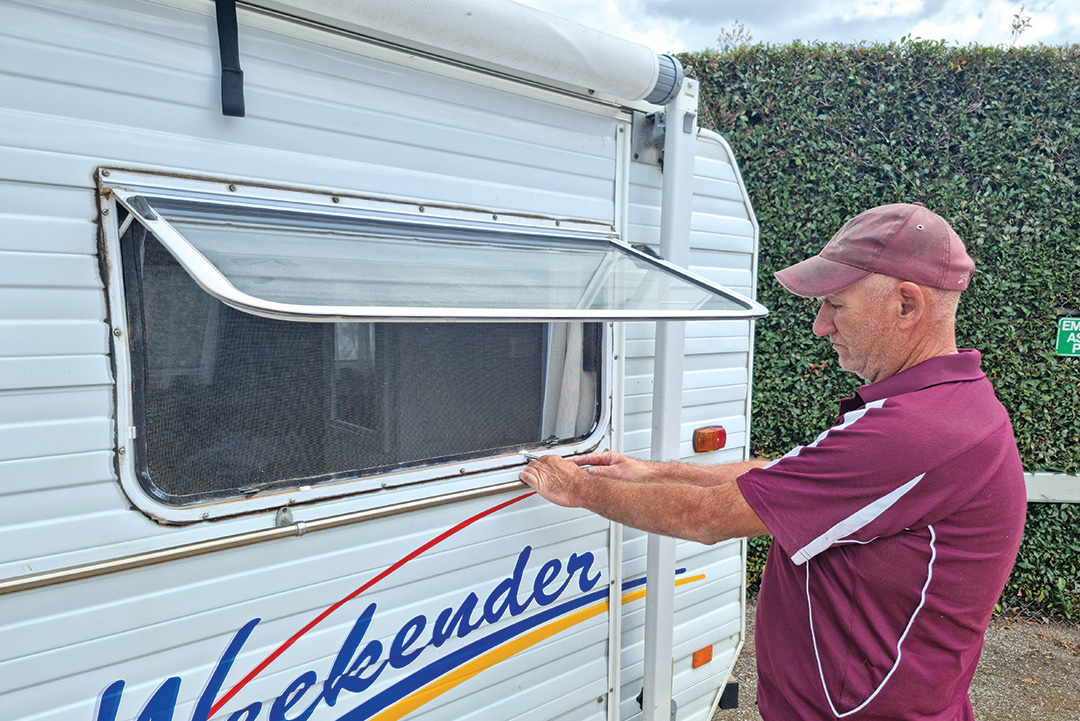 3. Move outside the van to access the screen externally 3. Move outside the van to access the screen externally |
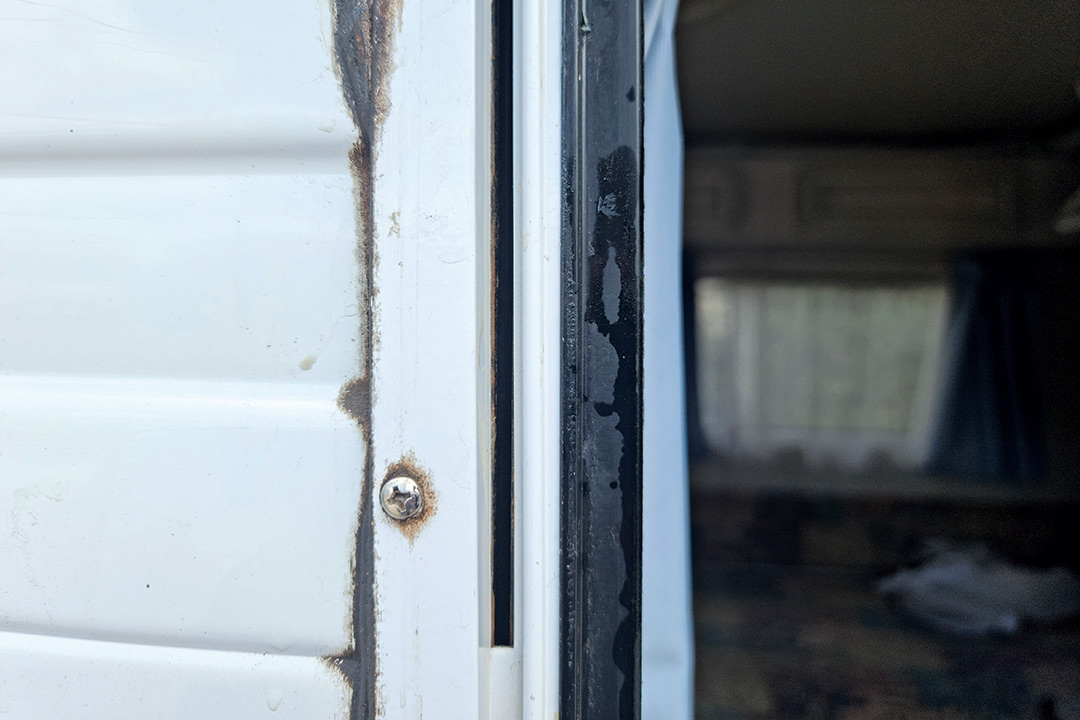
 4. This van still had window wedges used in the manufacturing process in place which are no longer required 4. This van still had window wedges used in the manufacturing process in place which are no longer required |
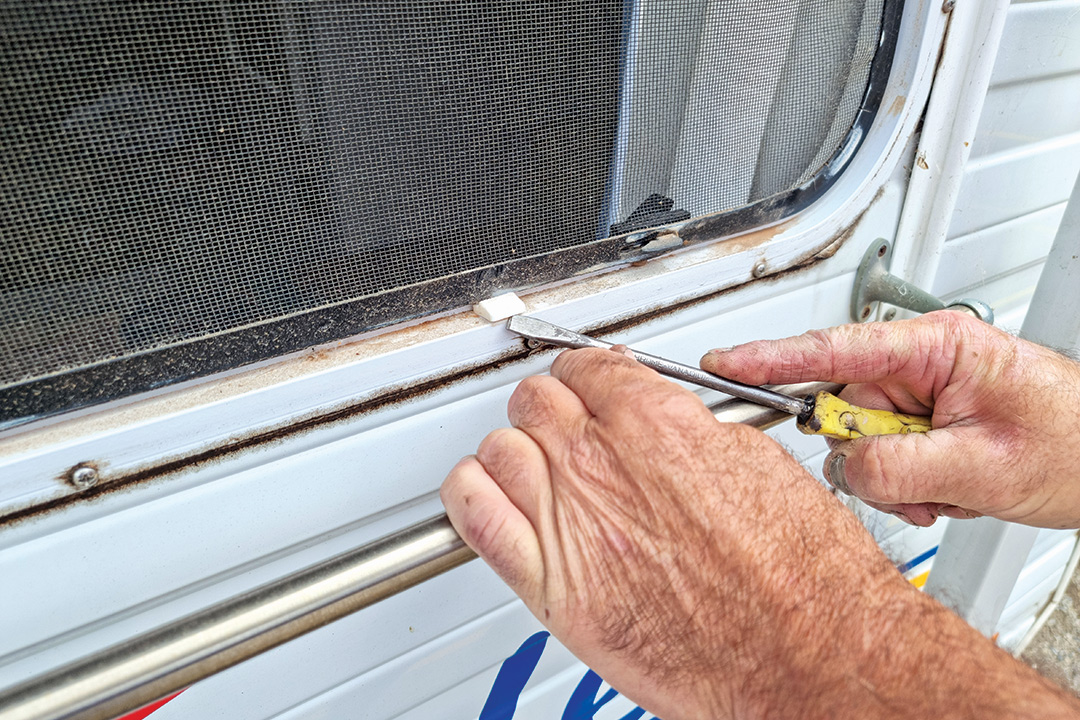
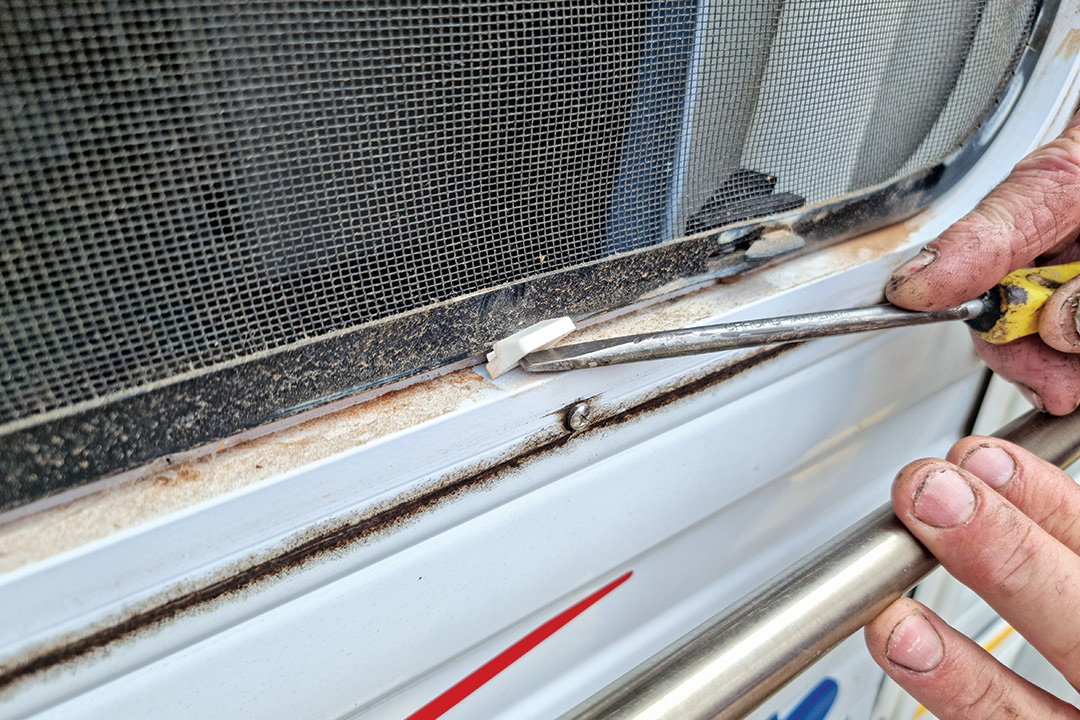 5. Gently lever the wedges up away from the window frame 5. Gently lever the wedges up away from the window frame |
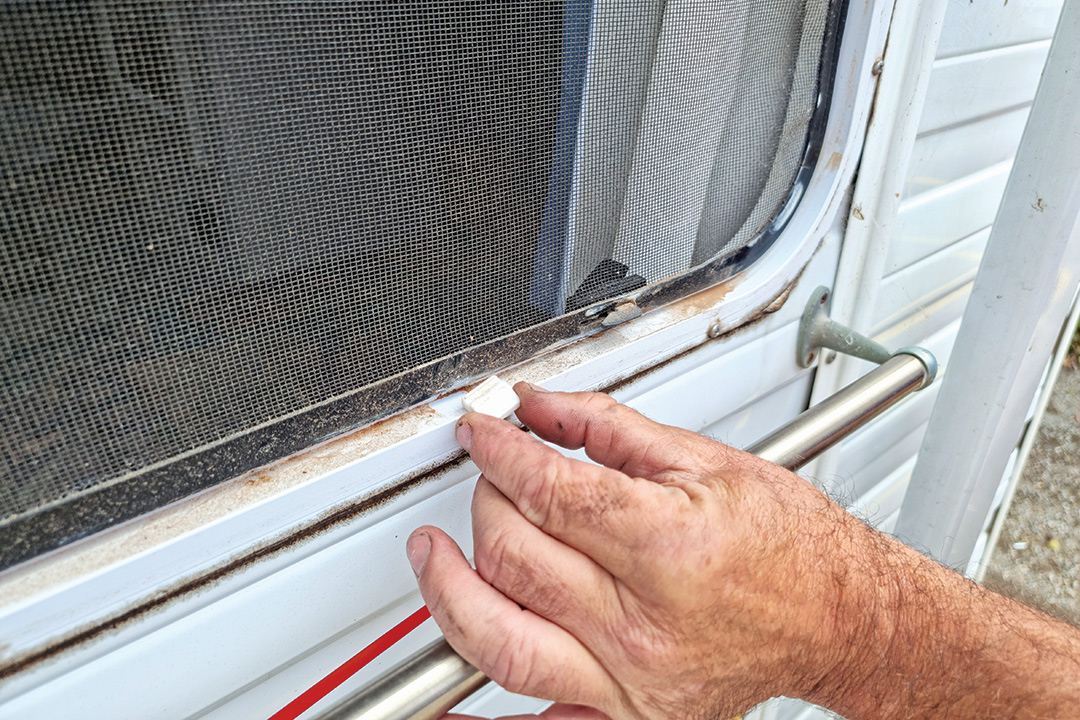 6. Carefully remove the wedges and dispose of them 6. Carefully remove the wedges and dispose of them |
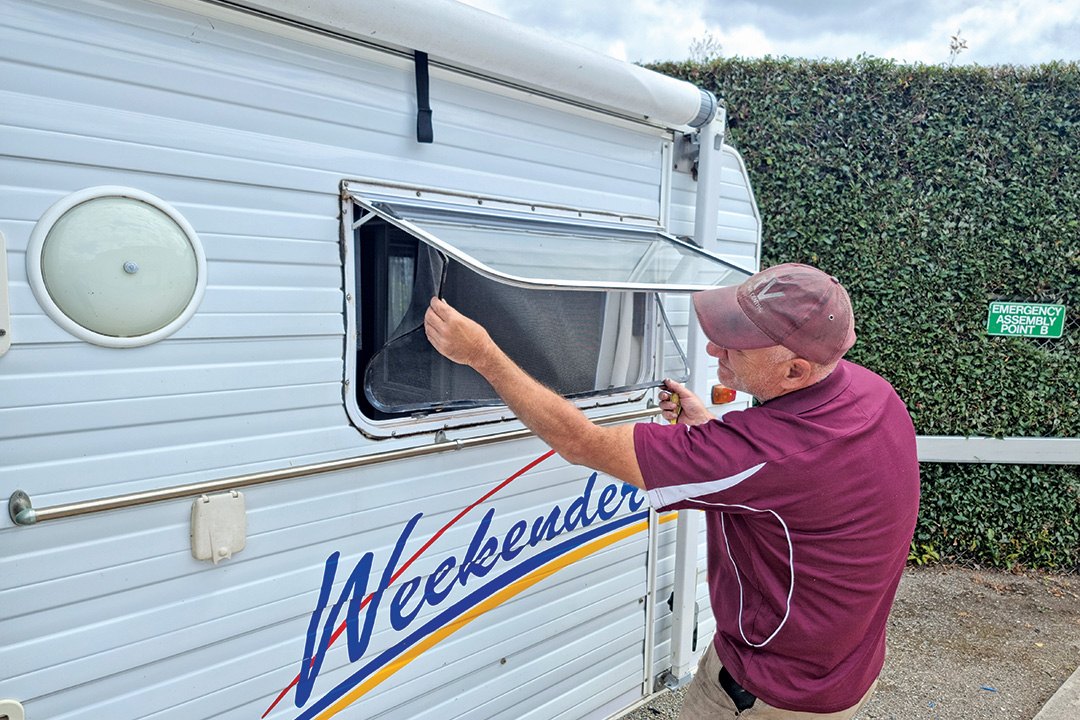
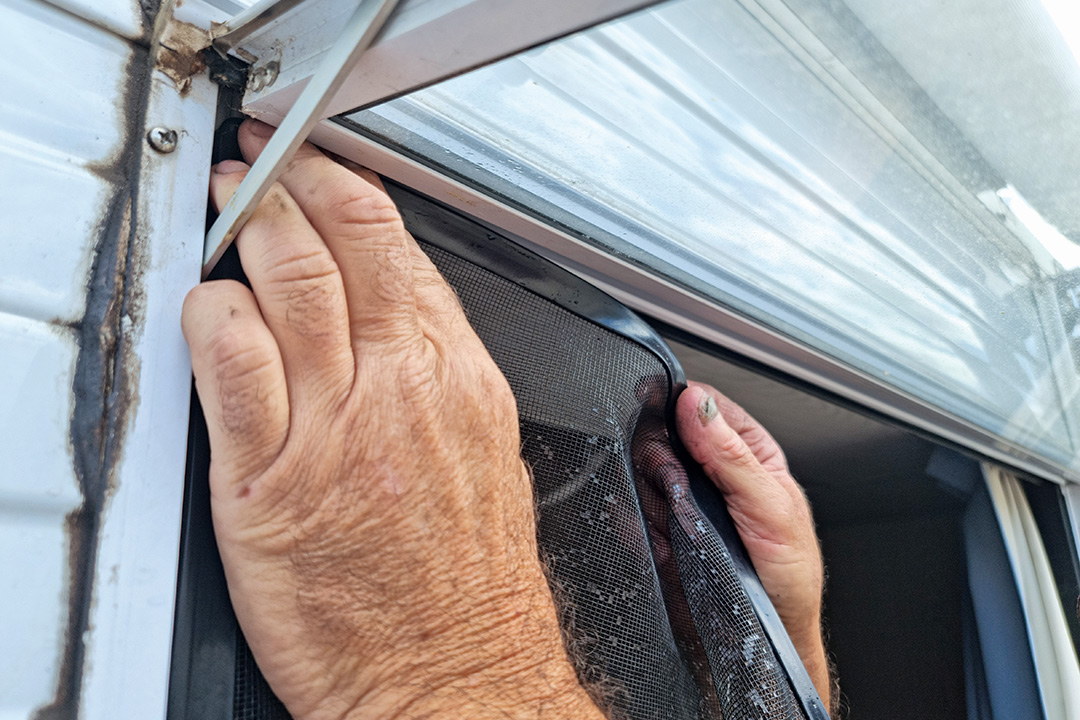
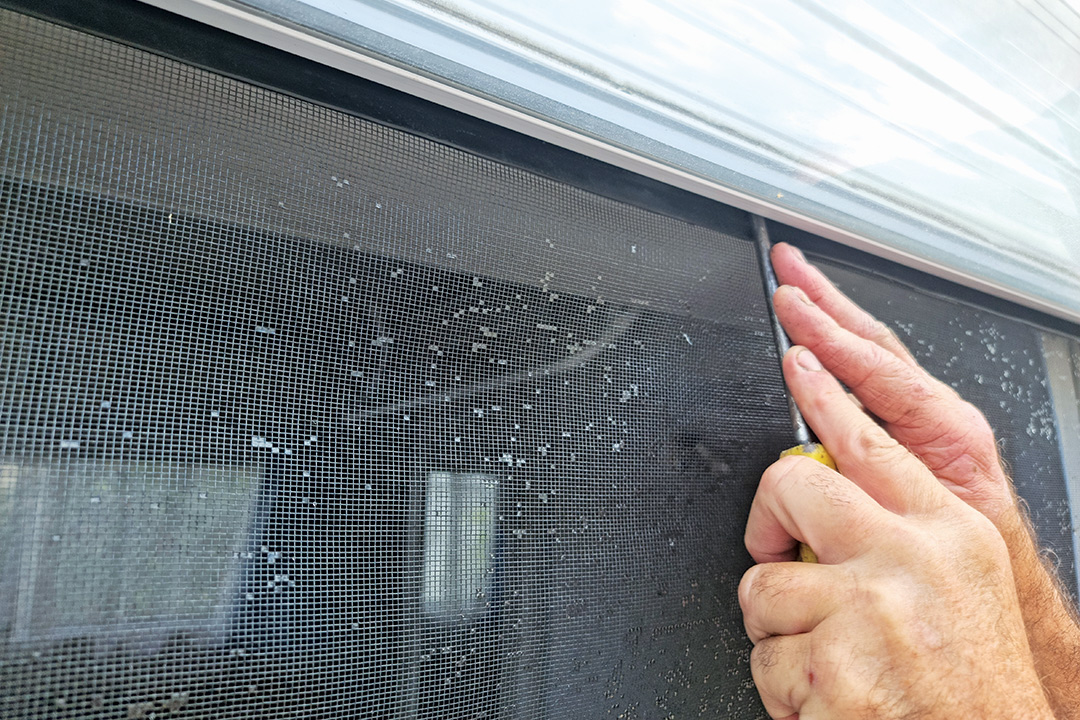
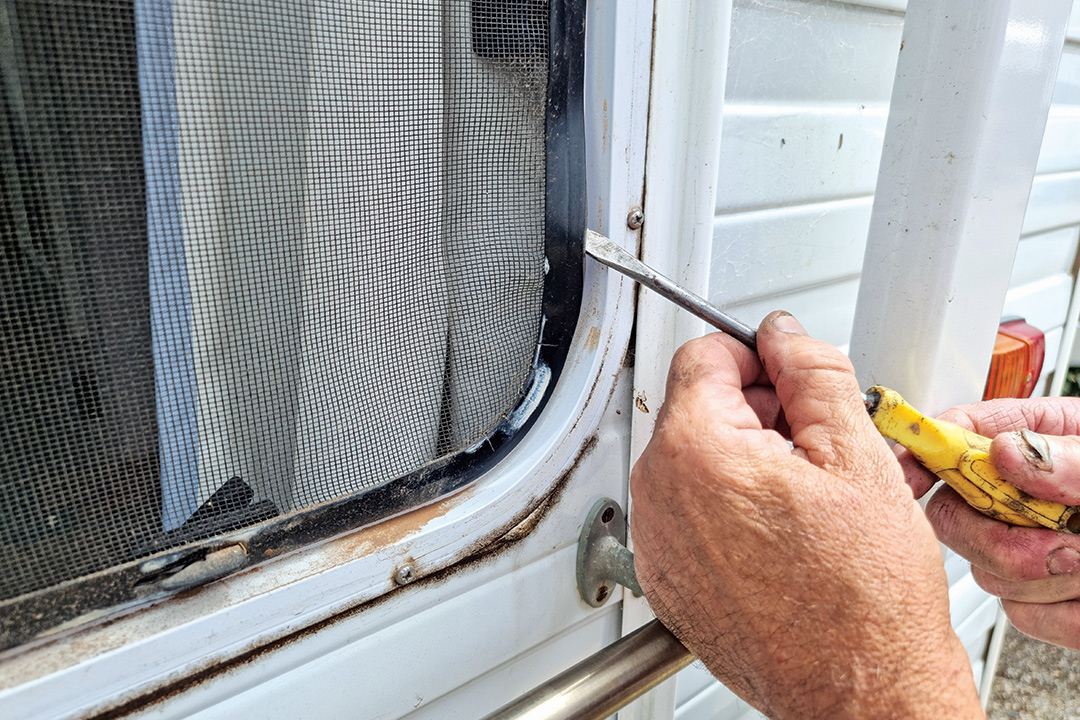 7. Gently lever the insect screen rubber surround away from the window frame 7. Gently lever the insect screen rubber surround away from the window frame |
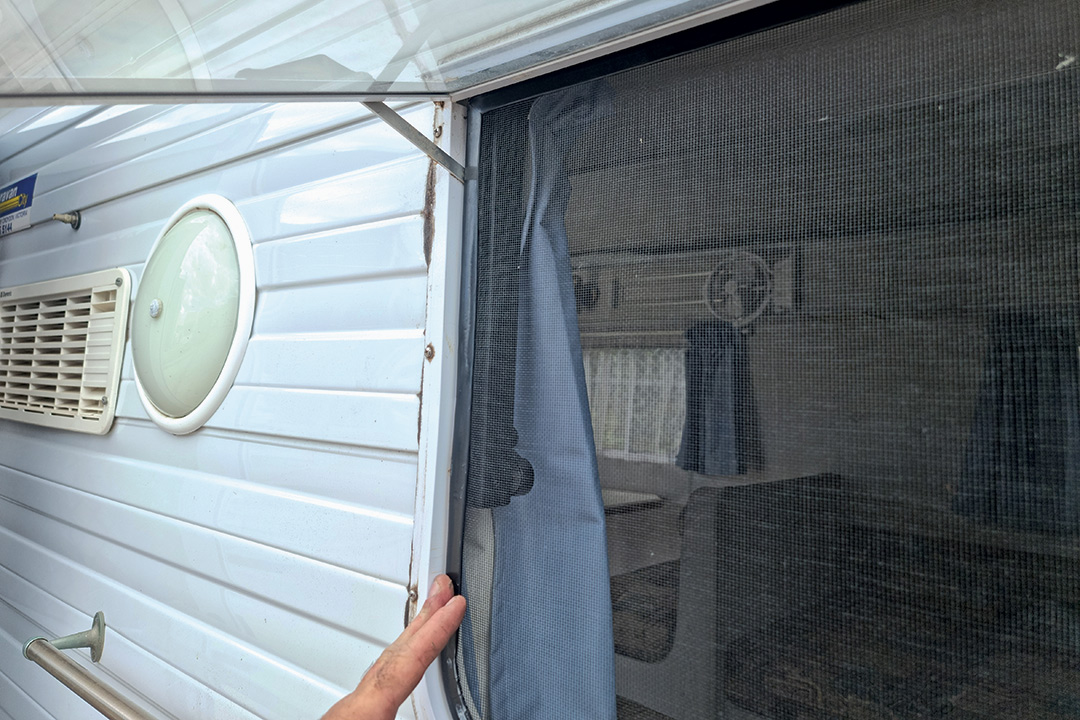
 8. Gently begin to pull the insect screen away from the window frame 8. Gently begin to pull the insect screen away from the window frame |
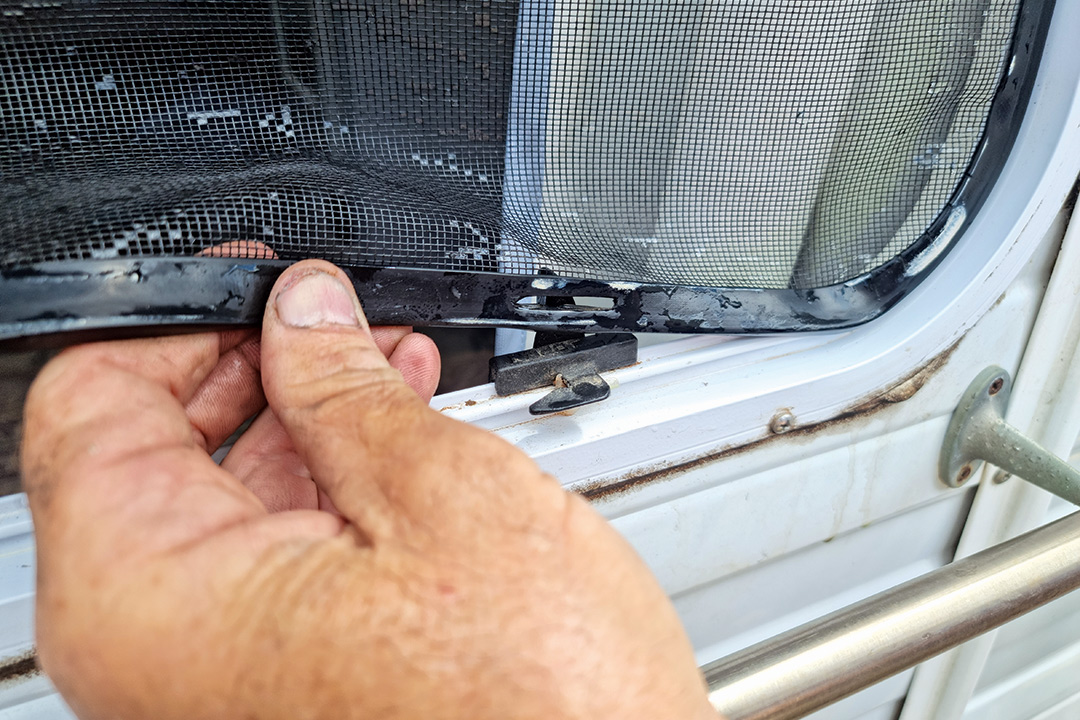
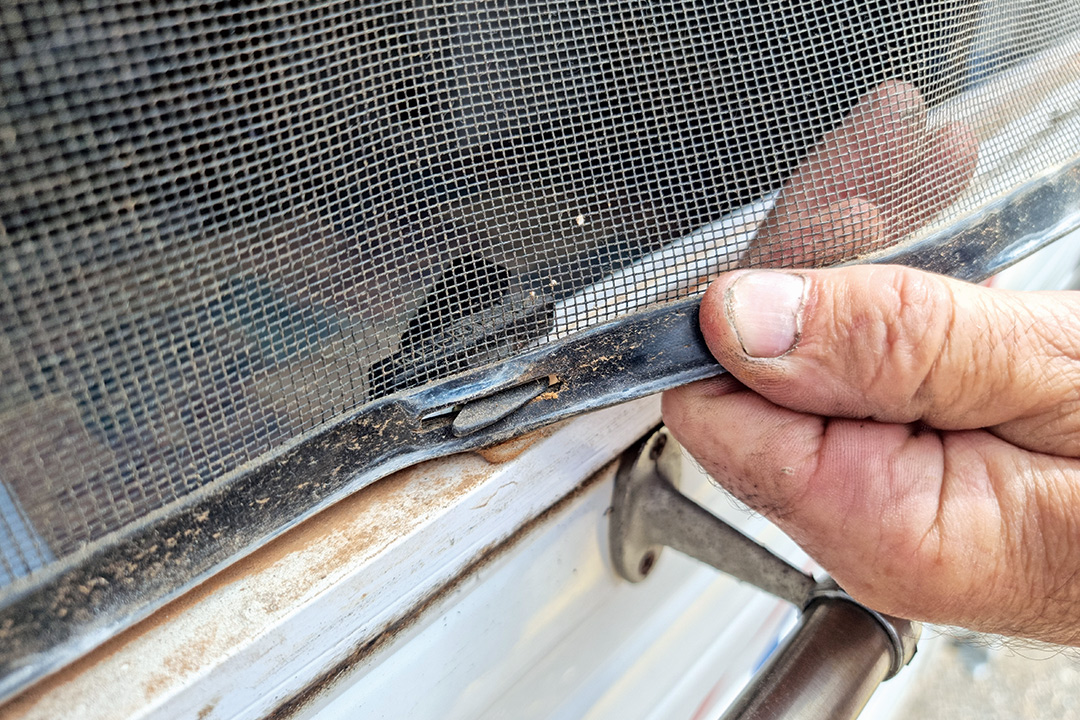 9. Find where the screen is secured with tabs and slots and carefully remove to avoid damaging the rubber slots 9. Find where the screen is secured with tabs and slots and carefully remove to avoid damaging the rubber slots |
 10. Continue to remove the insect screen looking for more tabs and slots 10. Continue to remove the insect screen looking for more tabs and slots |
 11. Look out for where the rubber surround has a join and use extra care to avoid it coming apart 11. Look out for where the rubber surround has a join and use extra care to avoid it coming apart |
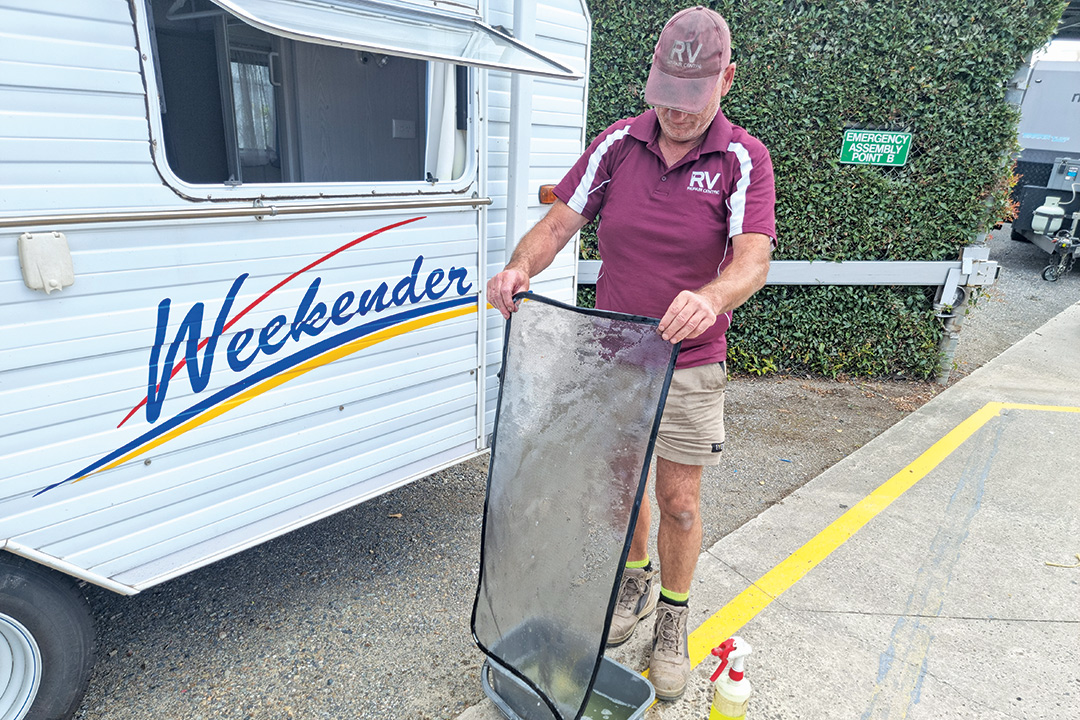
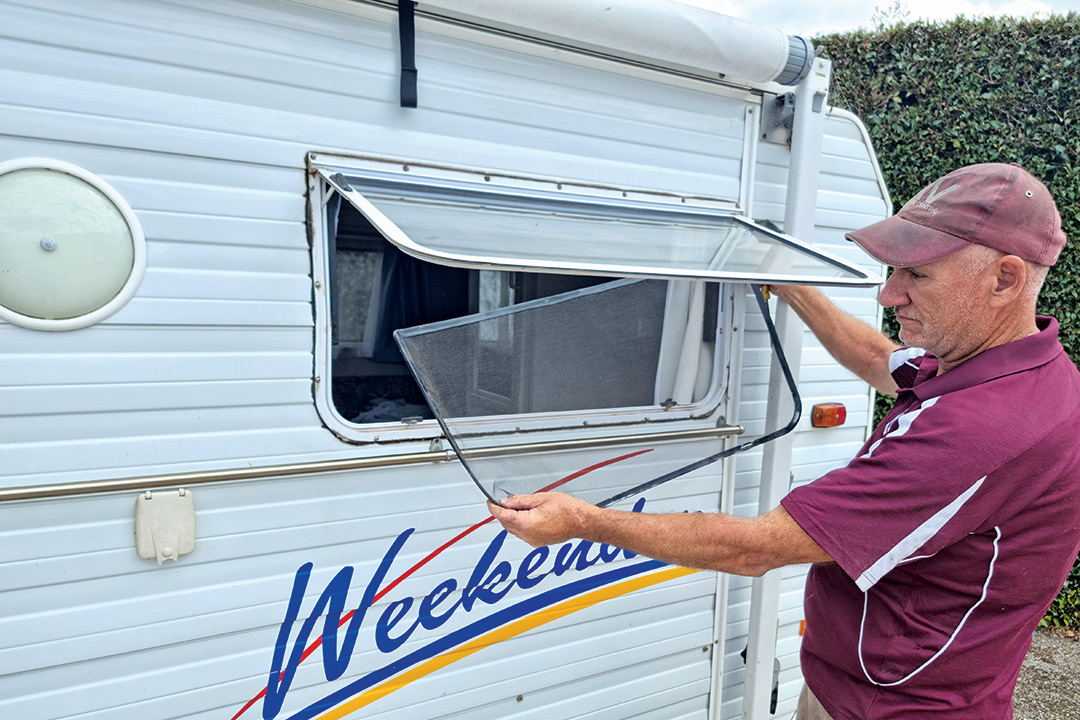 12. Completely remove the insect screen 12. Completely remove the insect screen |
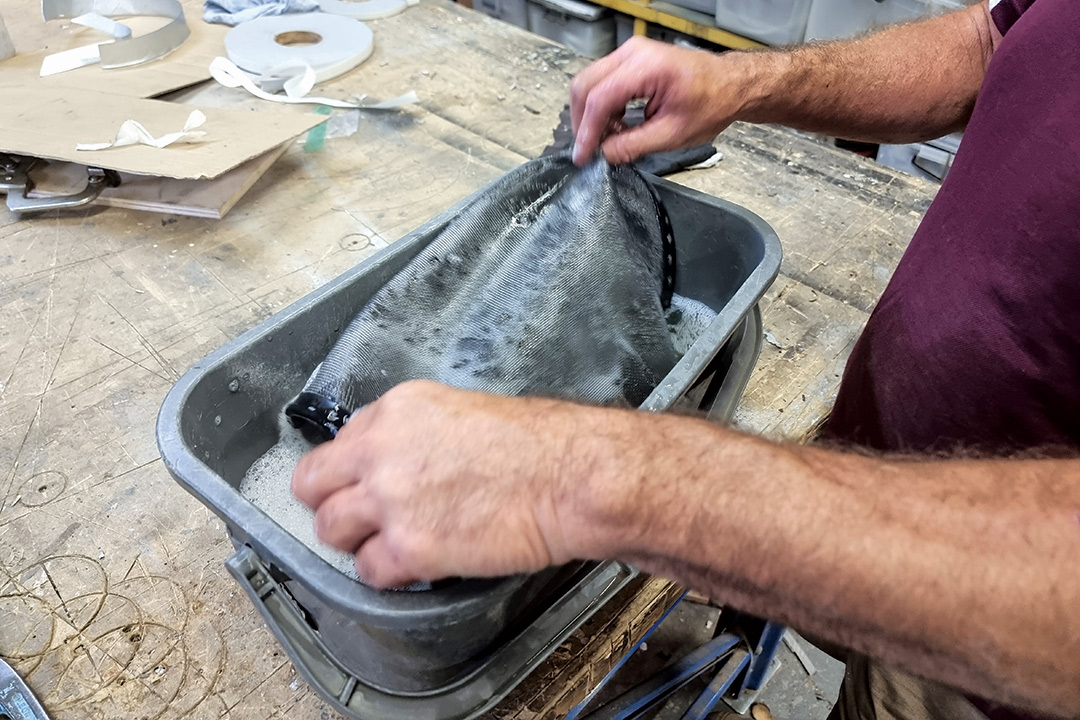 13. Wash the insect screen in warm, mild soapy water 13. Wash the insect screen in warm, mild soapy water |
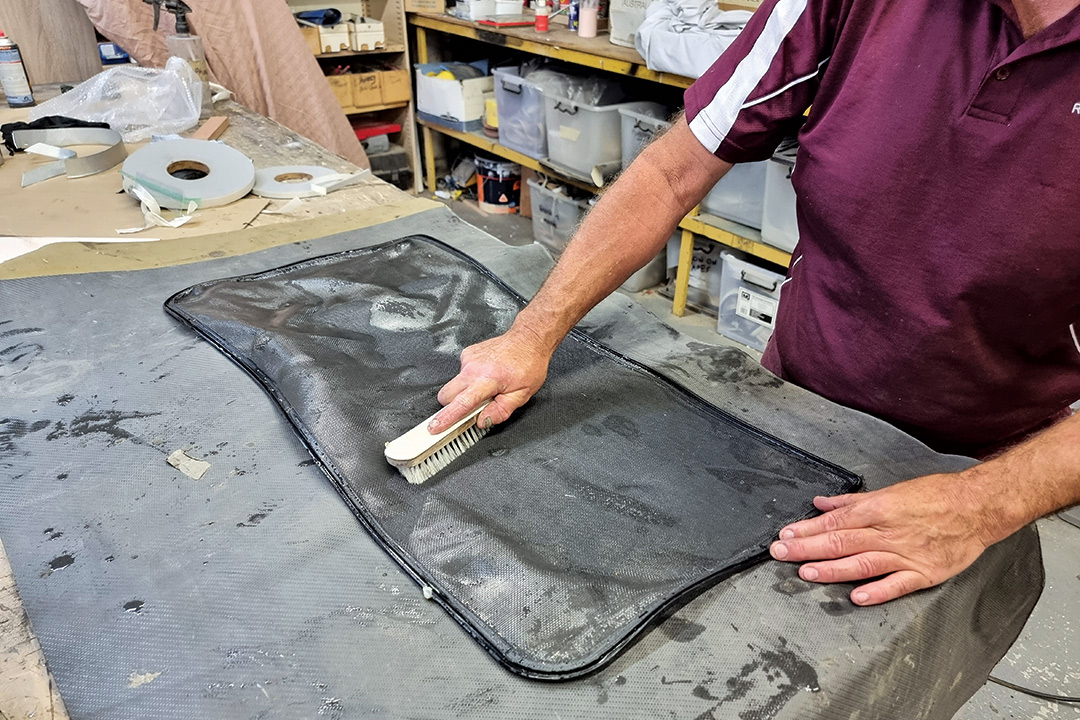 14. Gently brush the insect screen to remove dirt 14. Gently brush the insect screen to remove dirt |
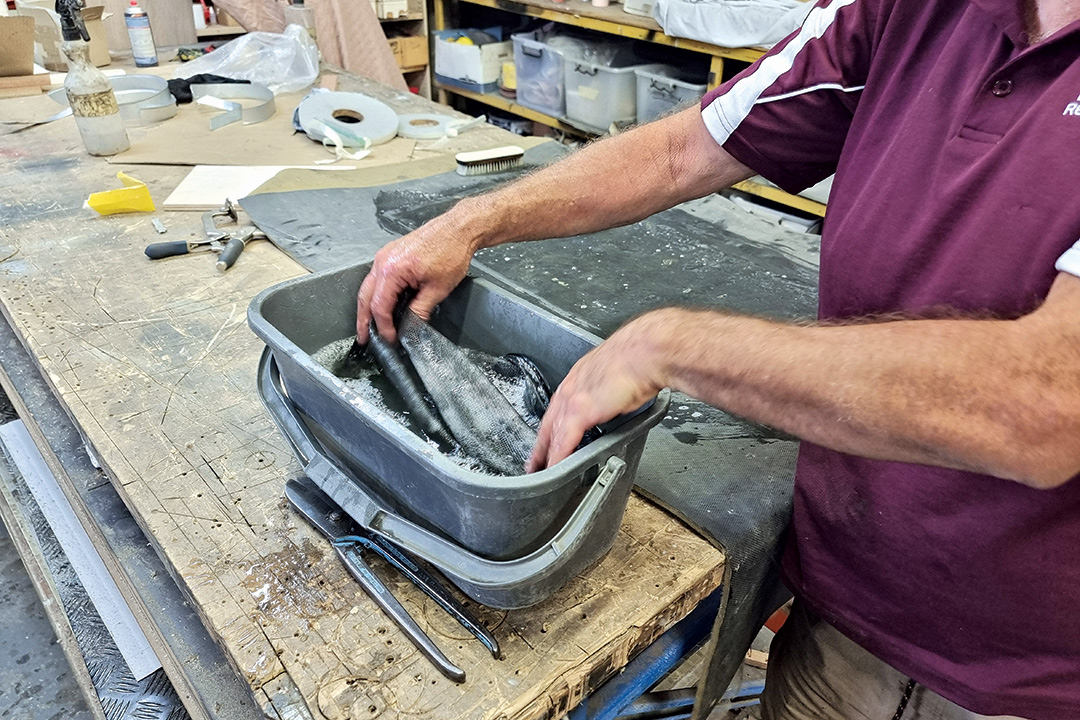 15. Soak the insect screen in water again to remove dislodged dirt 15. Soak the insect screen in water again to remove dislodged dirt |
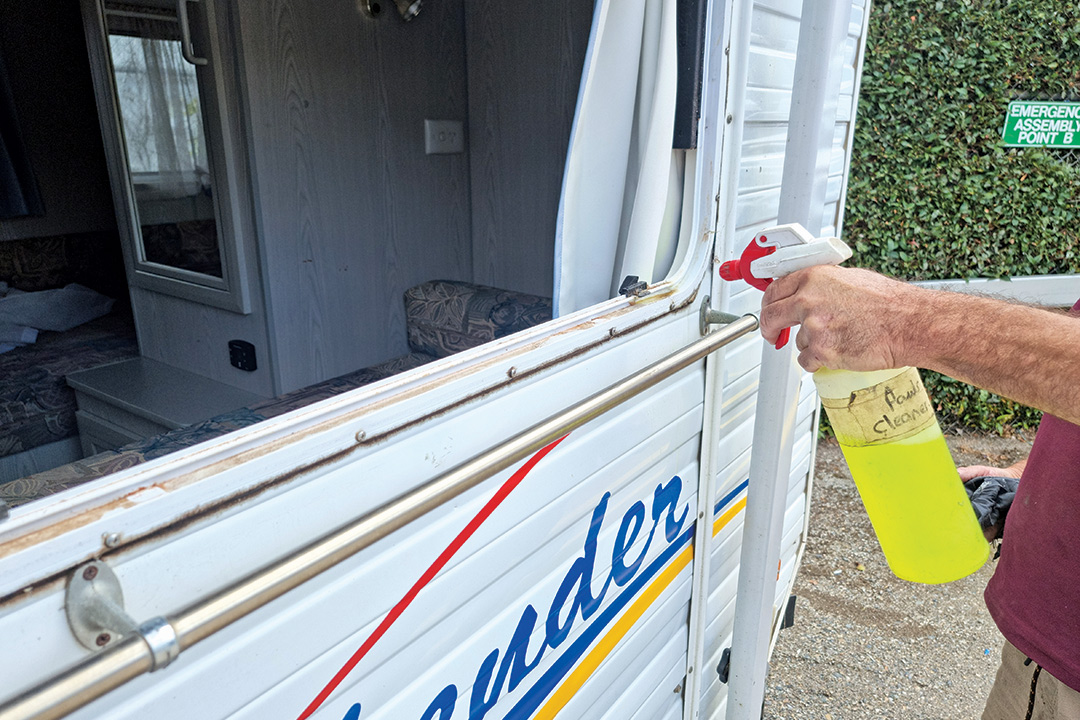 16. Apply a mild detergent to the window frame 16. Apply a mild detergent to the window frame |
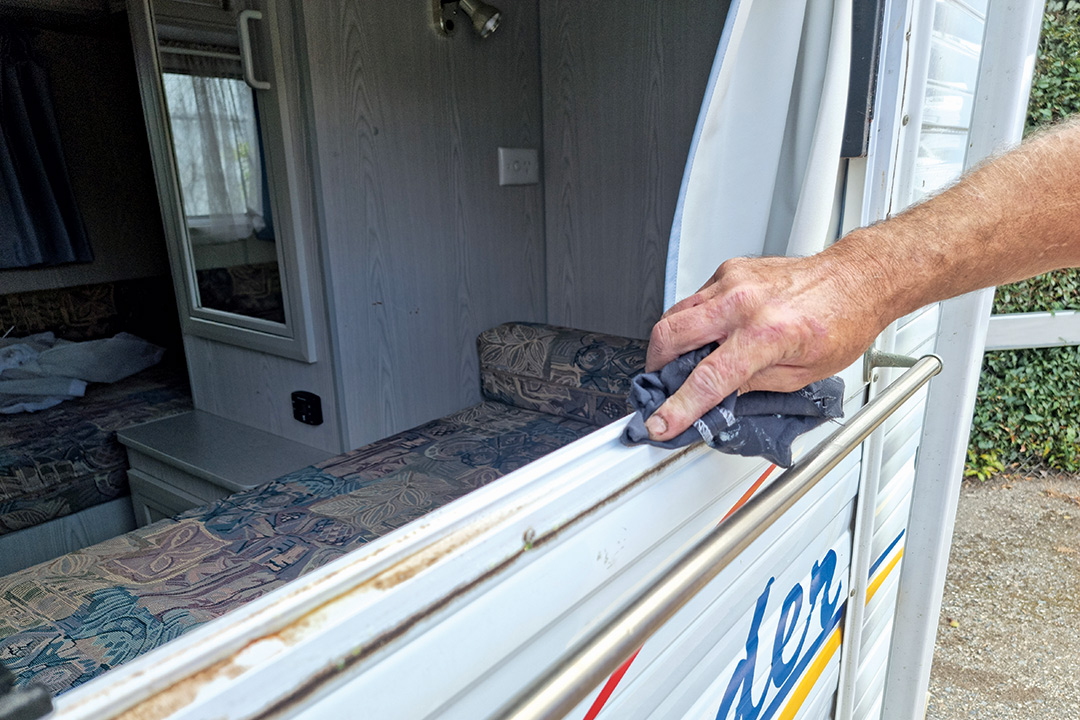 17. Clean the window frame with a rag 17. Clean the window frame with a rag |
 18. Remove the insect screen from soaking 18. Remove the insect screen from soaking |
 19. Note that the window frame has a ridge to engage with the insect screen 19. Note that the window frame has a ridge to engage with the insect screen |
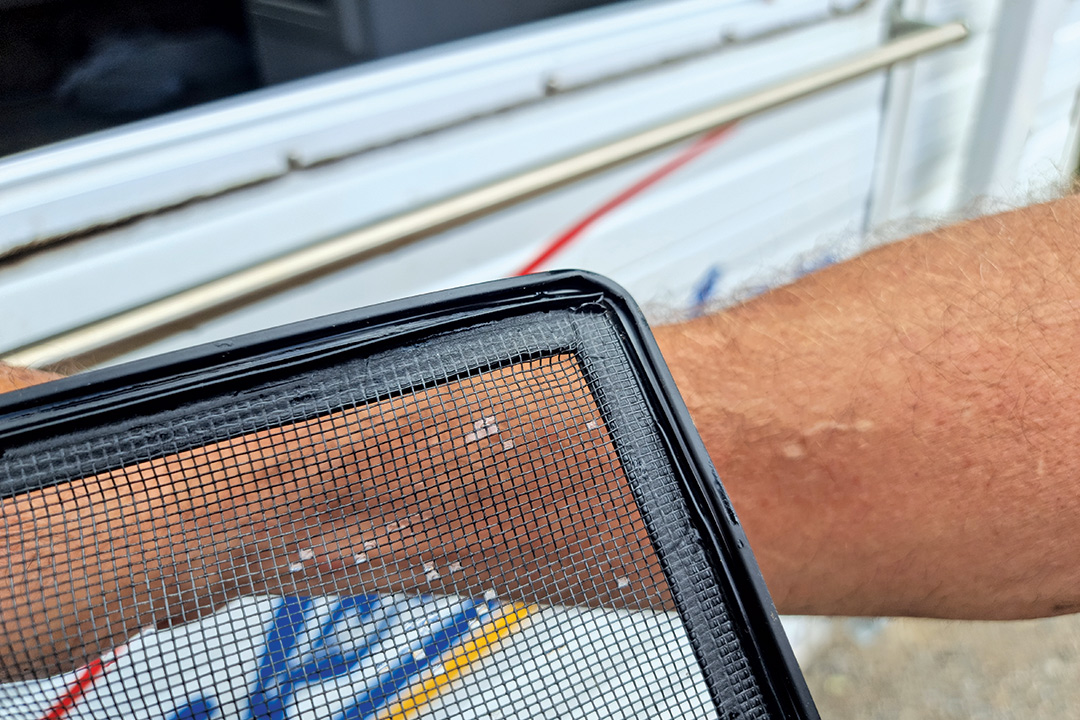 20. Note that the insect screen has a recess to engage with the window frame ridge 20. Note that the insect screen has a recess to engage with the window frame ridge |
 21. Start in a top corner and push the insect screen into place so the ridge and recess engage 21. Start in a top corner and push the insect screen into place so the ridge and recess engage |
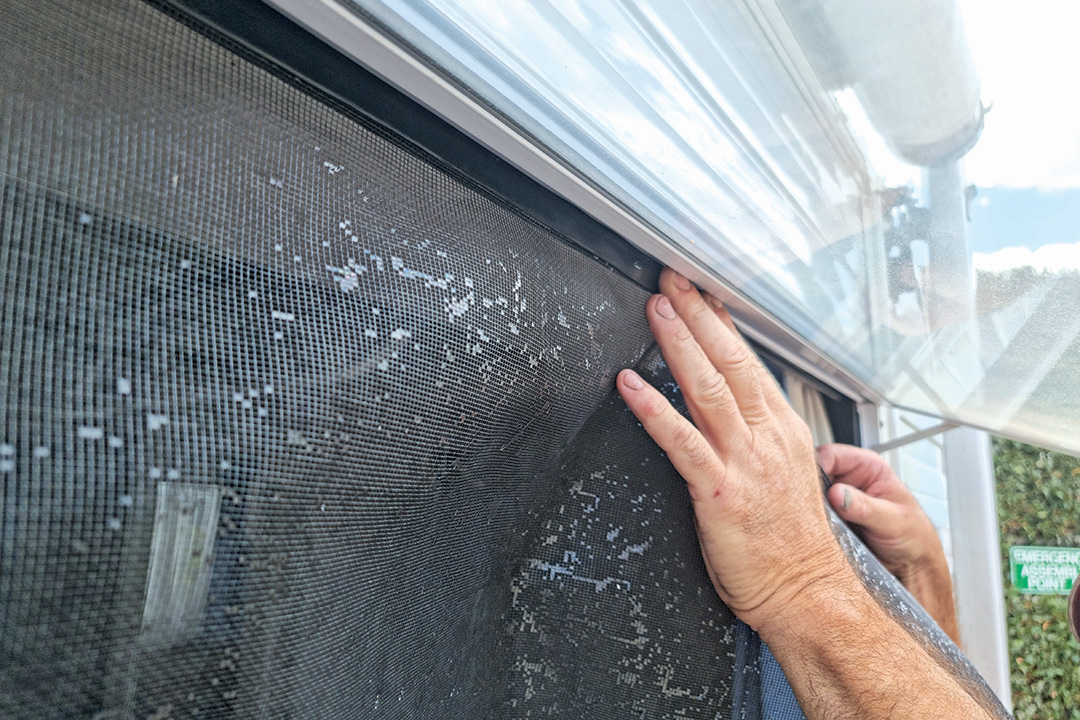 22. Work along the window continuing to engage the ridge and recess to hold the insect screen in place 22. Work along the window continuing to engage the ridge and recess to hold the insect screen in place |
 23.The flat side of a screwdriver can be used to carefully help engage the ridge and recess 23.The flat side of a screwdriver can be used to carefully help engage the ridge and recess |
 24. Look out for the tab and slots as the insect screen is installed 24. Look out for the tab and slots as the insect screen is installed |
 25. Carefully slide the insect screen slots over the window frame tabs 25. Carefully slide the insect screen slots over the window frame tabs |
 26. Carefully slide the insect screen slots over the window frame tabs 26. Carefully slide the insect screen slots over the window frame tabs |
Contemporary cassette insect screen
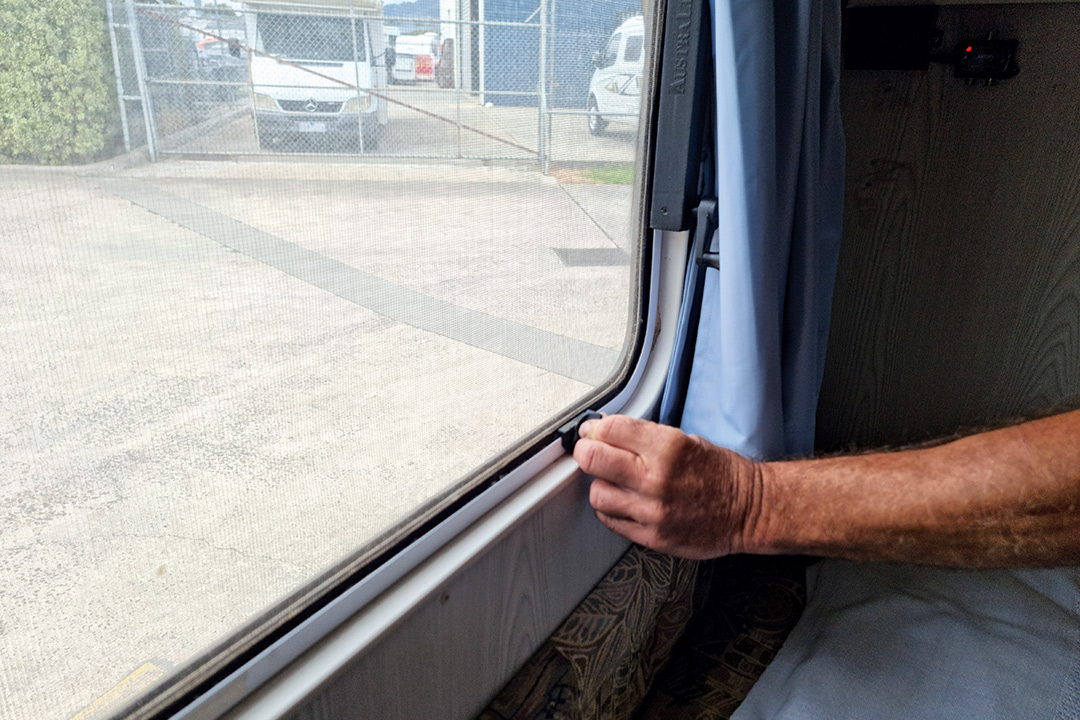
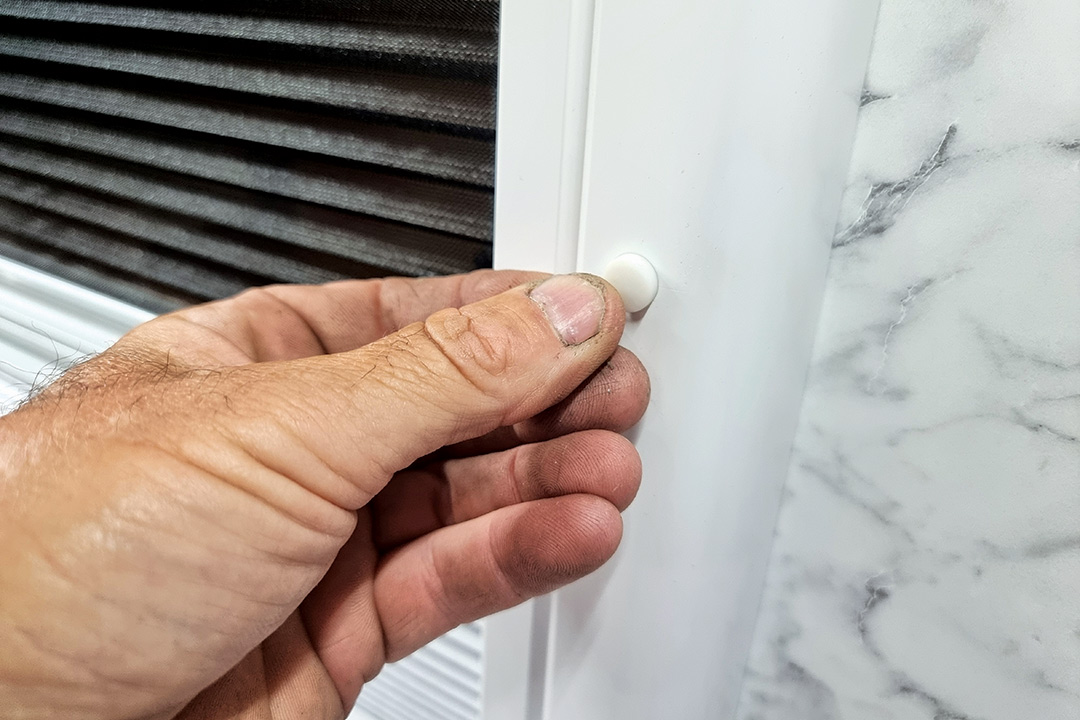
 1. Carefully prise up the button covers on the internal window frame 1. Carefully prise up the button covers on the internal window frame |
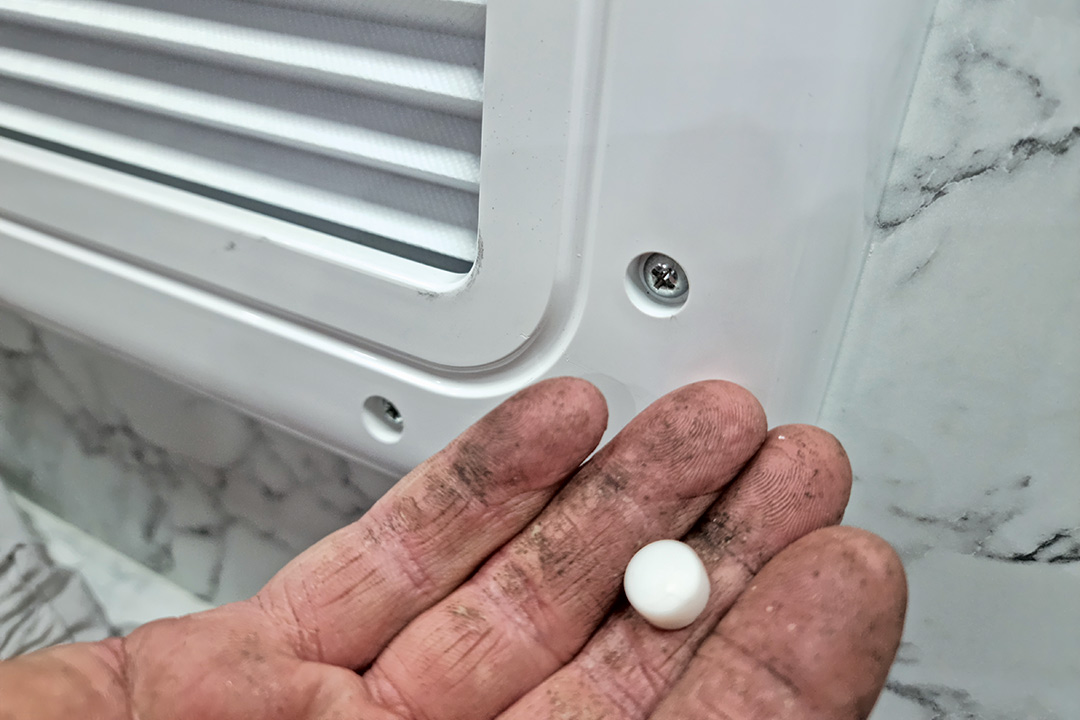 2. Remove the button covers and keep them 2. Remove the button covers and keep them |
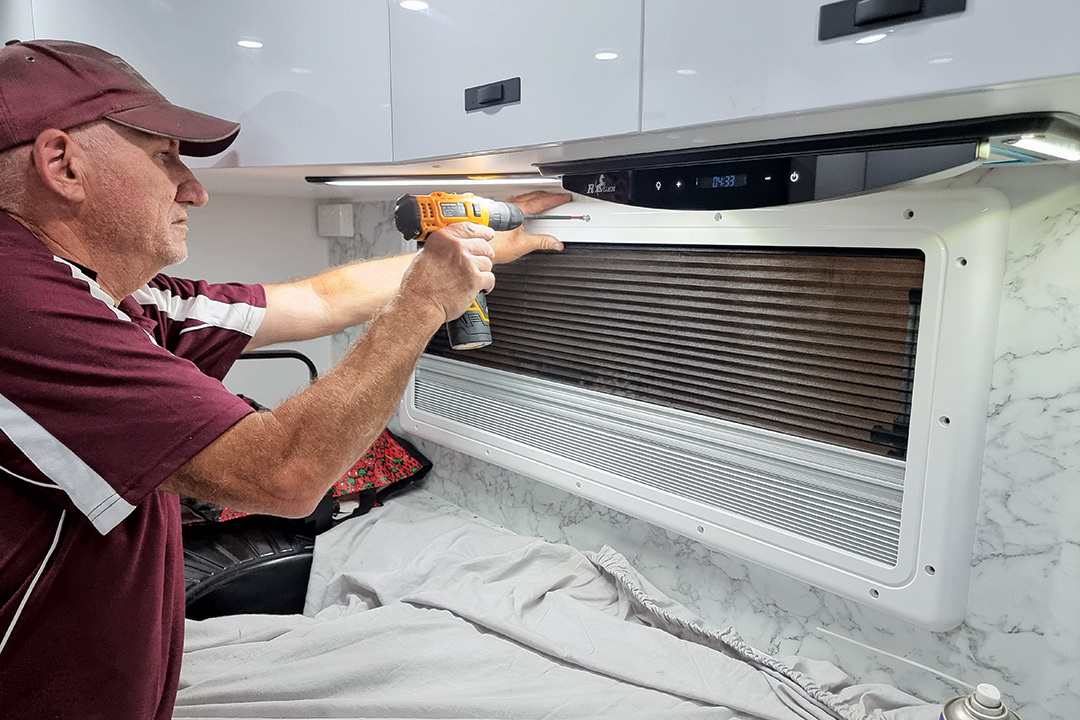
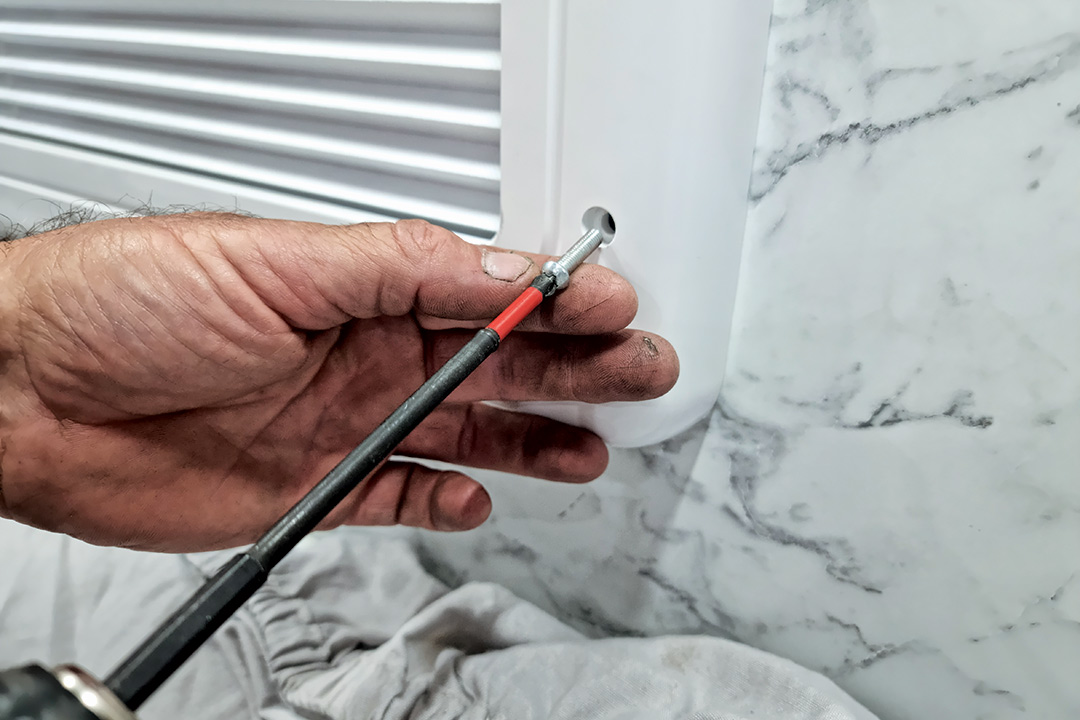 3. Remove the screws holding the internal window frame 3. Remove the screws holding the internal window frame |
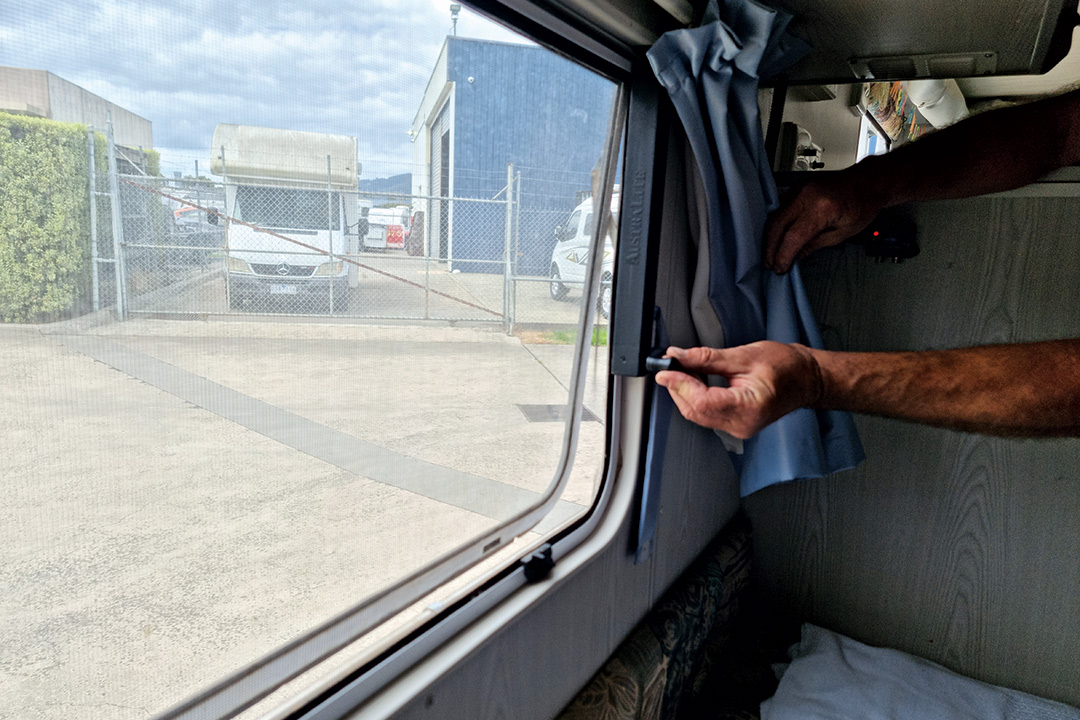
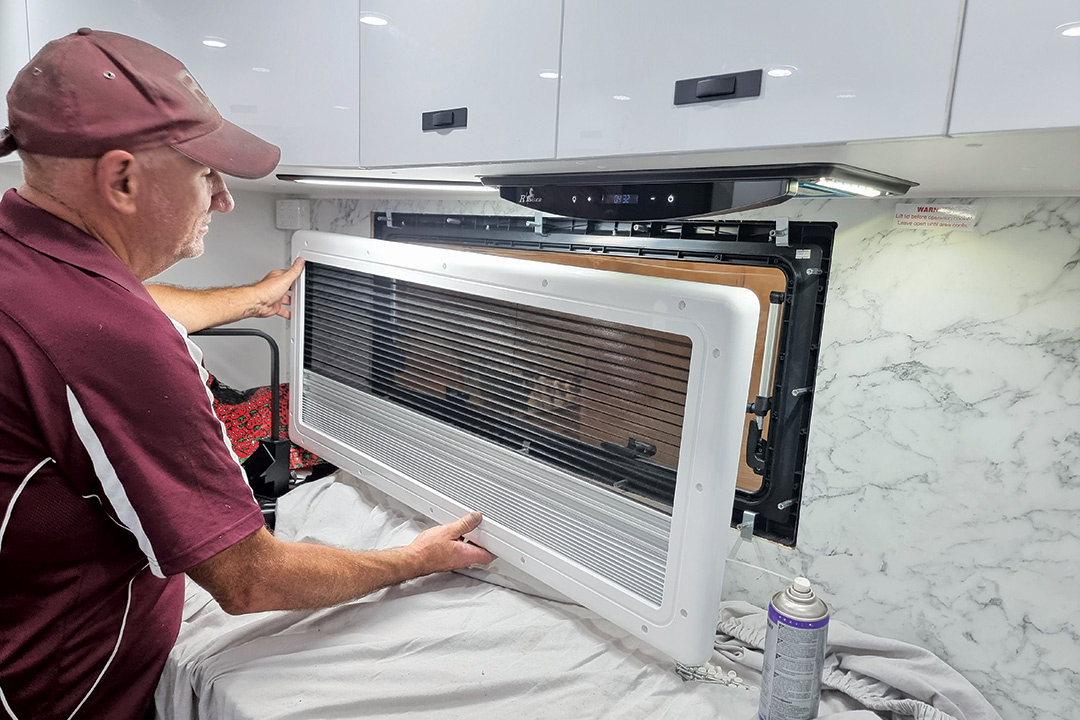
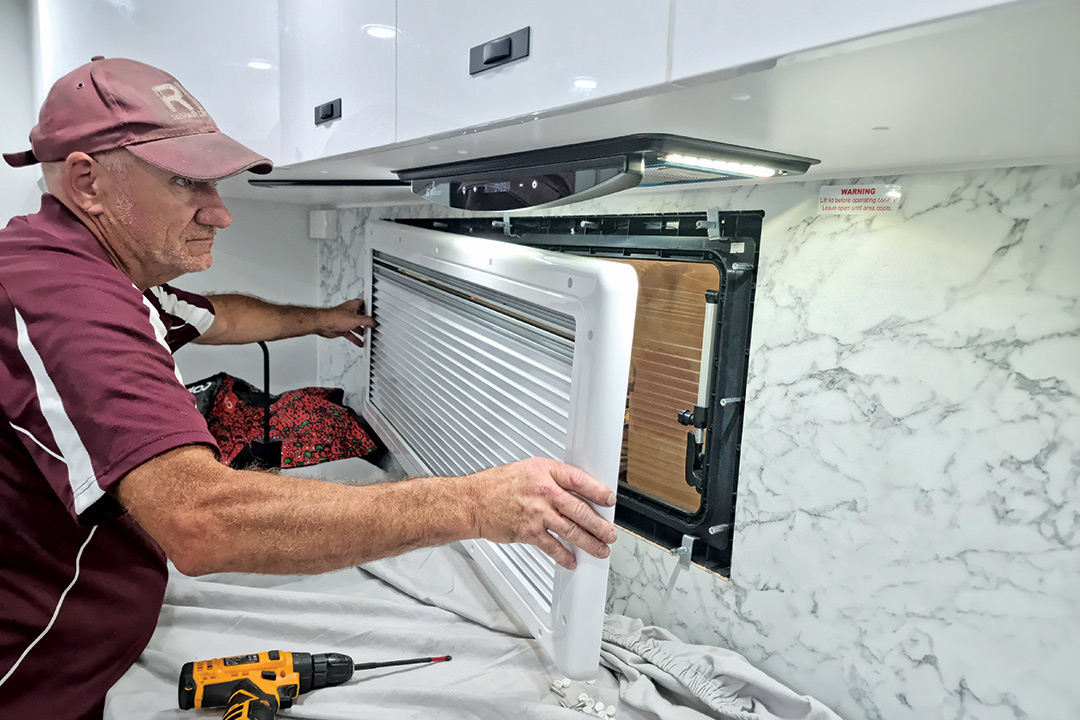 4. Remove the internal window frame assembly 4. Remove the internal window frame assembly |
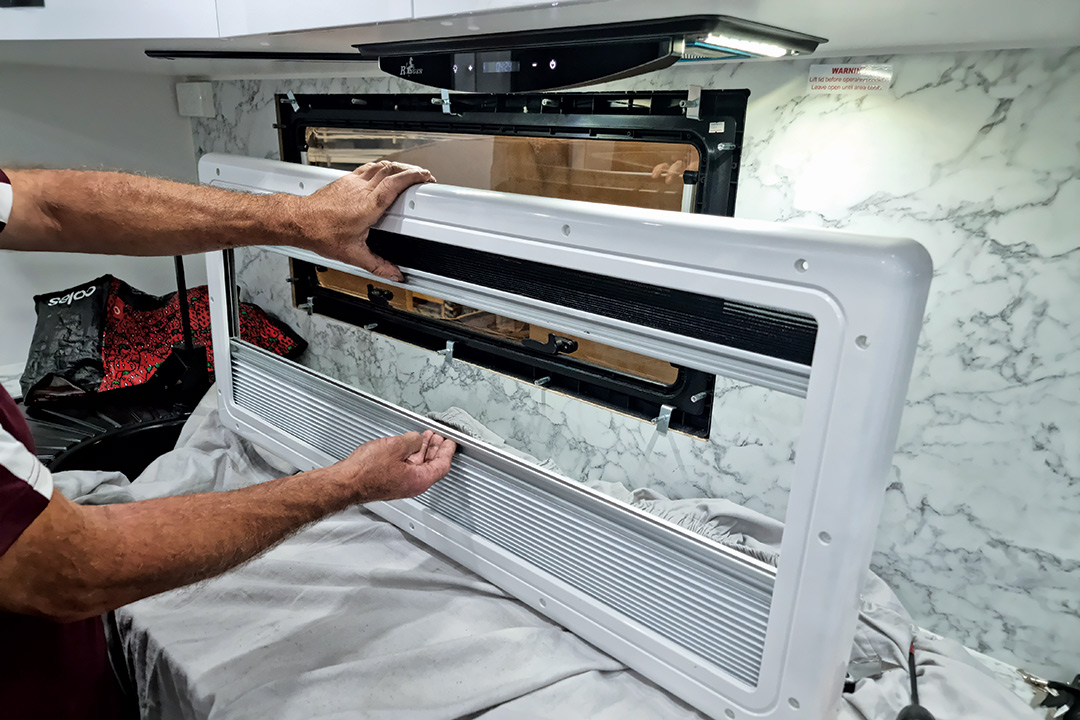 5. Separate the insect screen and blind to reveal the internal sliding track 5. Separate the insect screen and blind to reveal the internal sliding track |
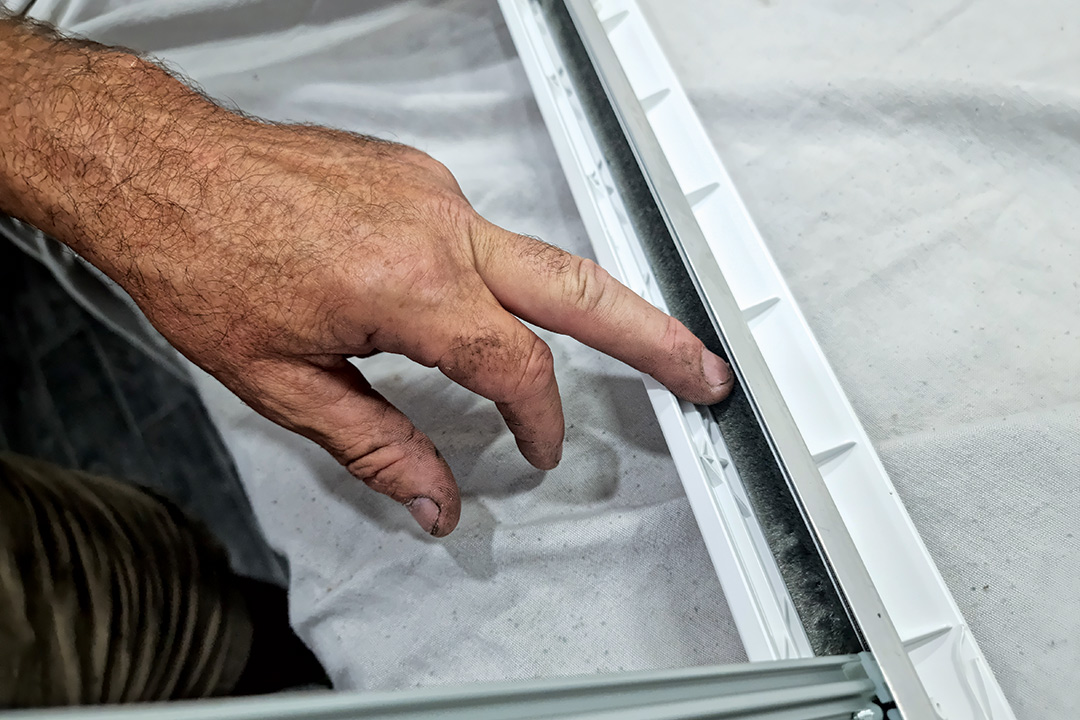 6. Inspect the internal sliding track for signs of dust or other debris 6. Inspect the internal sliding track for signs of dust or other debris |
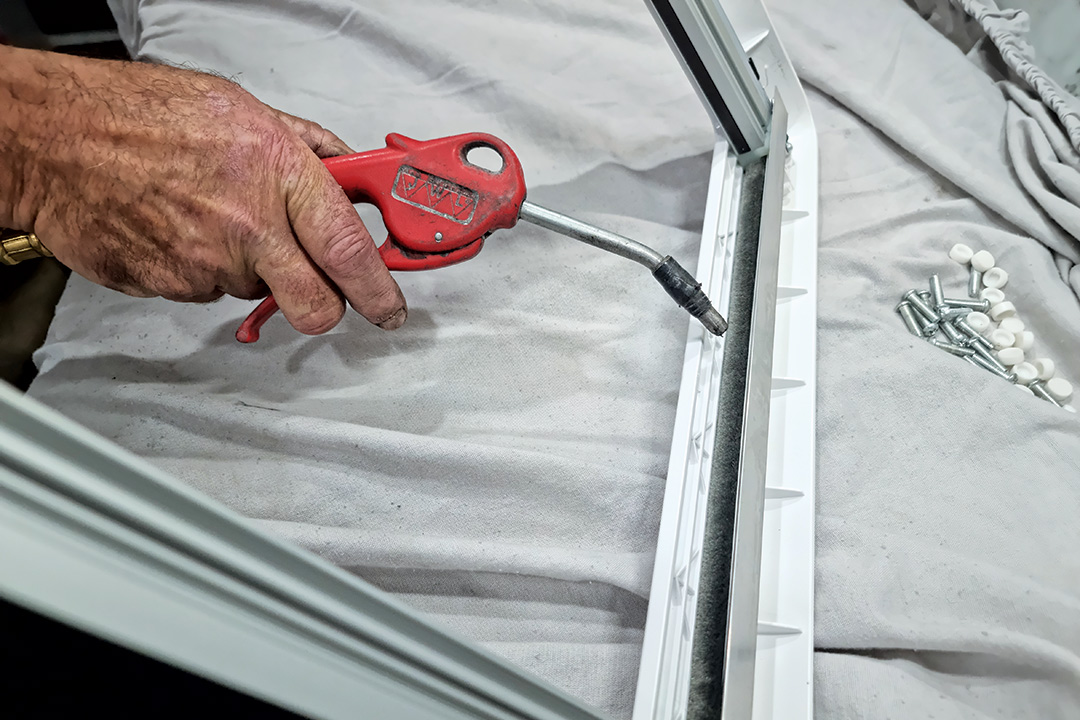 7. Clean the internal sliding track — compressed air makes it easy, but it can be done with a vacuum cleaner or a brush 7. Clean the internal sliding track — compressed air makes it easy, but it can be done with a vacuum cleaner or a brush |
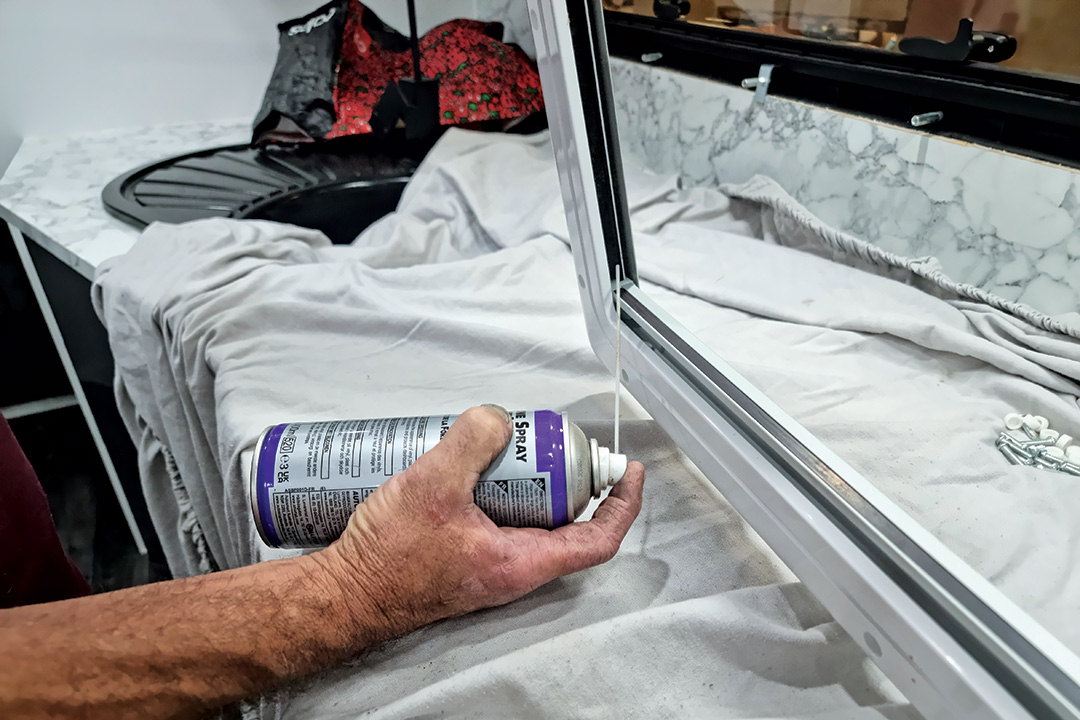 8. Lubricate the internal sliding track with silicone spray — do not use an oil-based lubricant 8. Lubricate the internal sliding track with silicone spray — do not use an oil-based lubricant |
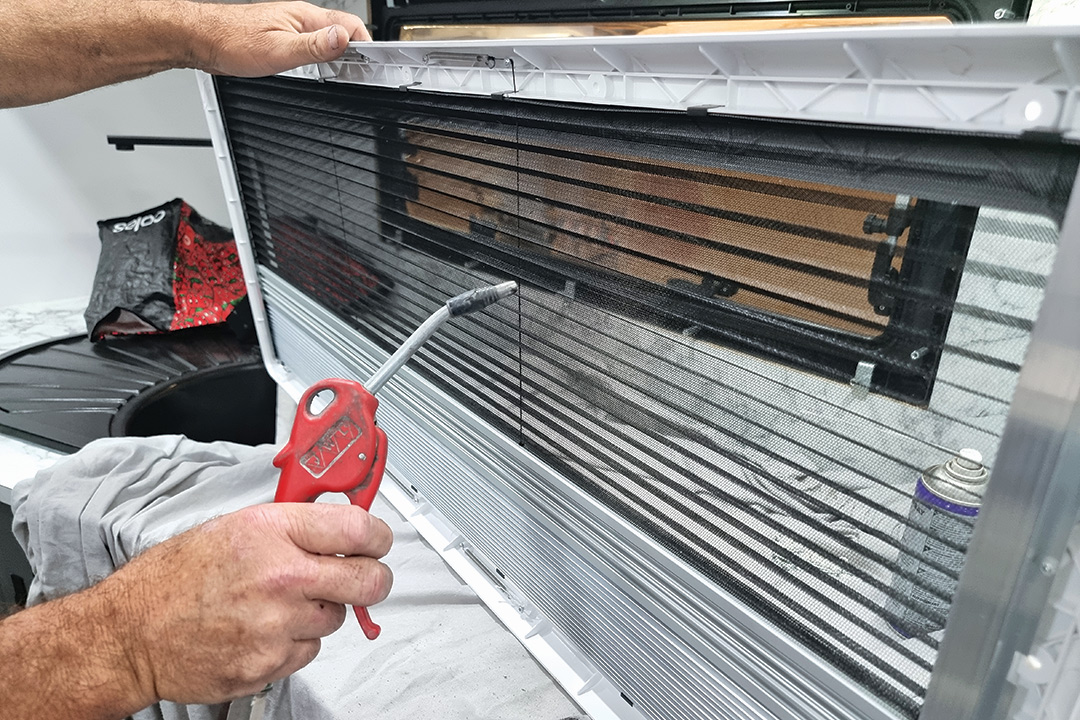 9. Clean the insect screen — compressed air makes it easy, but it can be done with a vacuum cleaner, brush or damp cloth 9. Clean the insect screen — compressed air makes it easy, but it can be done with a vacuum cleaner, brush or damp cloth |
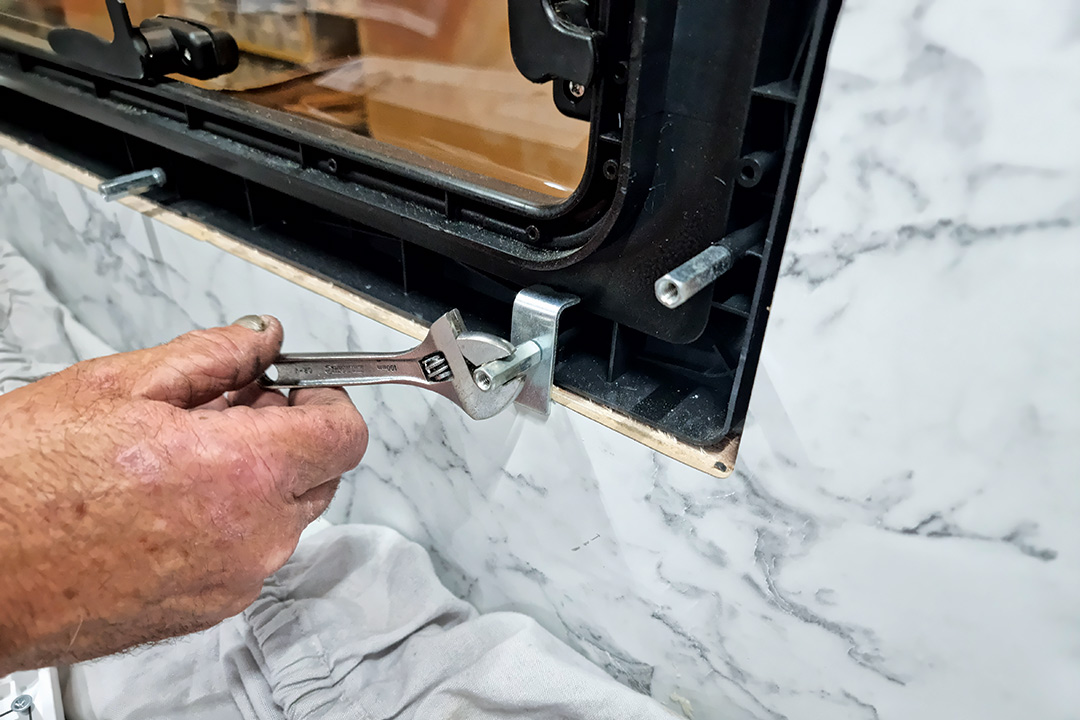 10. Check that the clamps holding the window in position have not come loose. Do not overtighten 10. Check that the clamps holding the window in position have not come loose. Do not overtighten |
 11. Place the internal window frame back in position 11. Place the internal window frame back in position |
 12. Refit the screws holding the internal window frame in place. Do not overtighten the screws as they can distort the frame and make it difficult to operate the mechanism 12. Refit the screws holding the internal window frame in place. Do not overtighten the screws as they can distort the frame and make it difficult to operate the mechanism |
 13. Check that the blind and insect screen slide freely on the track 13. Check that the blind and insect screen slide freely on the track |
 14. Reinsert the button covers 14. Reinsert the button covers |
If in doubt, consult a professional
Improper maintenance can lead to injury, death or property damage. Maintenance work of this nature should only be undertaken by people with suitable competence. The information provided is general in nature, not comprehensive and should only be taken as a guide. Individual discretion must be exercised and persons undertaking described tasks do so completely at their own risk. Publishers and creators of this content accept no responsibility for loss or damage.
Thanks to Andrew Phillips and the team from the RV Repair Centre, 120 Canterbury Road, Bayswater North Vic 3151, P: 03 9761 4189.
THE NEXT STEP
If you want to learn the latest caravan news, find the most innovative new caravans and camping gear or get inspired to plan your next adventure to some of Australia's best getaway destinations, subscribe to our weekly newsletter. We promise to send you only the best content.
Related Articles:
DIY: How to troubleshoot caravan lights


DIY: How to clean and replace caravan window insect screens