
In this article John Hughes begins his lessons on basic 12V knowledge to help you during your DIY tasks or conversations with professionals.
One of the joys of caravanning is the ability to camp in out-of-the-way places. 12V electrical systems (and more recently 24V and 48V) are what makes it possible to keep the lights on and the beers cold wherever you are.
Over the next few issues, we are going to share some basic 12V knowledge so you are better equipped to understand how your system works. This should enable you to have more informed conversations with professionals who work on your van or tackle simple tasks yourself.
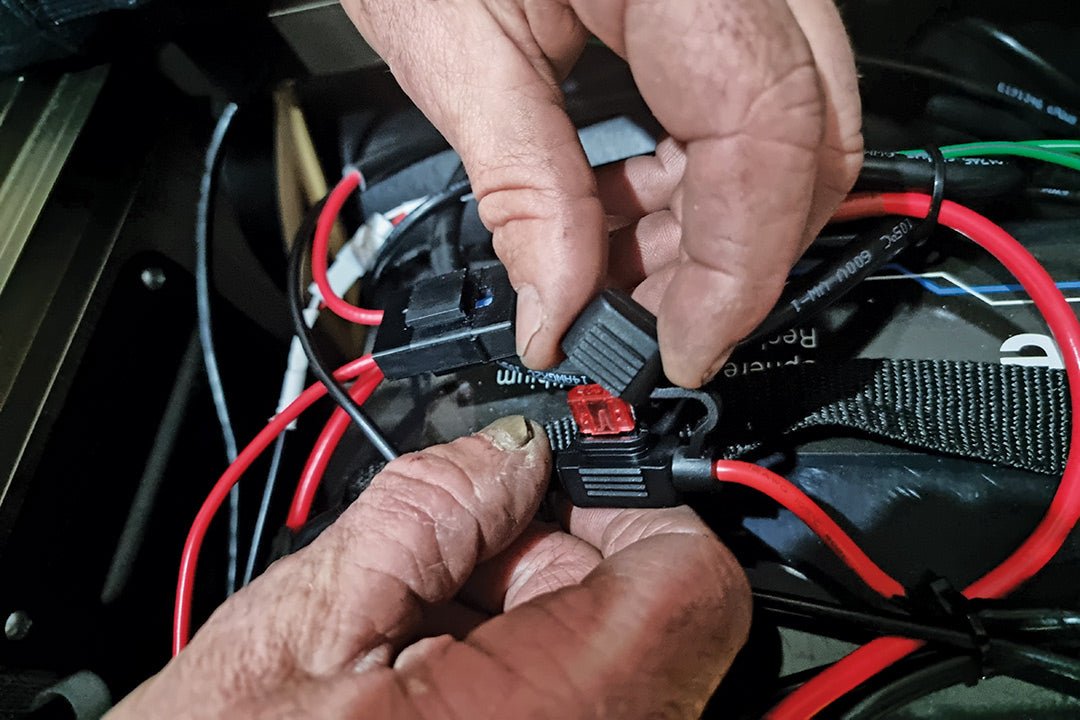
The kinds of tasks we are talking about are adding another electrical device in the system, swapping out a failed device or troubleshooting devices. Before you start on these tasks, there is some basic theory you need to understand to ensure you are selecting the right stuff for the job and then there is the practical side of implementing the job. In this issue, we will introduce some very basic theory.
You don’t need qualifications to work on 12V systems, but you do need to know what you are doing. So, here comes the caution — at a minimum getting it wrong can wreck your equipment while in worse-case scenarios it can cause fires and potential death. This article does not cover all bases and is a simple guide — you need to be the judge on whether taking on electrical tasks personally is for you.
Very basic theory
At the heart of the electrical system, we have a battery that stores energy. This energy is distributed through wires connected to the battery which loop from the positive terminal to the negative terminal. This loop, known as a circuit, allows devices to be powered by the flow of energy. A couple of other fundamentals in a circuit are the switch and the fuse. We all know of switches because we use them every day. When a switch is turned on the circuit is completed and electricity can flow through the system. When a switch is turned off the circuit is interrupted and electricity can’t flow through the system. A fuse is an automatic emergency device to interrupt the circuit and prevent the flow of electricity if too much demand is put on the system.
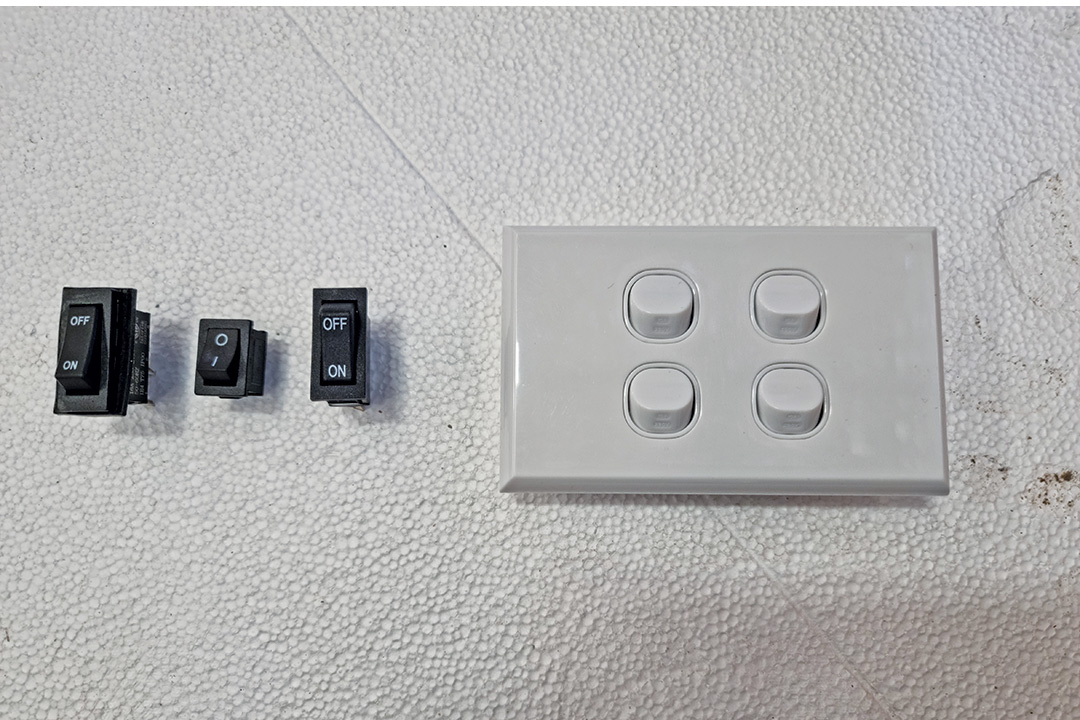 Switches open and close the circuit to turn devices on and off
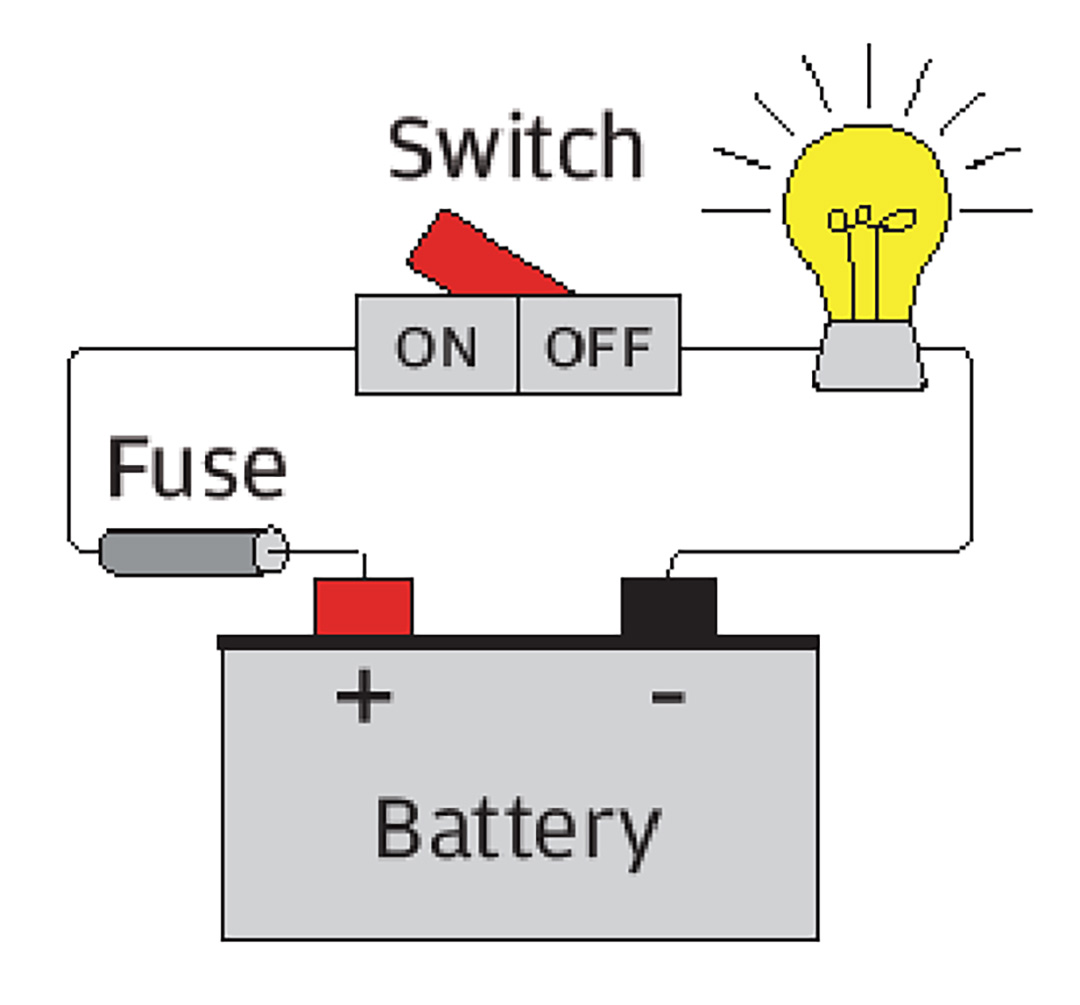 A simple diagram of a battery circuit
Each electrical device (light, fridge and so on) requires a certain amount of power to make it run. The wire in the circuit has to be of sufficient rating to allow the electricity to pass through it and the battery has to have enough ‘oomph’ for the electricity to get through the system. This brings us to the three interrelated phenomena — power, voltage and current — which we explain in the table below.
| Issue | Simple explanation | Unit of measure | Formula |
| Power | The amount of energy required to make something work in the electrical system | Watts (W) | Power = Current x Voltage Watts = Amps x Voltage |
| Current | The amount of electricity flowing through the system | Amps (A) | Current = Power ÷ Voltage Amps = Watts ÷ Volts |
| Voltage | The amount of potential for the energy to ‘want’ to move through the electrical system | Volts (V) | Voltage = Power ÷ Current Volts = Watts ÷ Amps |
Knowing this is important because when we want to add a device into the system, we need to know what size wire and fuse to use. If too much energy passes through a wire, it can overheat and catch fire. A correctly rated fuse protects the system by preventing the flow of energy before it becomes a problem.
Using the table, we can do a basic example calculation. Let’s say we wanted to add a device with a new circuit into the system. Specs for the device may include the amp draw but if they don’t, we can calculate it if we know the power and volts.
Let’s say we know the maximum power consumption is 48W and the battery is nominally 12V we could calculate the amp draw as follows:
• 48 Watts ÷ 12 Volts = 4 Amps
If you happened to have a nominal 24V system the formula would change to:
• 48 Watts ÷ 24 Volts = 2 Amps
In order to select the correctly rated wire, we must first select the correctly rated fuse. This is because we want the fuse to have a lower rating than the wire so it does its job before the wires can potentially overheat.
We want the fuse to have a slightly higher rating than the expected current draw because if we matched it exactly the fuse would blow/trip all the time. The accepted multiplier is 1.25
Therefore, continuing with our example:
• 4 Amps x 1.25 = 5 Amps rated fuse
Fuses come in set sizes so we would select a fuse with a rating equal to or slightly greater than 5 Amps. In this instance, 5A is a standard-size fuse so we could use 5A.
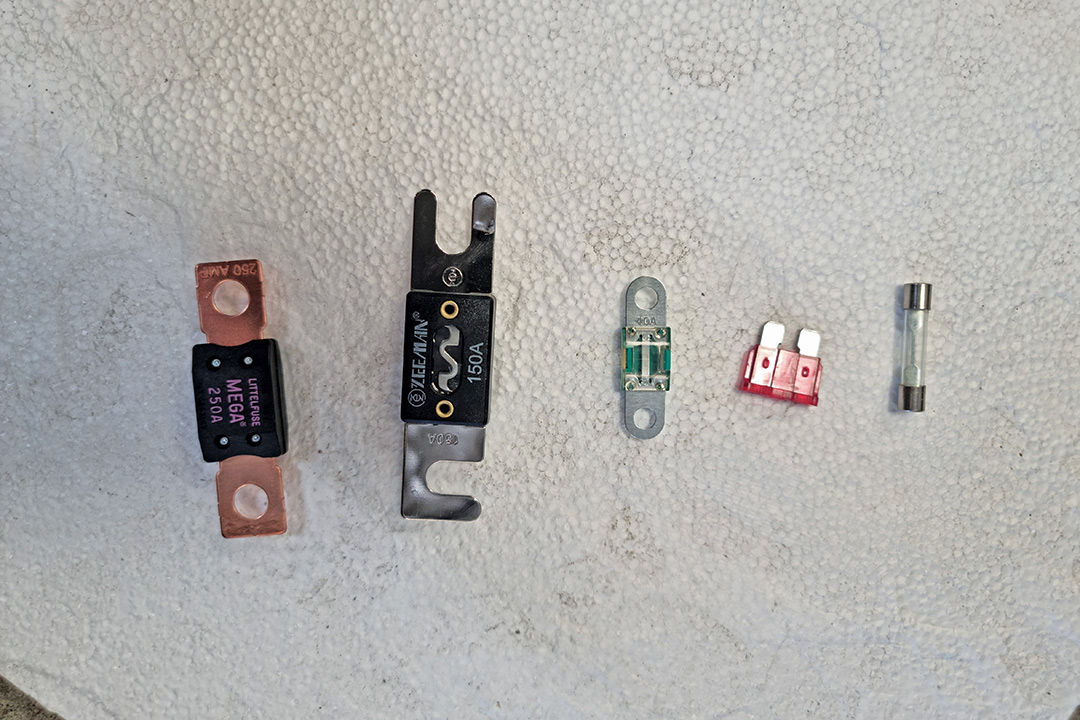 Fuses protect the system by breaking the flow of electricity through the circuit if overloaded
Next, we need to select suitable wire to carry current greater than the fuse rating so that the fuse is the weaker link in the system. Wire comes in different diameters — smaller to carry less current and larger to carry more current. Unfortunately, a given wire diameter does not come with a set Amp rating because of a pesky thing called voltage drop. In simple terms the longer the run of wire, the more the voltage drops and the larger the diameter wire needs to be in order to compensate. Fortunately, there are simple tables available to look up a suitable diameter wire to use given the current and cable length requirement of your task. There is a good example of a cable sizing chart on the Enderdrive website: enerdrive.com.au, or simply Google ‘Enerdrive cable chart’.
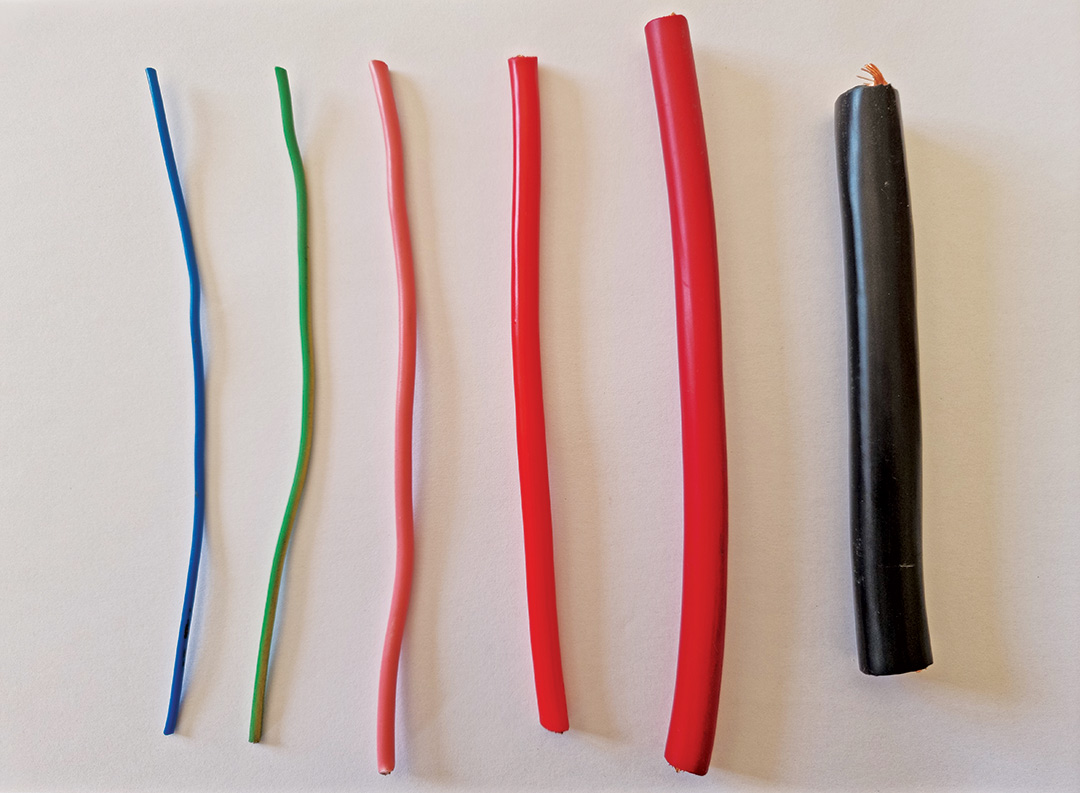 Electrical wire comes in various diameters to allow for varying current and voltage drop
We stress again, that this is an introduction to concepts and does not fully equip you with the knowledge and skills for the job. In the next issue, we will explore some practical tips on working with wire such as cutting, stripping, joining and routing.
If in doubt, consult a professional
Improper maintenance can lead to injury, death or property damage. Maintenance work of this nature should only be undertaken by people with suitable competence. The information provided is general in nature, not comprehensive and should only be taken as a guide. Individual discretion must be exercised and persons undertaking described tasks do so completely at their own risk. Publishers and creators of this content accept no responsibility for loss or damage.
Thanks to Andrew Phillips and the team from the RV Repair Centre, 120 Canterbury Rd, Bayswater North Vic 3151, P: 03 9761 4189.
THE NEXT STEP
If you want to learn the latest caravan news, find the most innovative new caravans and camping gear or get inspired to plan your next adventure to some of Australia's best getaway destinations, subscribe to our weekly newsletter. We promise to send you only the best content.
Related Articles:
DIY: How to troubleshoot caravan lights


DIY: 12V theory — Understanding the basics