
In this part we install a Tough Dog GVM suspension kit and add an Aerpro head unit for killer sound and extra-large Hema Maps navigation.
We are now legal in the LandCruiser 200 Series for nearly a 1T payload, and we can blast music and podcasts on the long miles between stops.
Upgrading the GVM on the 200
As part of the ‘Operation 200’ upgrades to his 2012 200 GX LandCruiser, John Ford details the GVM upgrade undertaken by Tough Dog.
Caravan weights and safe towing are issues we discuss a lot in Caravan World. So much so, I sometimes wonder if readers tire of our sermons about GVM, ATM, tare and carrying capacity. But if the statistics from safety campaigns are to be believed, as many as 80 per cent of caravanners are driving with caravans, tow vehicles or both at illegal weights.
If I were to be honest, our old 100 Series was pushing the limits when we bought our new twin axle offroader last year. If we filled up the long-range tanks, then the weight was probably too high for the Toyota’s 3260kg gross vehicle mass (GVM). It was time for some serious soul searching.
The answer revealed itself when we discovered a low mileage LandCruiser 200 Series in northern NSW on a trip back from Queensland. It was stock and as a GX version it had the advantage of an 165kg extra carry capacity courtesy of its five rather than eight seat layout. Even so, a stock GX has only around 700kg of capacity to its gross mass of 3350kg.
If I hoped to set the 200 up with the similar options the 100 Series had, then my weight limit would be soon eaten up. Let’s look at the approximate weight of the sort of things we would normally have on board.
| 2 people and their 'stuff' | 180kg |
| Towbar | 45kg |
| Bullbar and lights | 65kg |
| Fuel | 120kg |
| Drawers | 80kg |
| Tools | 15kg |
| Cargo barrier | 10kg |
| Camera gear | 10kg |
| Roof rack | 25kg |
| Fridge and food/drink | 50kg |
| Ball weight of van | 220kg |
That’s 820kg of load and the beer and the dog’s not in yet. There’s a problem.
Happily, there’s a solution in the form of a gross vehicle mass (GVM) upgrade and our friends at Tough Dog 4WD Suspension have done all the hard yards to make us legal and safe.
Tough Dog entered the offroad suspension market in 1985 when John Agostino founded the company. From there, the business has grown to the stage where they are a major player in the local offroad and towing market, and they now export to some 42 countries. Tough Dog supplies to the military, emergency organisations and to the public across virtually every make of offroader from an expansive warehouse/factory in western Sydney.
Before we rolled up for our upgrade, I learned it would be a two-day operation due to the fact it was a post-rego GVM upgrade. The Tough Dog team had to remove and install the new equipment then have the changeover weighed, road tested and certified by an engineer. As it turned out I was on the road by mid-morning on the second day.
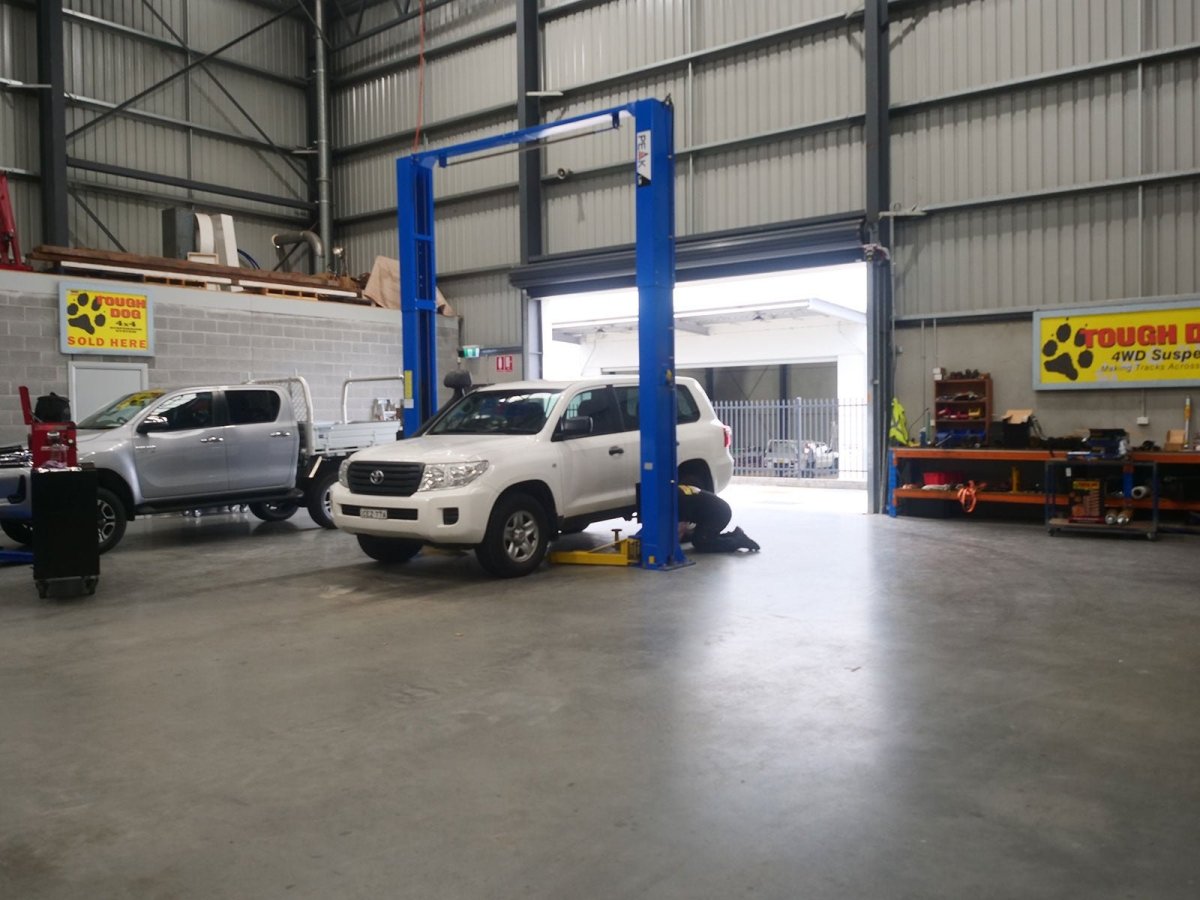
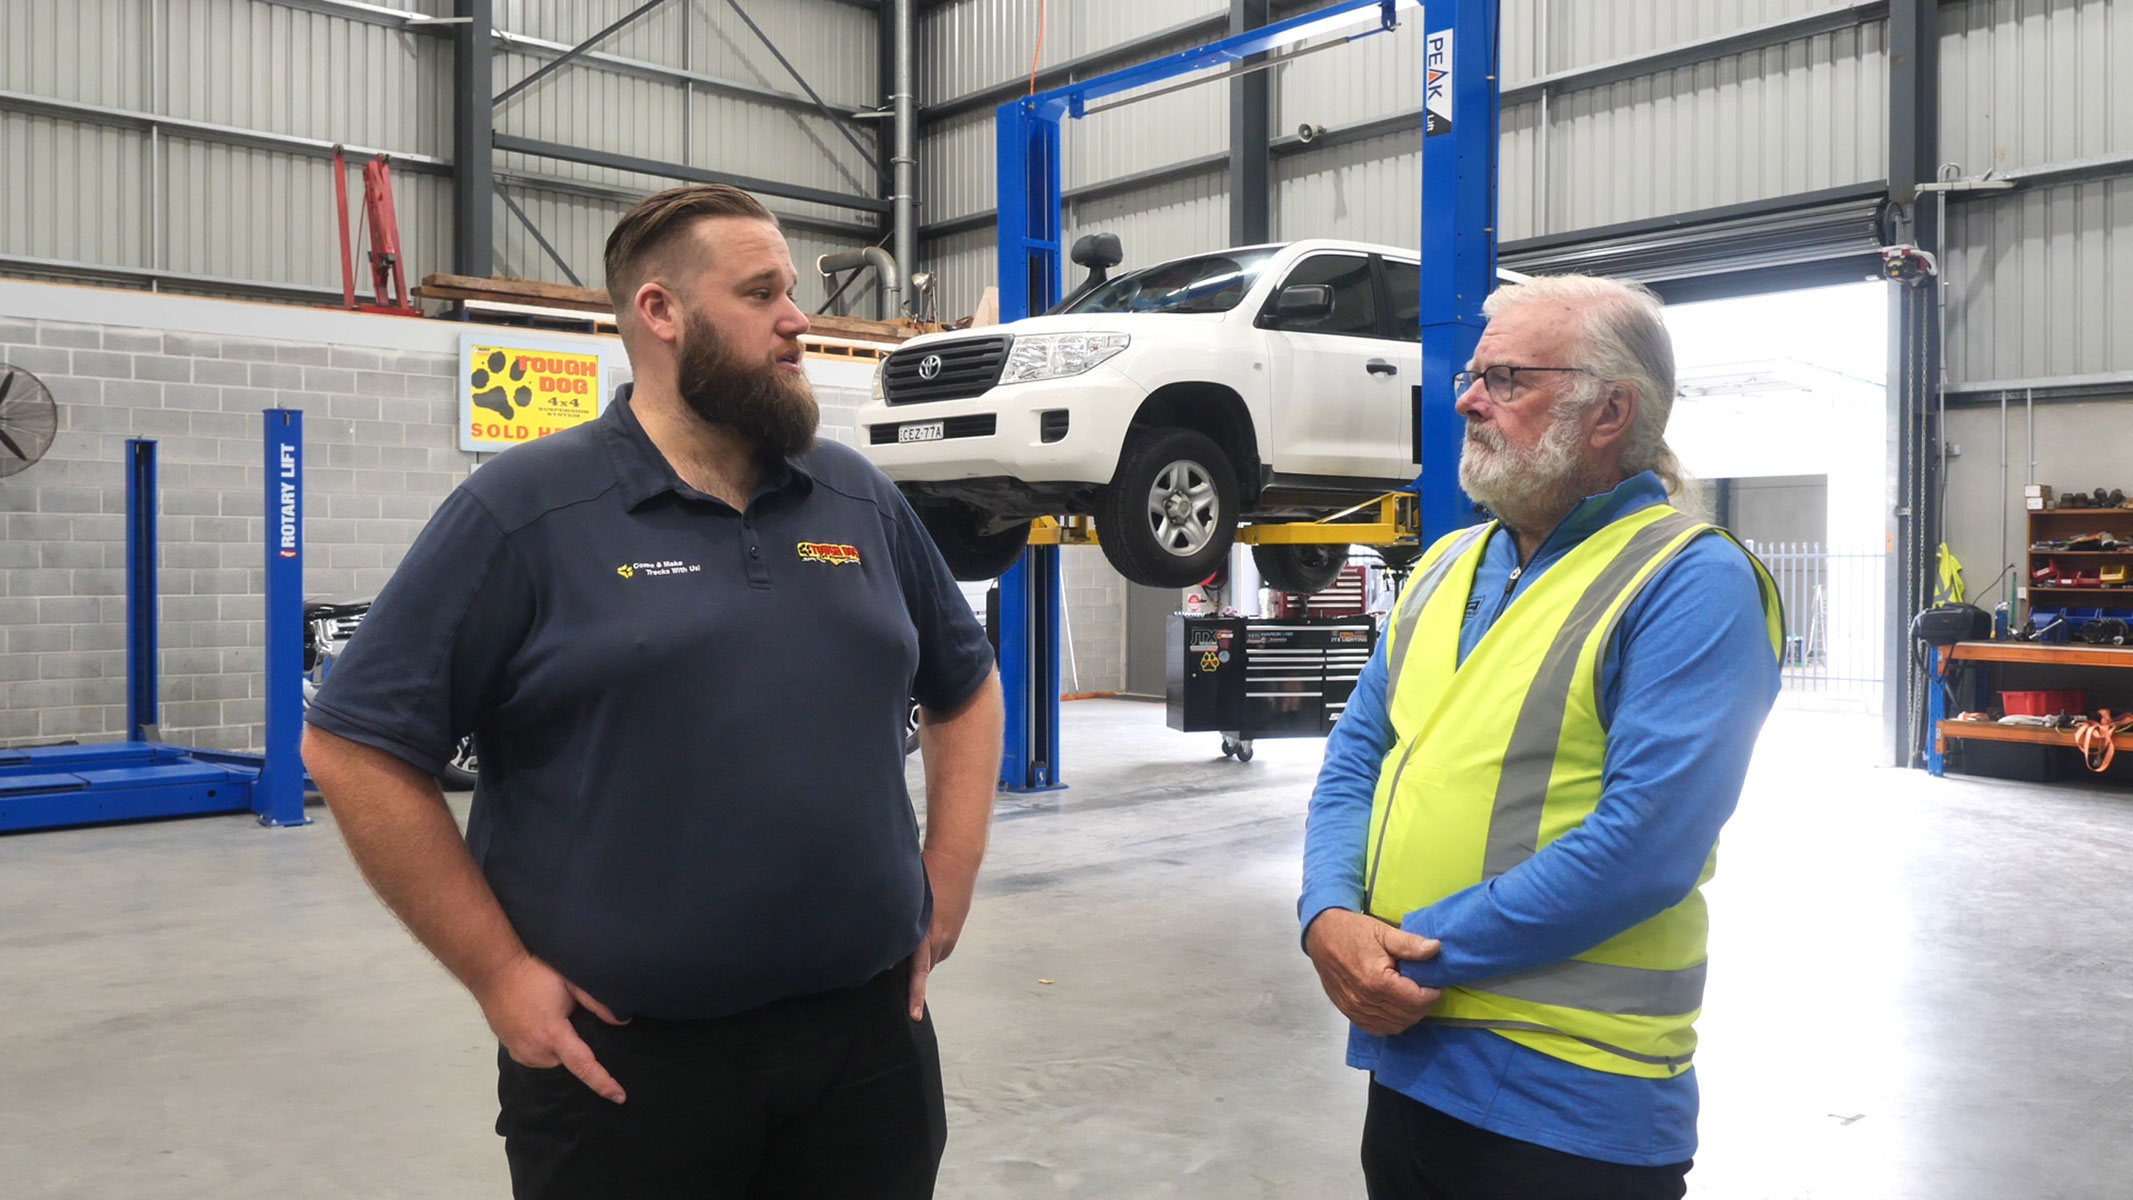
When I arrived at the Tough Dog factory in western Sydney, marketing manager Blake Jones and project manager Greg Page showed me through the operation where parts are assembled, tested and packed for distribution. I then drove the 200 into their pristine workshop where the mechanics Simon Vella and Peter McIntosh started on the upgrade.
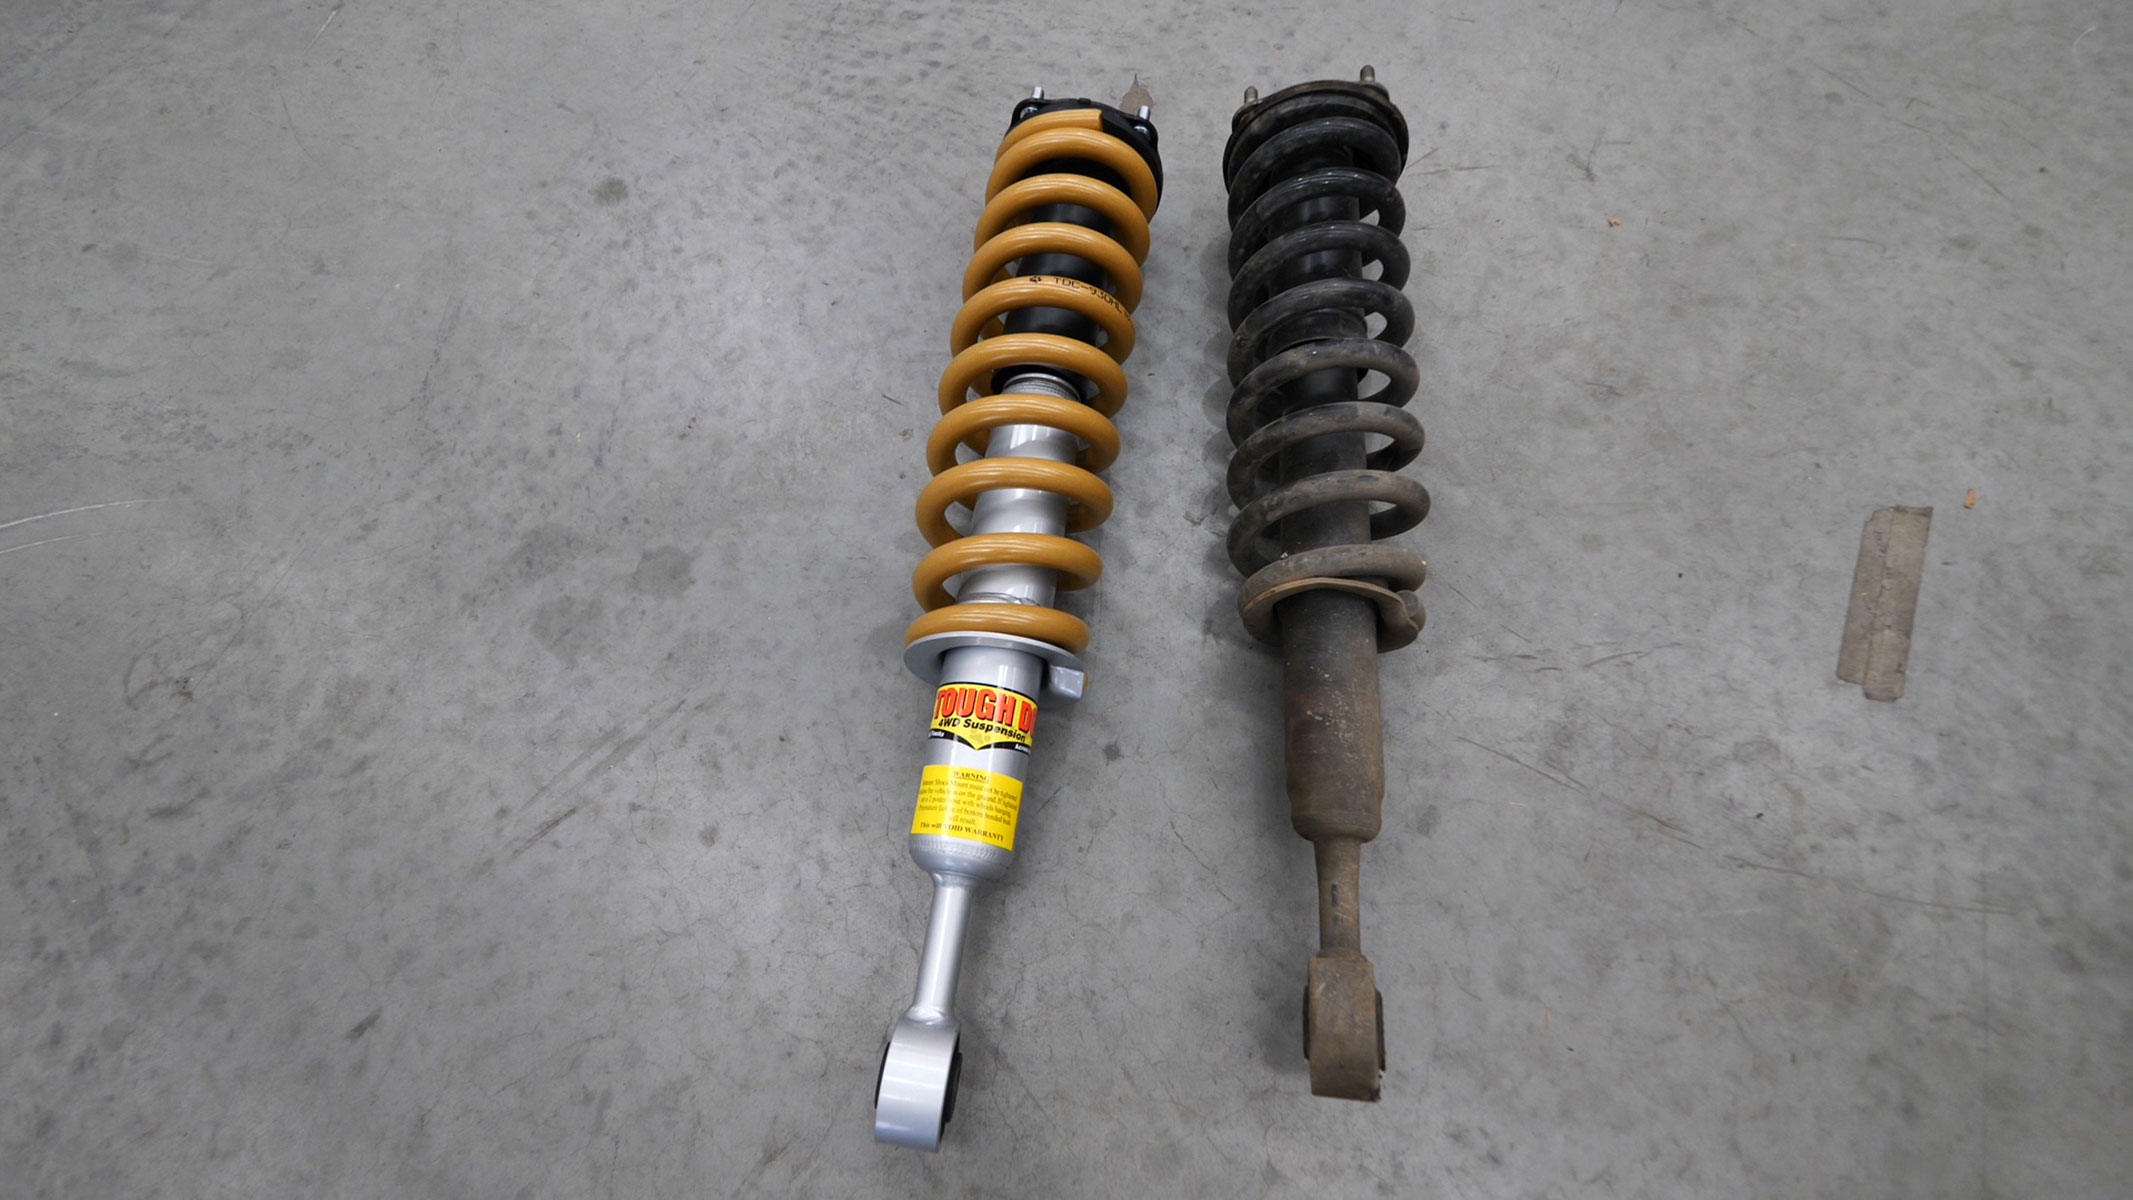
They started at the back and the old rear shock absorbers and springs were soon laying on the bench. Images below show the difference, with the new shocks having a much larger bore and a heavier rate of dampening and the springs with thicker wire diameter and more coils.
The upgrade kit consisted of 41mm Foam Cell Front Struts, 41mm Foam Cell Rear Shocks and GVM Rated Rear Coils. We also added airbags with a remote, but this is not necessary for the GVM compliance.
The ‘Foam Cell’ that makes all the difference is a micro-cellular foam insert that helps to drastically reduce the effects of shock fade, allowing your shocks to perform better for longer, even on the harshest of corrugations. Cavitation and Aeration are the undoing of any shock absorber. As the shock is worked harder, the oil and gas in the outer chamber begin to mix and form bubbles, lowering the viscosity of the oil. When this aerated oil passes through the valve, there is reduced resistance, stopping the shock from performing correctly. The Foam Cell insert, with its trapped gas micro cells, takes up the empty space in the shock normally taken up by air or nitrogen gas. This eliminates the possibility of bubbles forming, allowing the shock to get on with the job with an unparalleled resistance to shock fade.
As part of our conversion, we opted for airbags inside the rear coils, and these were installed with airlines running to a pump in a void in the rear compartment of the 200. A waterproof remote-control receiver went high under the vehicle out of harm's way.
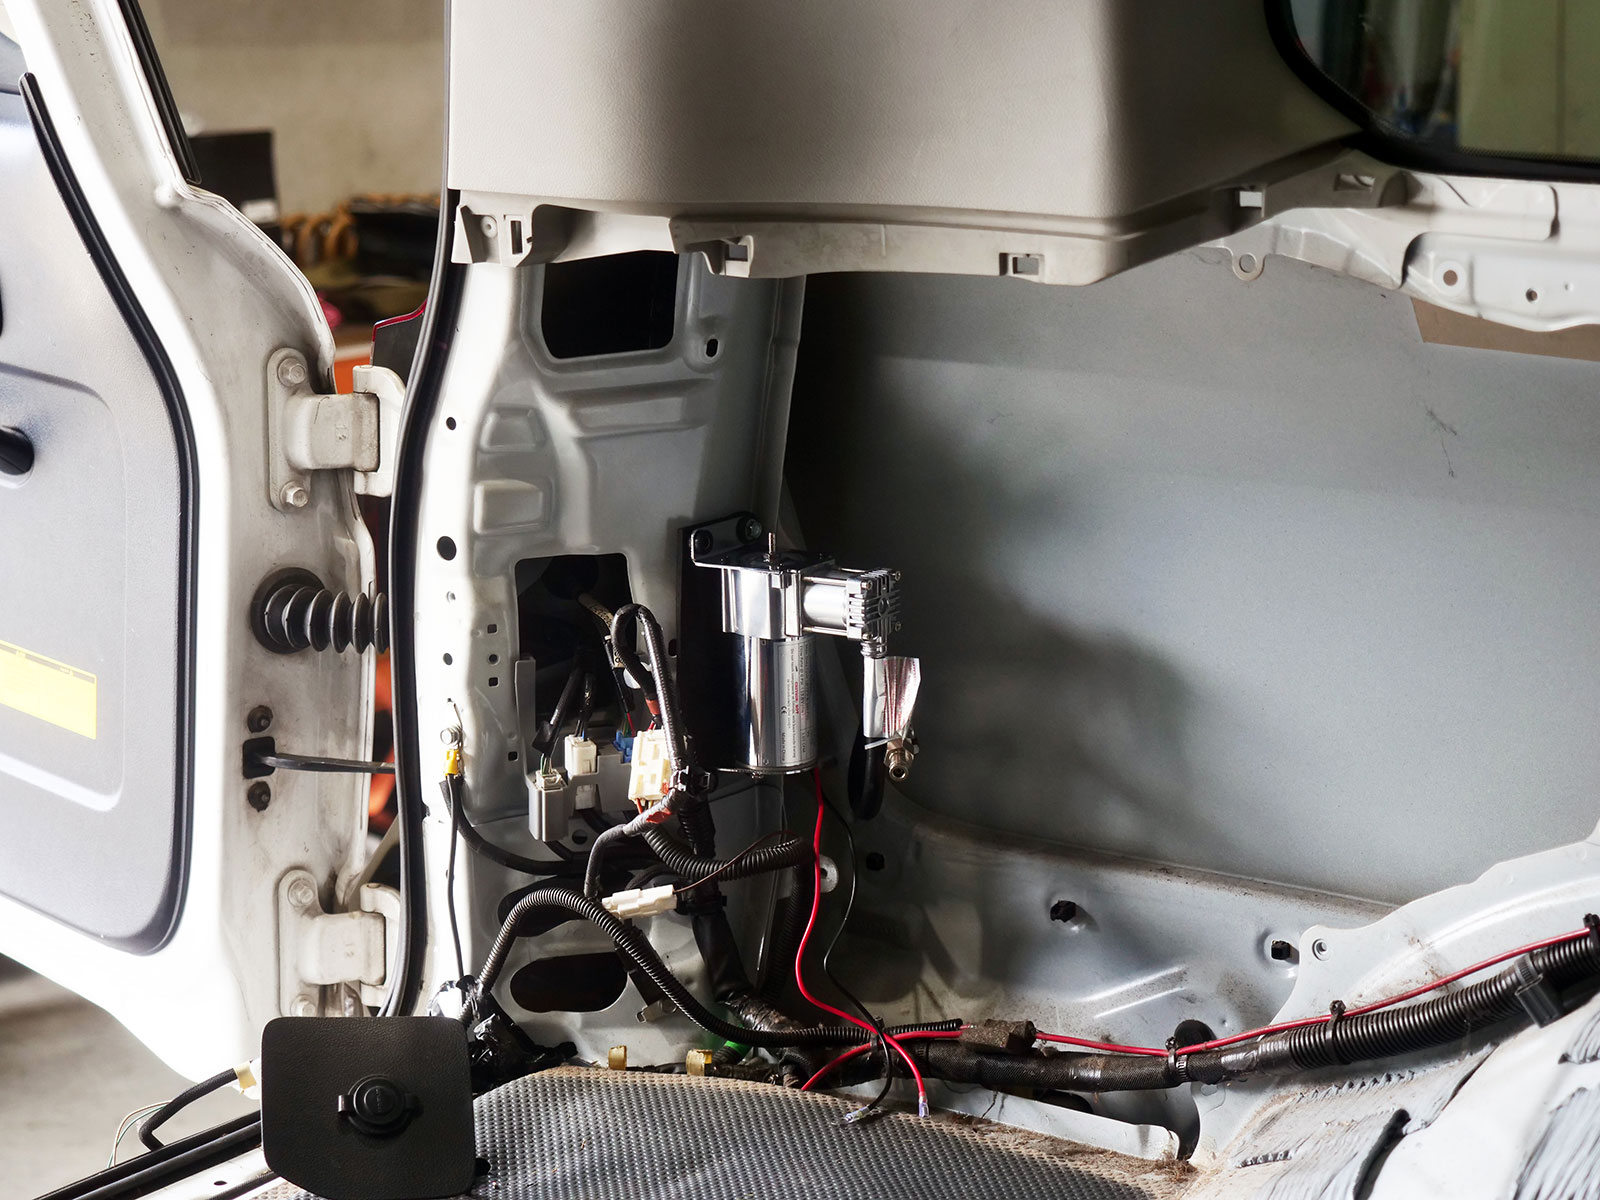

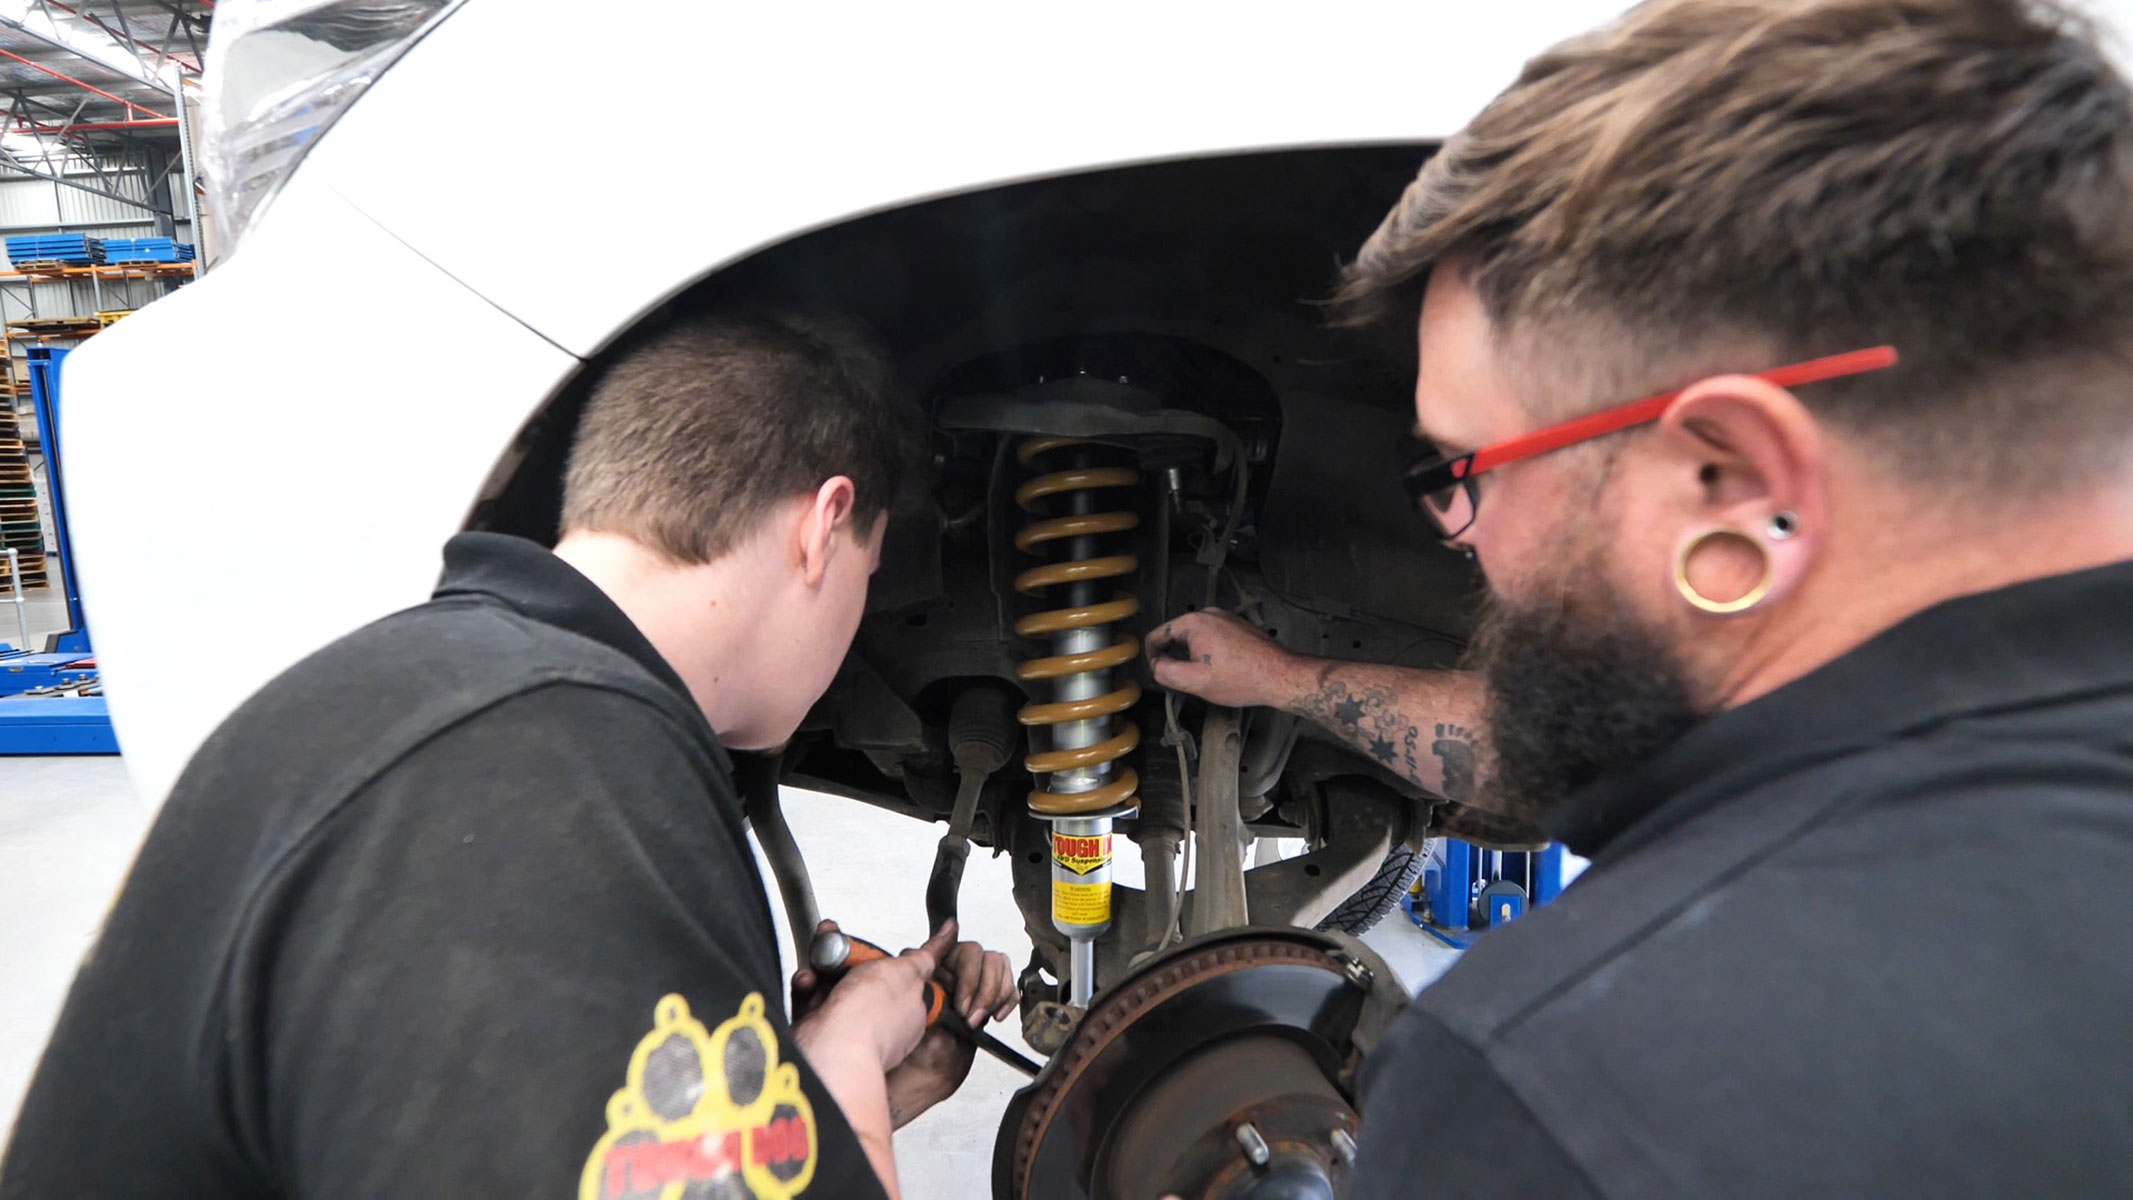
Next were the front struts, and again, heavier duty springs and dampeners replaced the shock system. A wheel alignment followed to set for the changed steering dynamics. The following day the car was weighed, and an independent engineer signed off on the installation after checking it over and taking it for a drive.
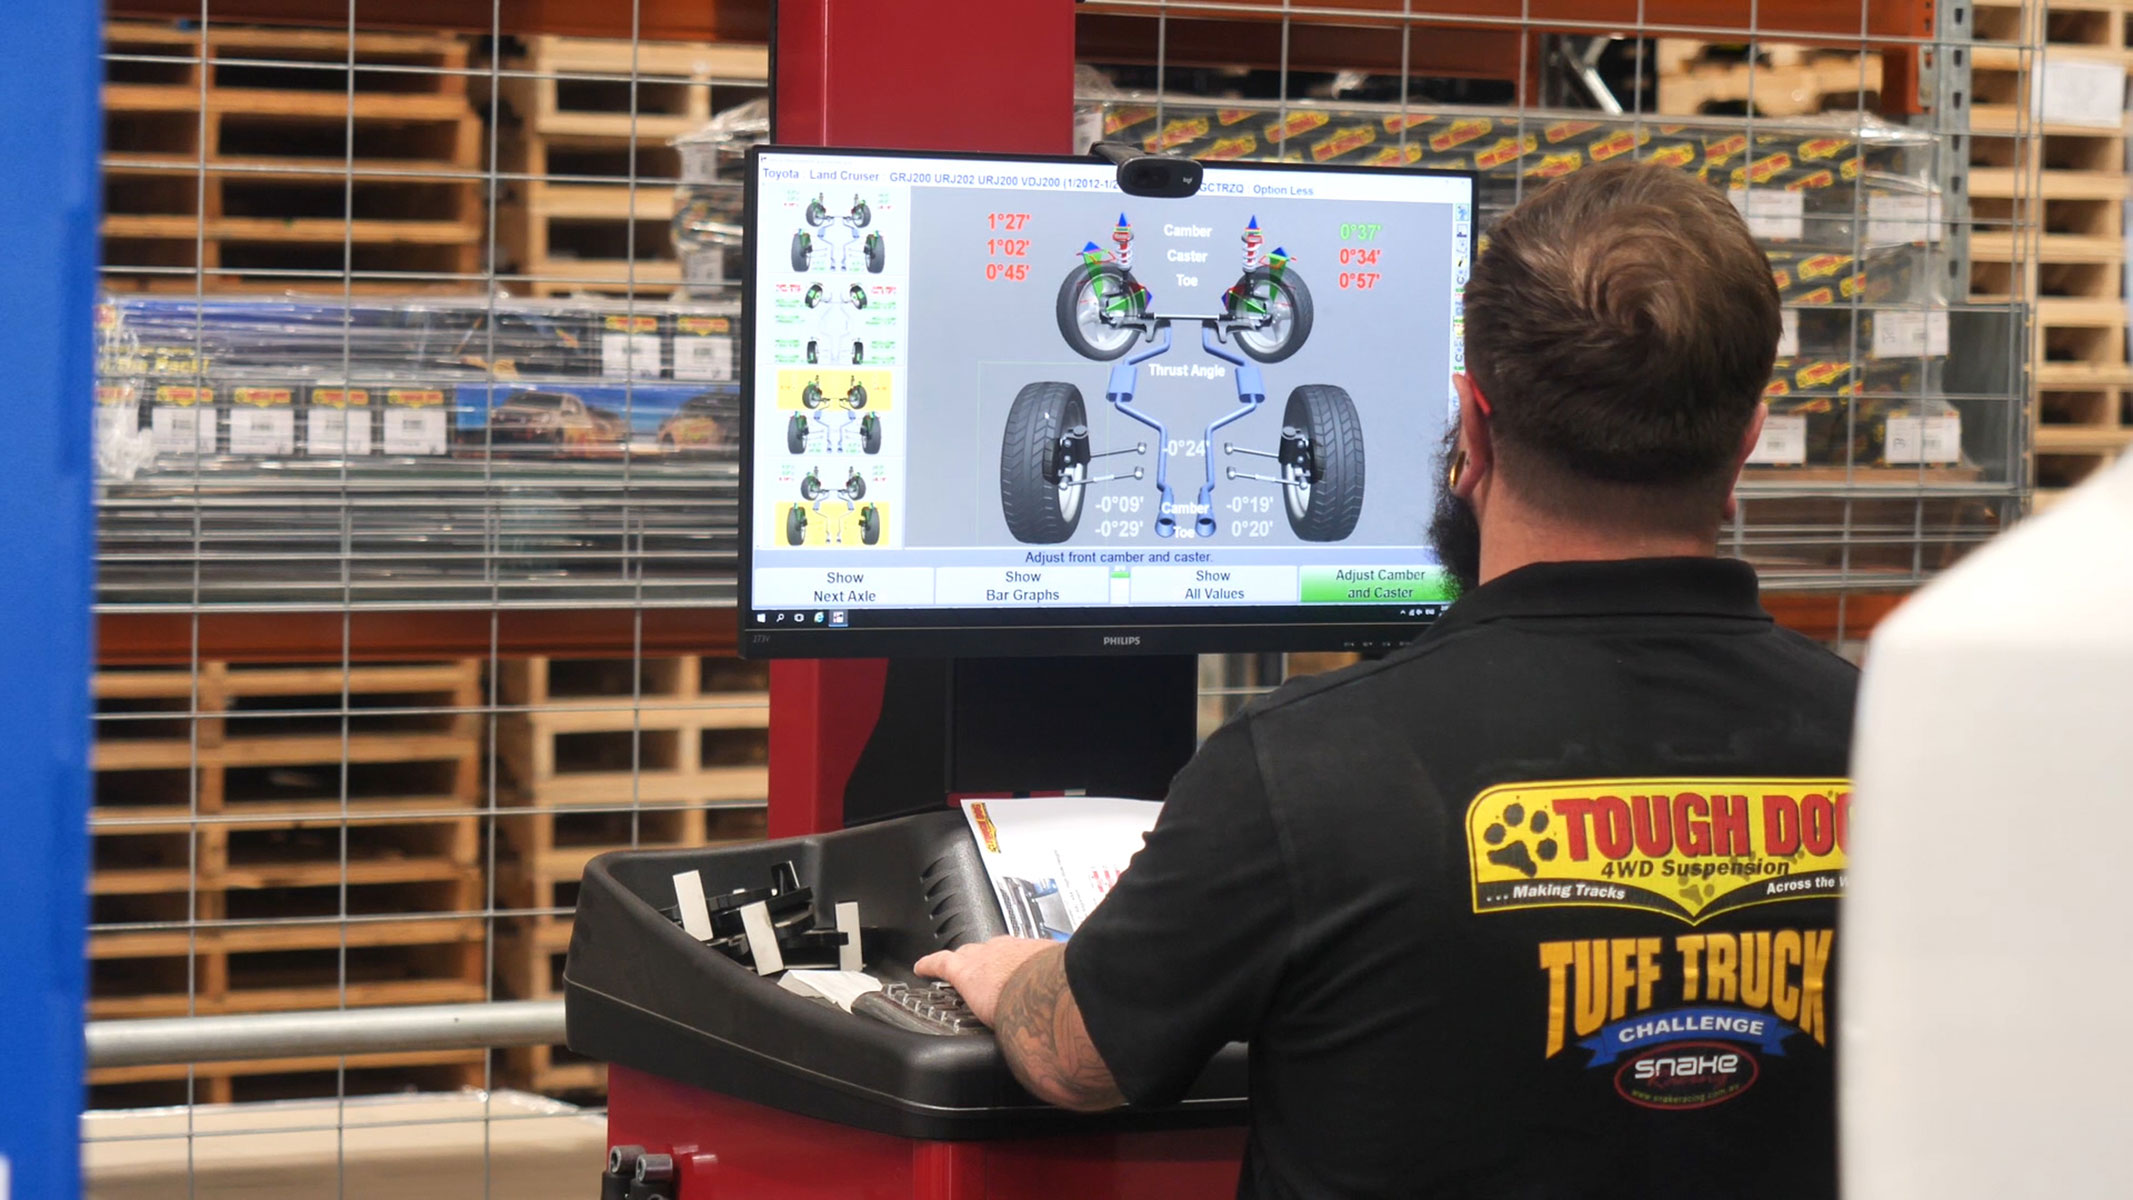
Certification went to the NSW Roads and Maritime Department, and I followed up with a personal visit to arrange the registration details.
Interestingly, the 200 weighed in at 2670kg, some 165kg higher than the weight on the original registration papers and higher than the Toyota specs. When I realised the actual weight, I had some suspicions the new tare weight might send the vehicle into a higher cost category for NSW registration but that proved not to be the case when I presented the relevant documents to Service NSW.
And the big question is – how did the 200 feel on the road? Right from the start, driving through Sydney’s back streets and onto the M5 on the way south to home, the ride felt marginally firmer but nothing like the ride I have experienced in other upgraded 200s. I soon got used to it. My wife, Heather, found it’s higher to get aboard, but some side steps should fix that. Importantly as a passenger, Heather said the ride wasn’t that much different than standard. We are planning a trip through desert country in a few weeks, so I will reporting back on how we go over a big variety of terrain.
The cost of a GVM upgrade is:
| GVM Kit | $2686 |
| GVM Kit Fitting | $690 (Includes wheel alignment) |
| Engineer Certificate | $750 |
| Air Assist Kit | $400 |
| Wireless AIr | $1699 |
| Fitting | $600 |

Back home, when I went to hook up the van, I noticed the towbar rides about 100mm higher with the new springs. So, I swapped the DO35 on the tow hitch from the tongue up to down to get a more even ride. My Trakmaster has a hefty ball weight at around 230kg, and the Toyota dropped about 100mm when I lowered the van onto the bar. In comparison, when I moved the van a couple of weeks ago, the Toyota dropped appreciably, and the van looked very nose heavy. I loaded around 80kg of weight into the cargo area of the 200 to simulate a load and then drove for around 25km to get a feel for the van on the back. I’m happy to report that it travels very smoothly. We will see how it travels with some more weight in the car, but we still have the airbags to add more flexibility to the load. I’m very impressed with the new setup.
Warranty on the installation is four year/unlimited km on recreational vehicles or three year/unlimited km on commercial use.
Sight and sound upgrade
We'll now walk through the installation of a new Aerpro AMTO43 head unit into the 2012 200 GX LandCruiser.
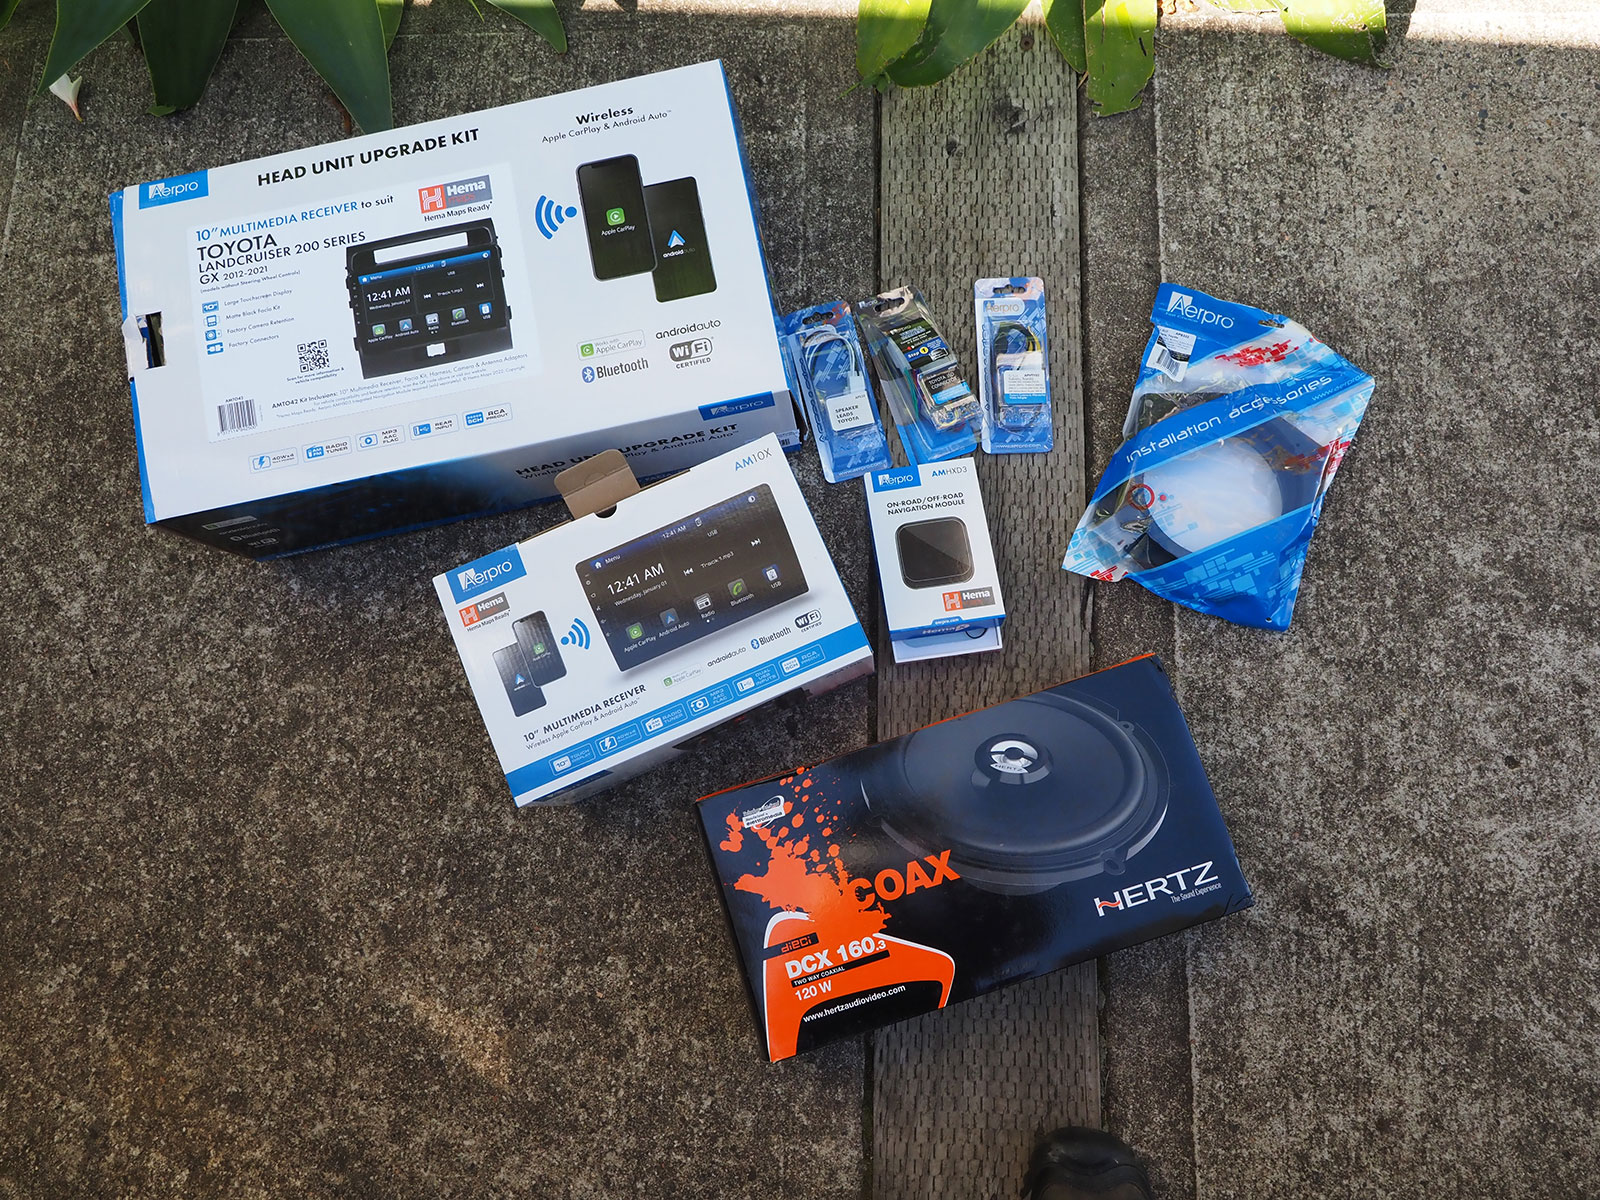
As you saw above we have recently swapped tow vehicles, having retired the trusty 100 Series LandCruiser for a pristine and very stock 200 Series GX model from 2012. I liked the GX model for its rear door access, five seat layout and more rugged interior, but there’s no question it lacks some of the refinements of the models higher in the range.
When we drove the 200 on our journey, I was stoked at the new feel of the car. It only had 75,000km and had been treated very kindly. Noise levels were much lower than the old 100 Series which had a tuned exhaust that frightened the wildlife. So, I was pretty happy except for the stock GX sound system which was far from concert hall quality.
So, when Aerpro and Hema Maps suggested I should try the new Aerpro AMTO43 head unit matched to a Hema AMHXD3 GPS and map combination, it seemed like the right thing to do, even if it meant giving up on playing CDs on the long runs between towns. Welcome to the 21st century, eh?
Aerpro is based in Melbourne, Victoria, and supplies major retailers with automotive, car audio and car audio installation accessories, as well as a range of connectivity products. Top of our list was a 200 Series head unit with speakers and an aftermarket facia kit.
I have to say though I was a bit worried about how easy it would be to swap to a big 10in display and what it would look like in the dash. As it transpired Aerpro makes dedicated surrounds for a wide range of vehicles and, with a bit of research, it came up with a kit for the GX even with the steering wheel control kit which was unusual on this year's model.
The Aerpro AMTO43 head unit is a big step up from the standard double din Toyota item. It’s a multimedia receiver with wireless and wired Apple CarPlay and Android Auto, as well as Bluetooth and USB.
So, it includes hands-free phone, wireless streaming of music and an AM/FM radio tuner. Output is four channels at 40W, and an eight-band graphic equaliser so we were able to add quality sound that included rear speakers missing from the basic Toyota setup. There’s also an input for a reversing camera, which the GX didn’t have but we’ll come to that.
Down to business
The upgrade kit arrived with the head unit, matte black facia kit and a mix of plug-ins to connect the system, but one look at the pristine condition of my dash and I decided to call on the help of Ryan from 4x4 Accessory Fitting to make sure the dash looked as good when we finished. Less ham-fisted owners than I can do the install themselves, of course, and you will see a series of images here that will illustrate the process.
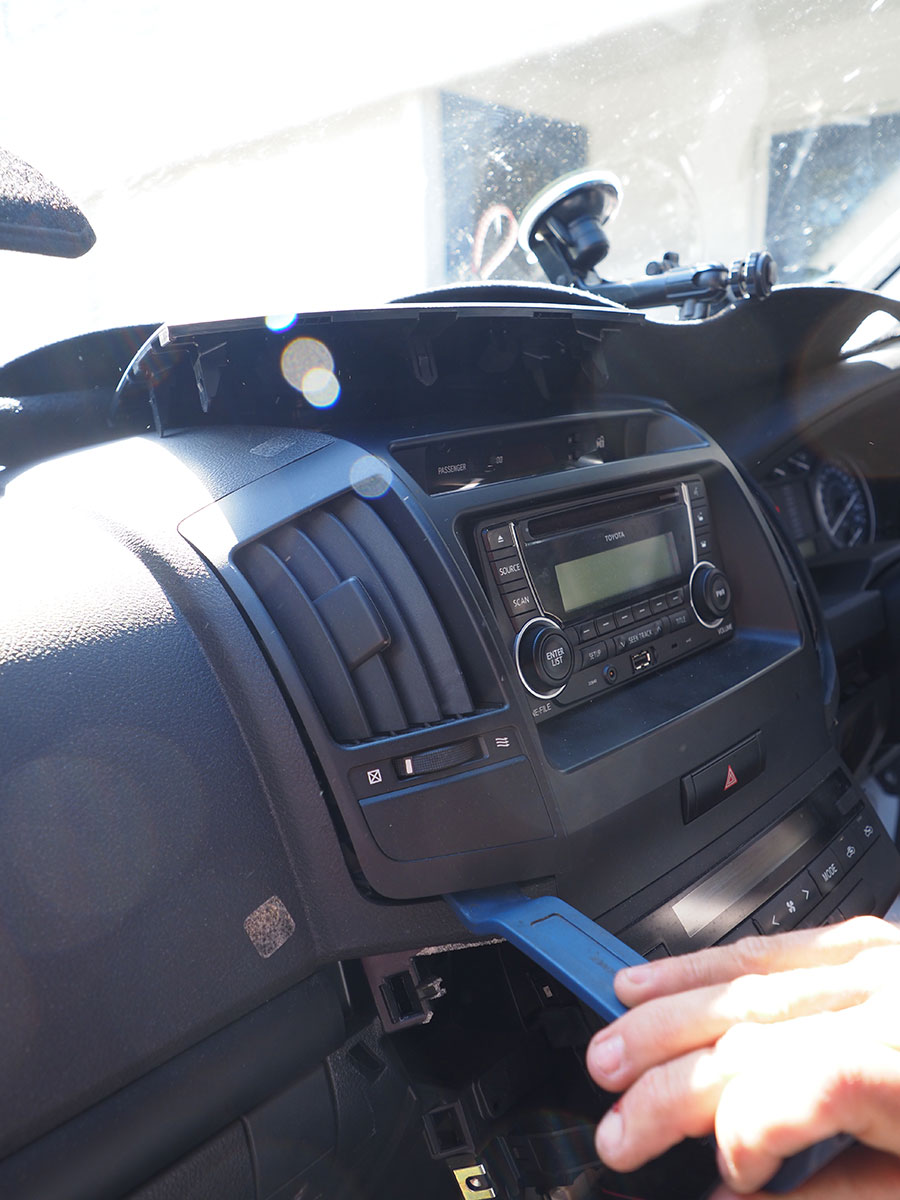
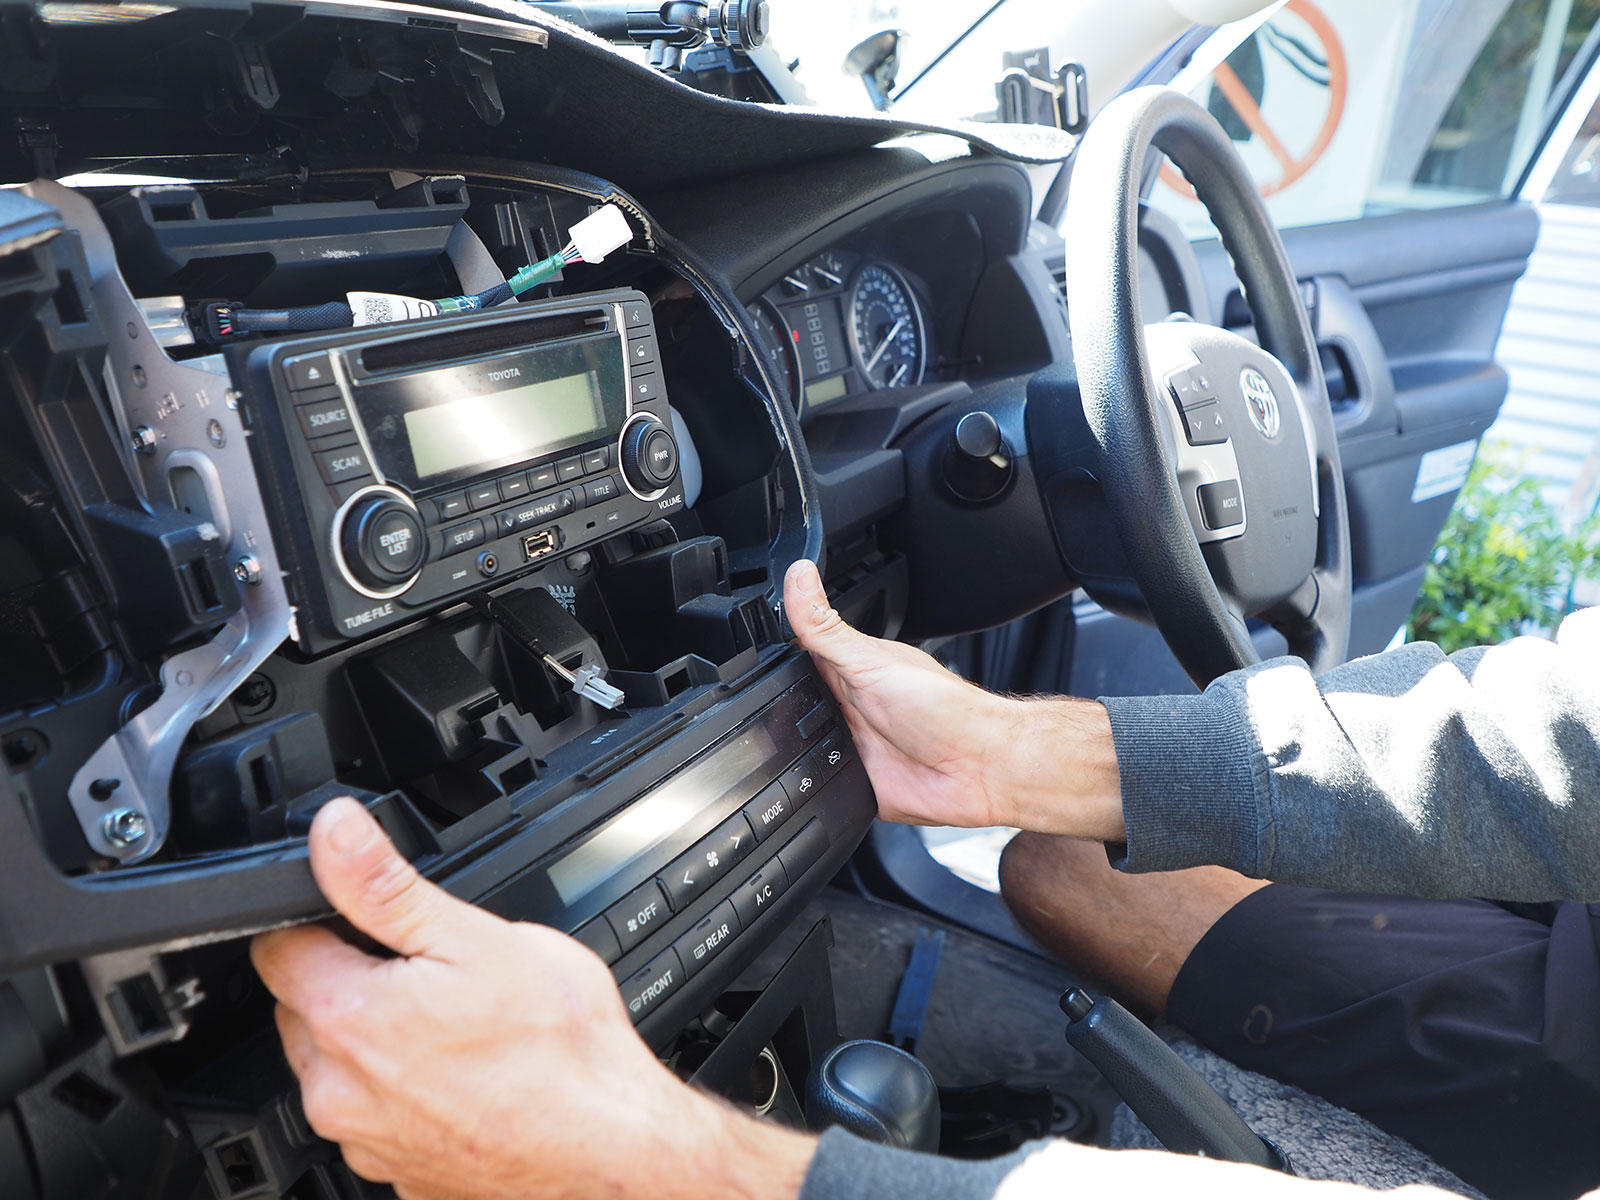
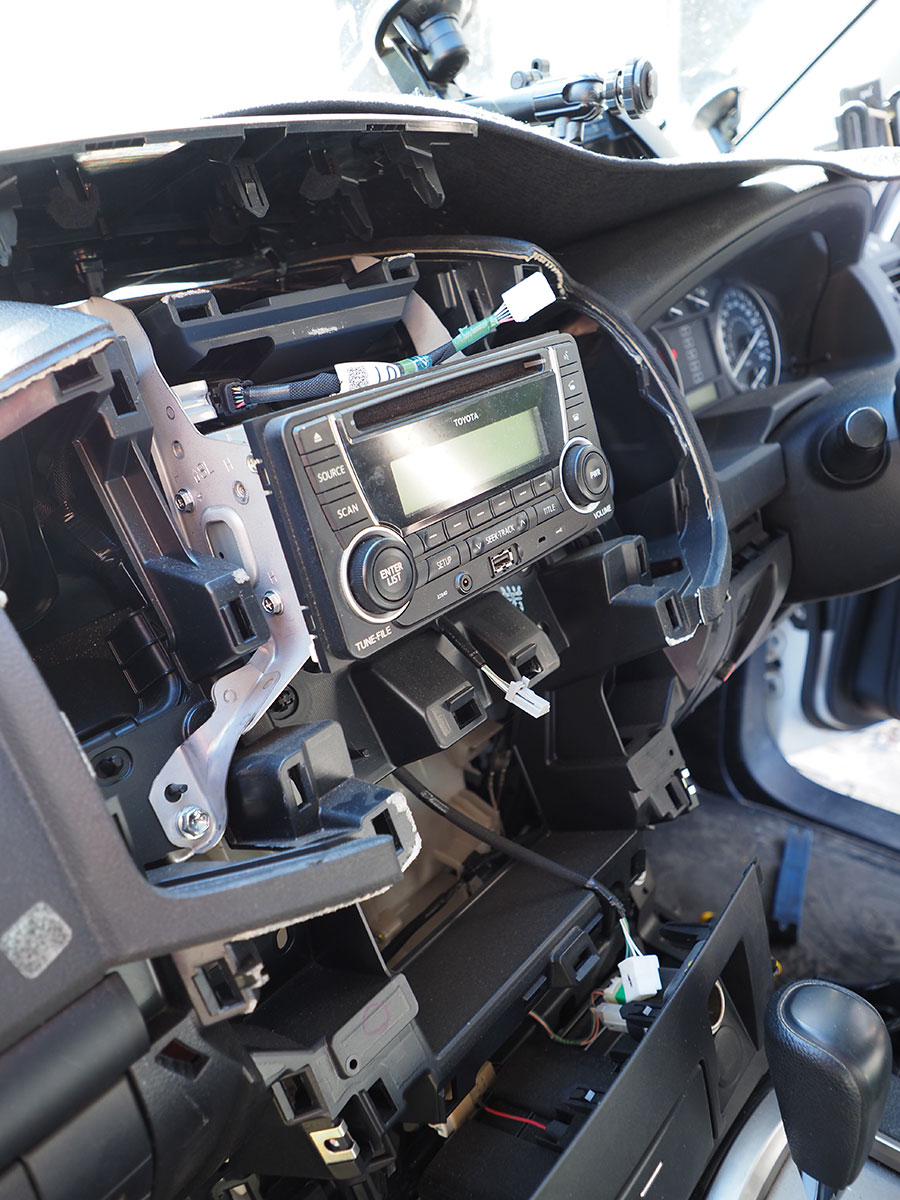
Using a facia tool we removed the two lower side covers, one has a 10mm bolt and the other one clips out. Then the two air vent units and the top facia come off, taking care to unclip the clock and alarm plugs. Finally, the main radio module pops out with a fair amount of pressure. The standard Toyota head unit has metal brackets which come off easily, but because the Aerpro unit is much smaller it is held in securely by the standard plastic clips. Plugging the various adaptors is straightforward as the plugs are all easily identified. Just make sure connecting the harness to the vehicle is the important final step.
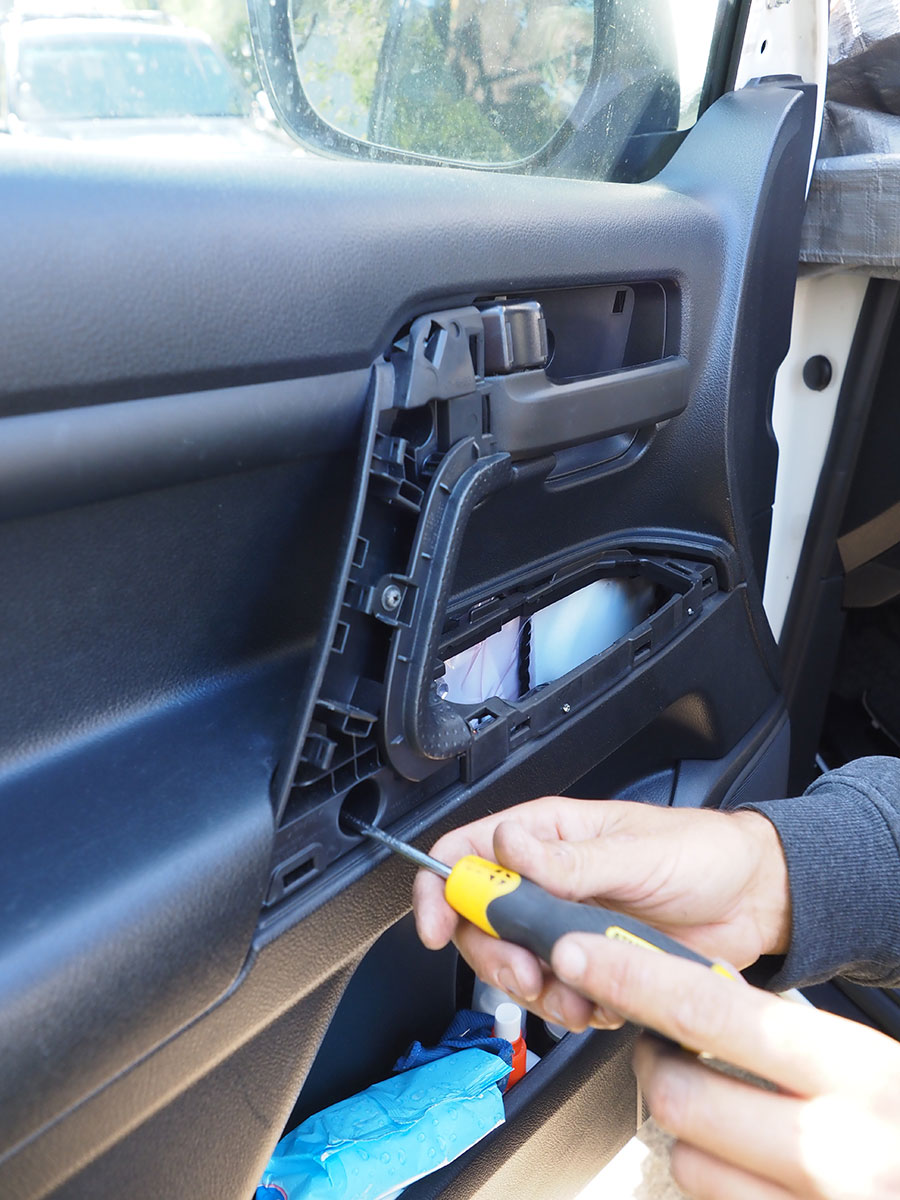
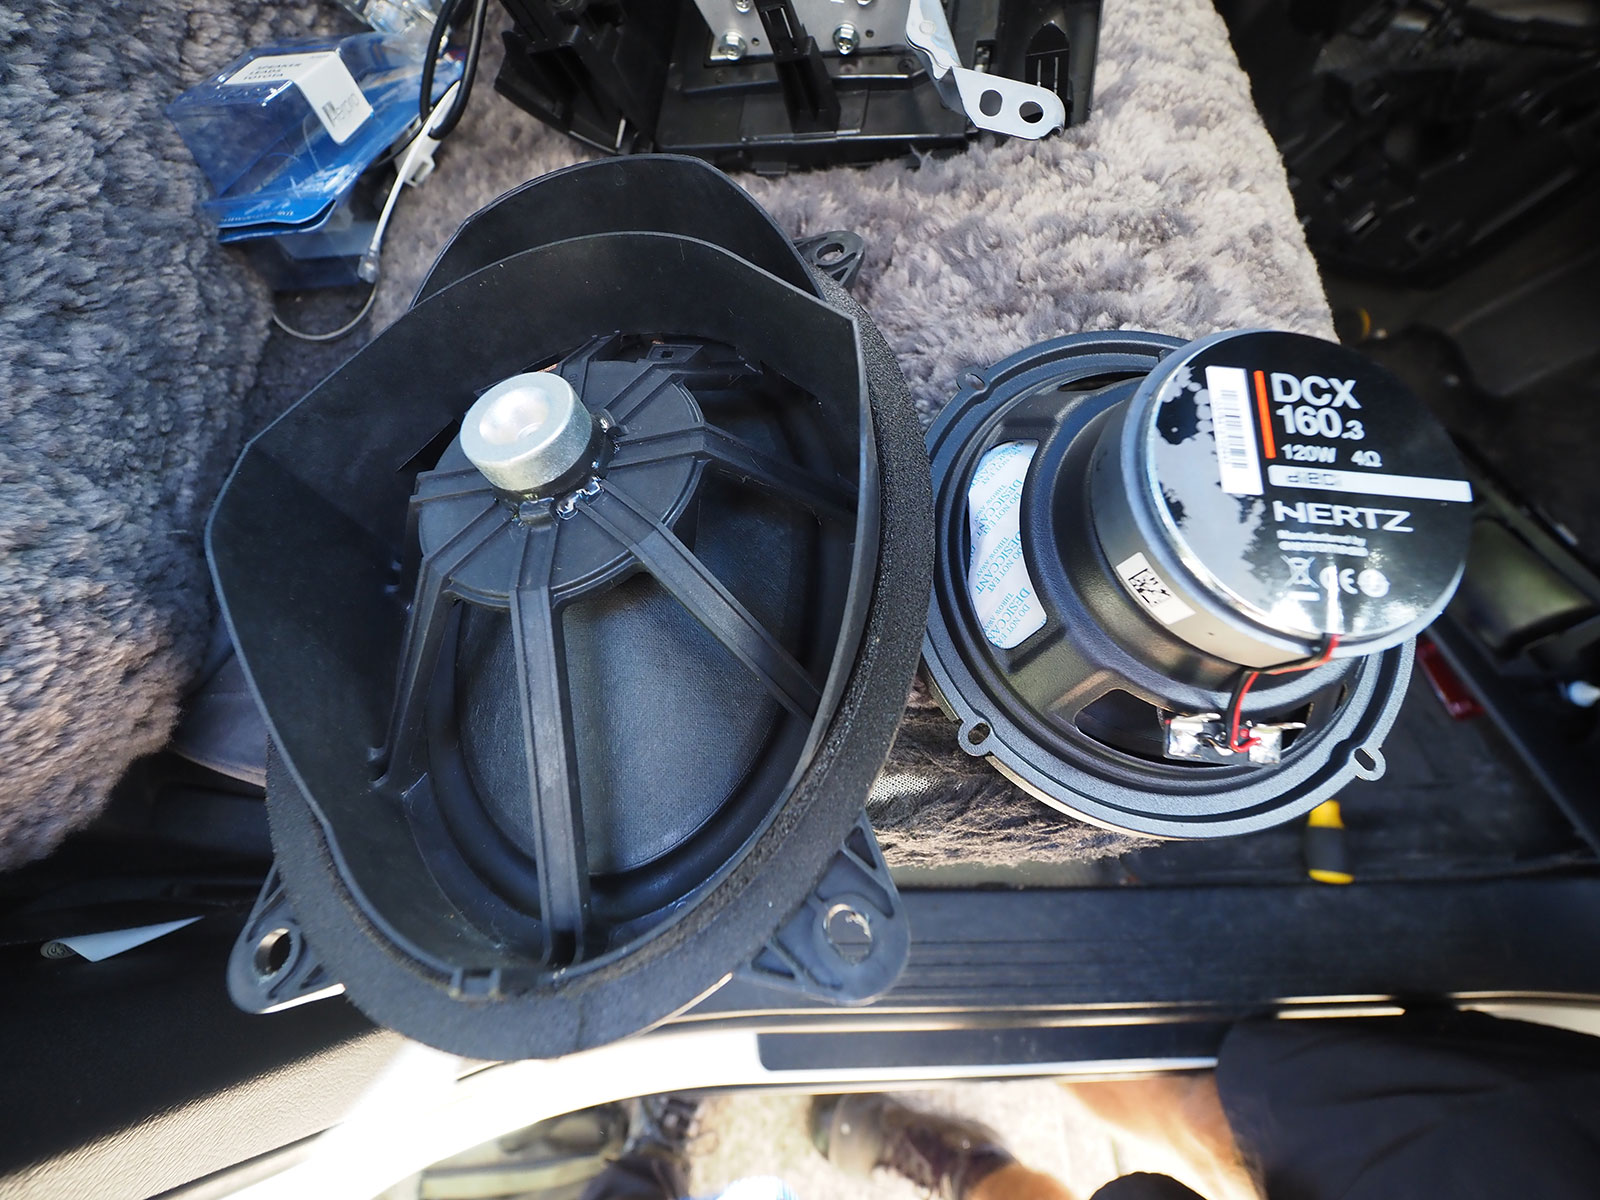
To replace the front speakers, remove the door trims and locks, fit the Aerpro adaptors to the new speakers and plug them in with the supply speaker's plug adaptors. When we removed the rear door trims, we found that wiring for the speakers was hanging loose in the standard Toyota loom, so it was a matter of repeating the front door process and plugging them in.
Rear camera
Because we are using the 200 for towing, I decided that a rear camera was essential. I sourced one locally and we hooked it to the number plate bracket on the rear door. Getting the door trims off is tricky but achievable. We found a reverse light wire in the passenger side trim in the cargo space for power and we ran the lead wires back under the sill trims to the head unit. The rear camera view is easy to see, and it loads quickly when shifting to reverse gear.
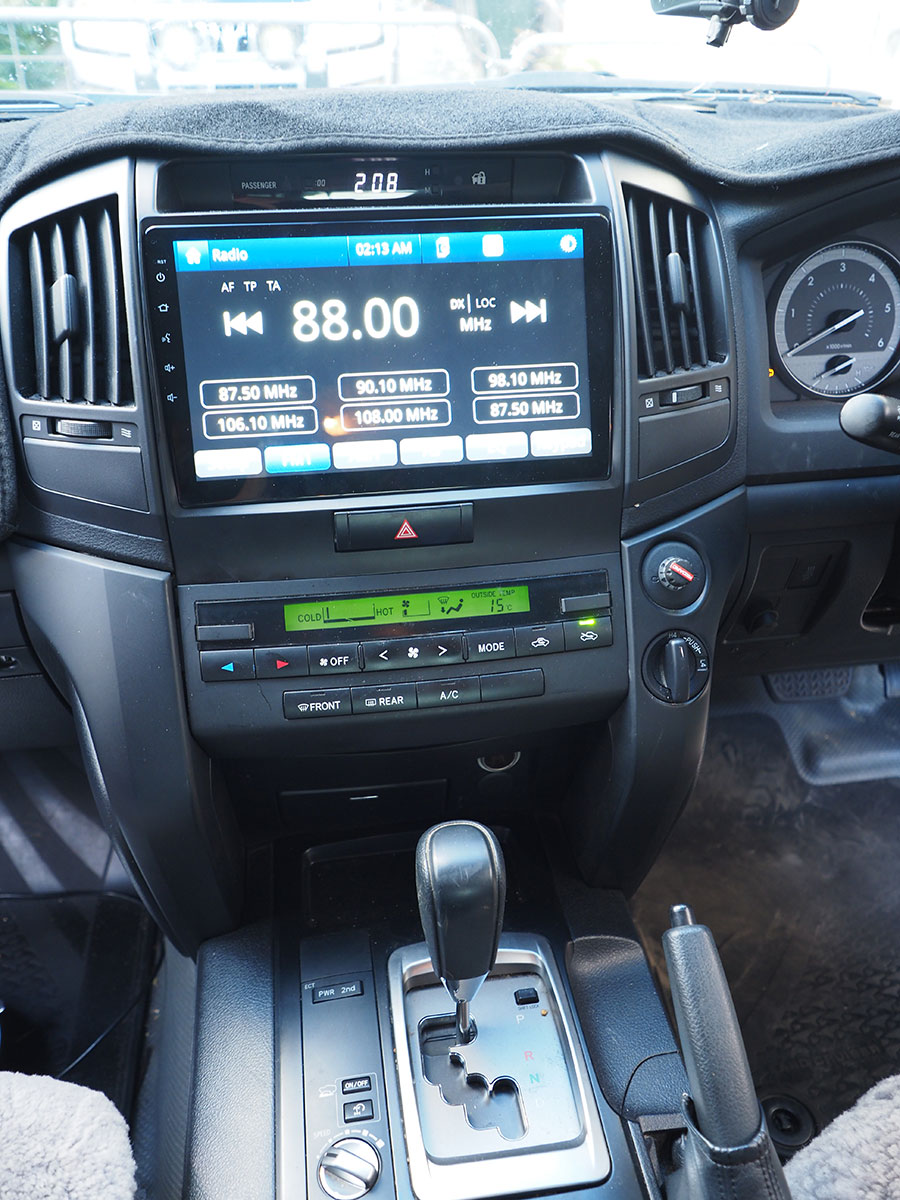
As the images here show, the difference to the look of the dash is remarkable. The big 10in screen looks modern and spicy in comparison to the stock radio. And the sound has improved 10-fold with good separation of channels and a crisp quality. Radio reception is good, and the system picks up available stations quickly and stores up to 18 on FM and 12 on AM band.

Switching from sound to Hema Maps is simple and the quality of the large screen is impressive. The upgrade for the Aerpro is $1099.99 and the Hema GPS is $799.99. Given the time we expect to be behind the wheel over the next few years, I consider this a worthwhile investment.
THE NEXT STEP
To continue the series, check out this article: Operation 200 Part 2: Safer towing and better storage
If you want to learn the latest caravan news, find the most innovative new caravans and camping gear or get inspired to plan your next adventure to some of Australia's best getaway destinations, subscribe to our weekly newsletter. We promise to send you only the best content.
Related articles:
Tow Test: Toyota LandCruiser Sahara 300 Series
Watch a Toyota LandCruiser 200 Series Sahara in action:


