
DIY: Practical tips for 12V wiring projects
In this feature, we look at some practical tips for DIY 12V wiring.
At the risk of sounding like a broken record, we will repeat our warning. You do need to know what you are doing before starting on any 12V projects. Getting it wrong at a minimum can wreck your equipment and in worse-case scenarios can cause fires and potential death. This article does not cover all bases and is a simple guide — you need to be the judge if taking on electrical tasks yourself is for you.
A typical DIY task is likely to involve adding a new electrical device or replacing a faulty one. This will require tapping into an existing electrical circuit or creating an additional electrical circuit in the system. The basic mechanics of this involves cutting wire, stripping the wire, joining wires, reinsulating the wire and possibly adding some additional sheathing to protect the wire. There are a variety of tools and materials available to achieve this and with the help of The RV Repair Centre, we will explore some of the options.
Processes
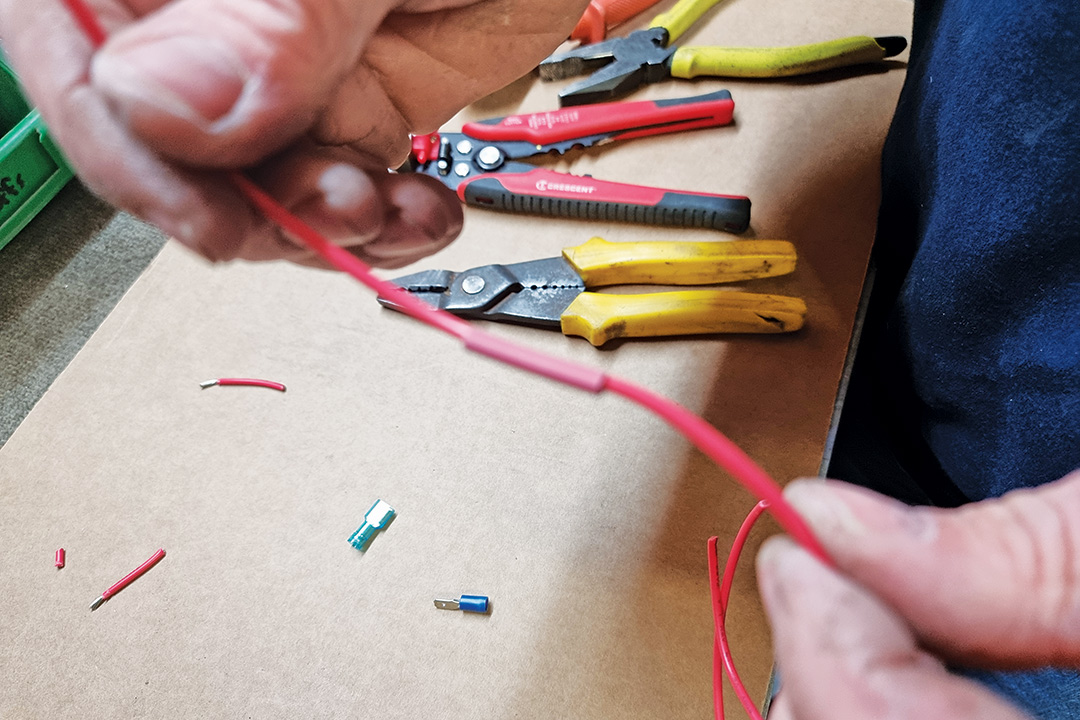
 1. Cutting 1. CuttingCutting is as simple as it sounds just like cutting a piece of string with a pair of scissors |
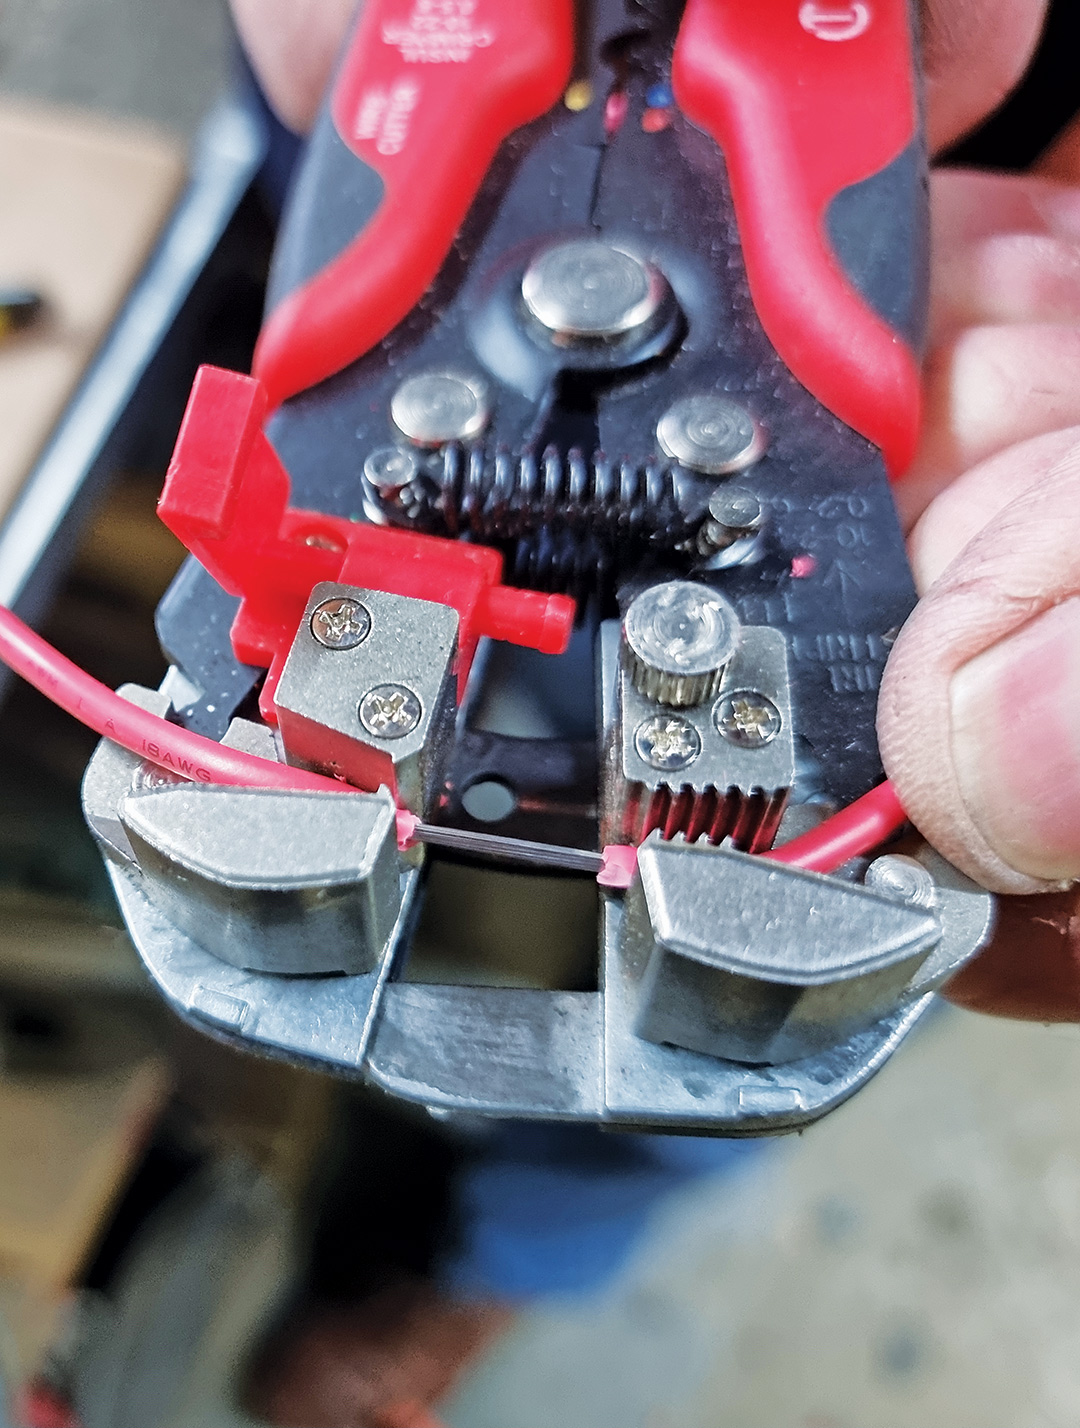
 2. Stripping 2. StrippingStripping is the process of removing the insulation to expose the strands of copper wire inside. The end of a wire can be stripped to make a terminal connection, or a wire can be stripped somewhere along the line to create a ‘T’ for a power take-off to add another device into an existing circuit |
 3. Joining 3. JoiningJoining is done to make a copper-to-copper contact with another piece of wire or connector so that current can flow |
  4. Insulating 4. InsulatingInsulating is the process of adding a conductive barrier to exposed copper. This is often to replace insulation that has been removed in the wire stripping process. Typical insulation methods include heat shrink and winding electrical tape |
 5. Sheathing 5. SheathingSheathing is the process of protecting the wires against rubbing or mechanical impact. Flexible conduit is a typical solution |
Tools
Andrew Phillips from The RV Repair Centre pulled out a bunch of tools that can be used for the various jobs. You certainly don’t need them all for simple DIY projects but here are some of your choices.
 |
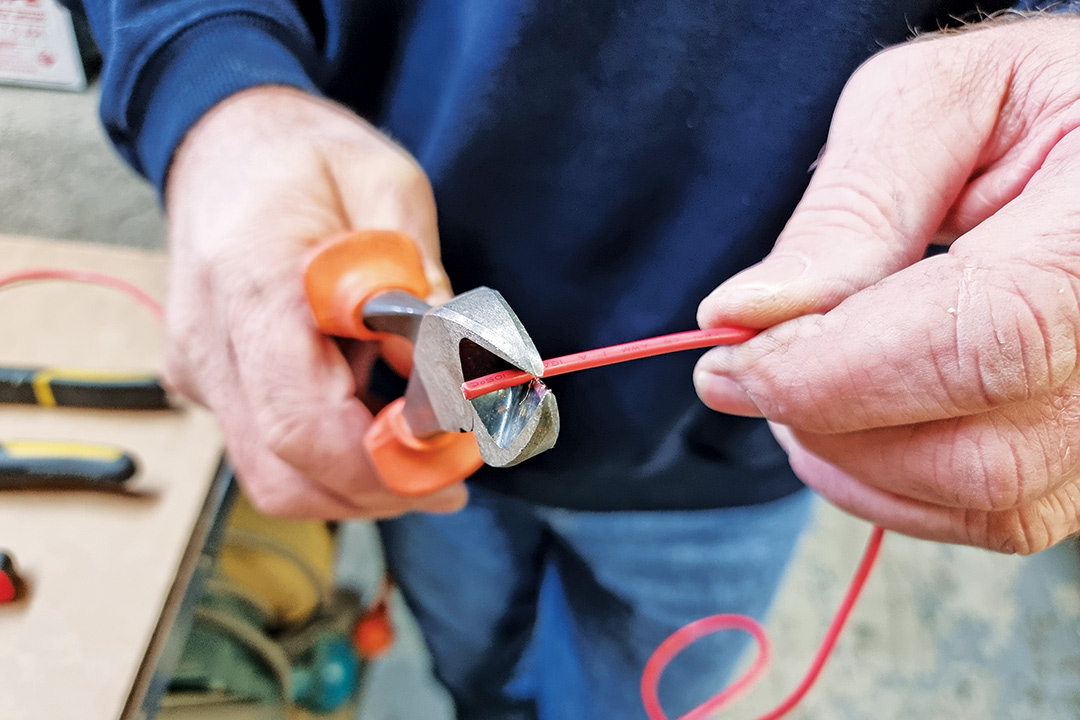
1. Side cutters This is the most basic tool shown here and it is great for cutting wire. With finesse, it can be used for stripping insulation. It requires you to use ‘feel’ to cut only through the insulation sheath and not into the wire strands. Accidentally cutting wire strands compromises the ability of the wire to carry current. It does not have any functionality to crimp connectors. |
 |
2. Combination stripping and crimping tool This tool is a popular all-rounder for light gauge wire used in RV applications. The tool pictured has a cutting edge at the top. The middle section above the pivot point has multiple crimping points for varying size connectors and the lower section below the pivot point is for stripping wire insulation. It has multiple hole sizes to match different diameter wire enabling just the insulation to be cut and not the wire strands. |
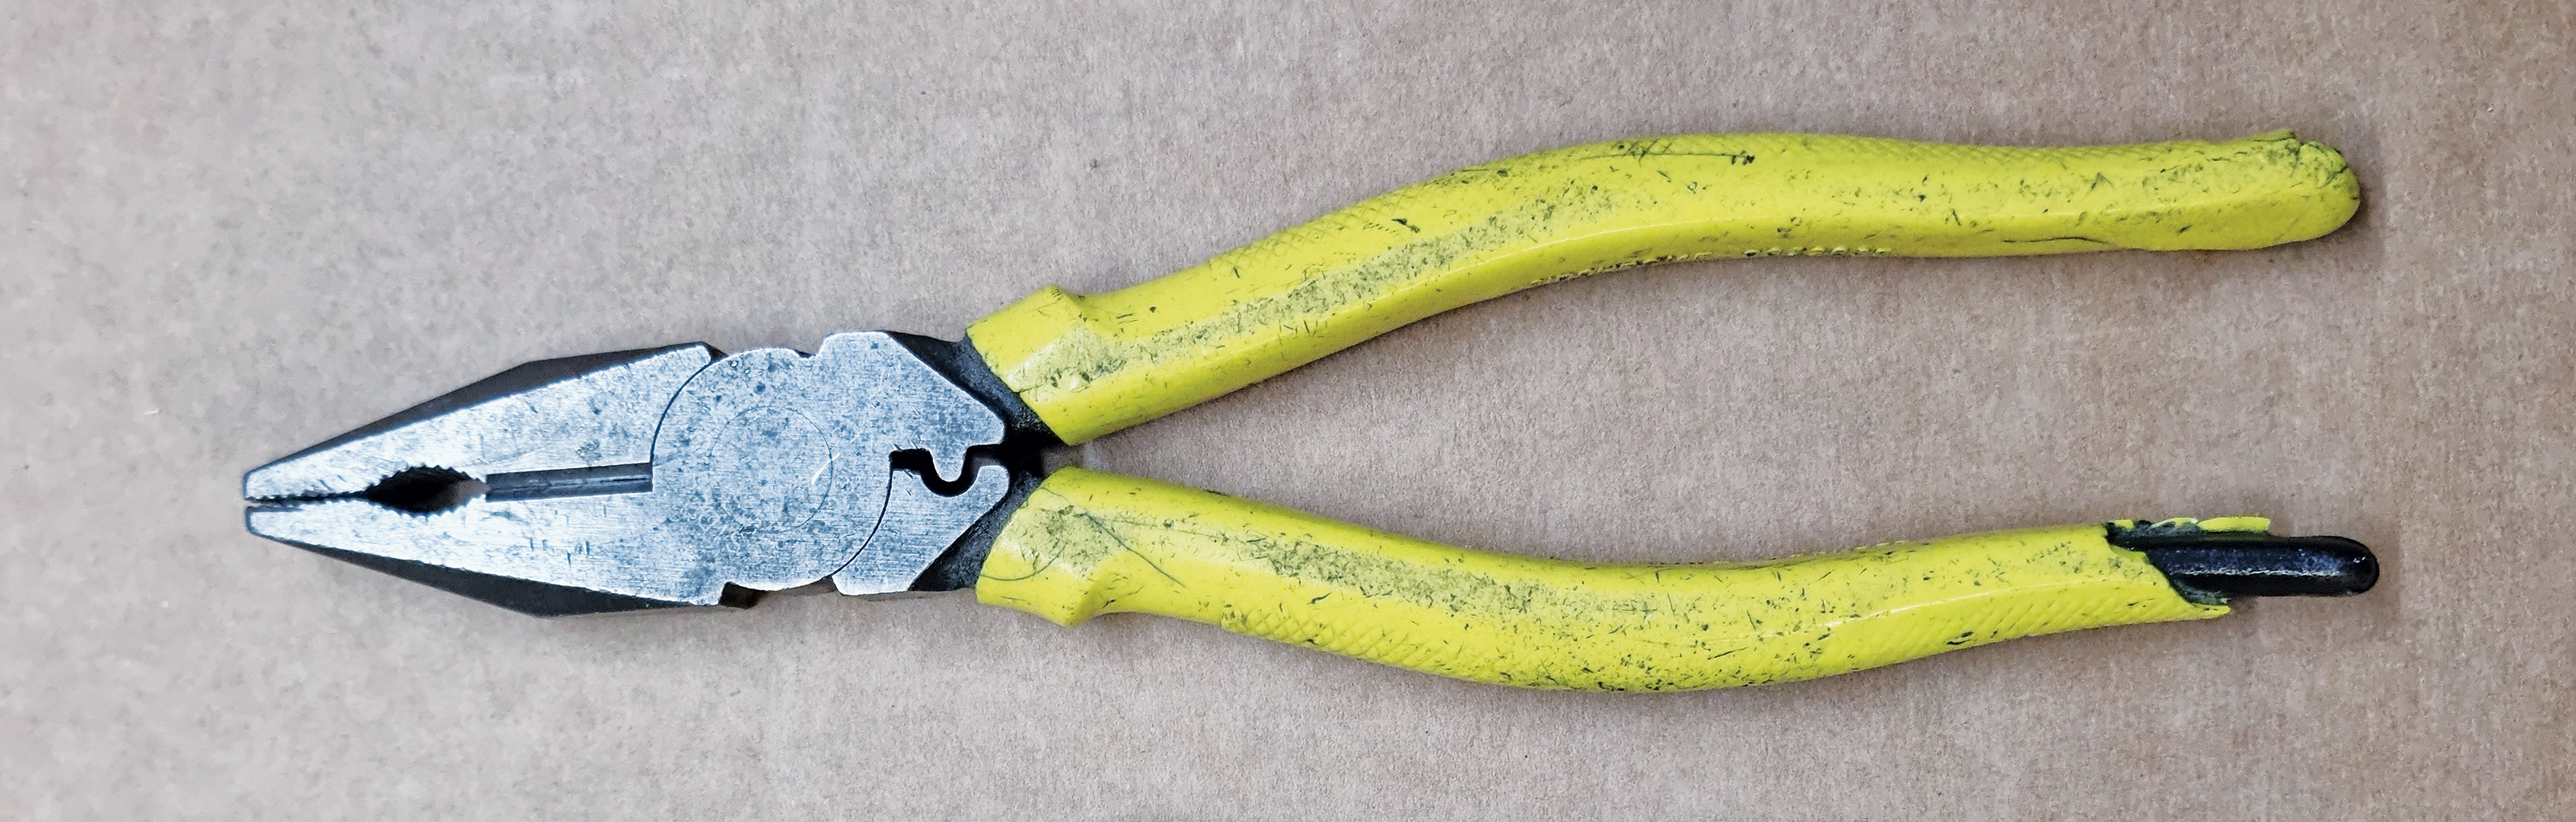 |
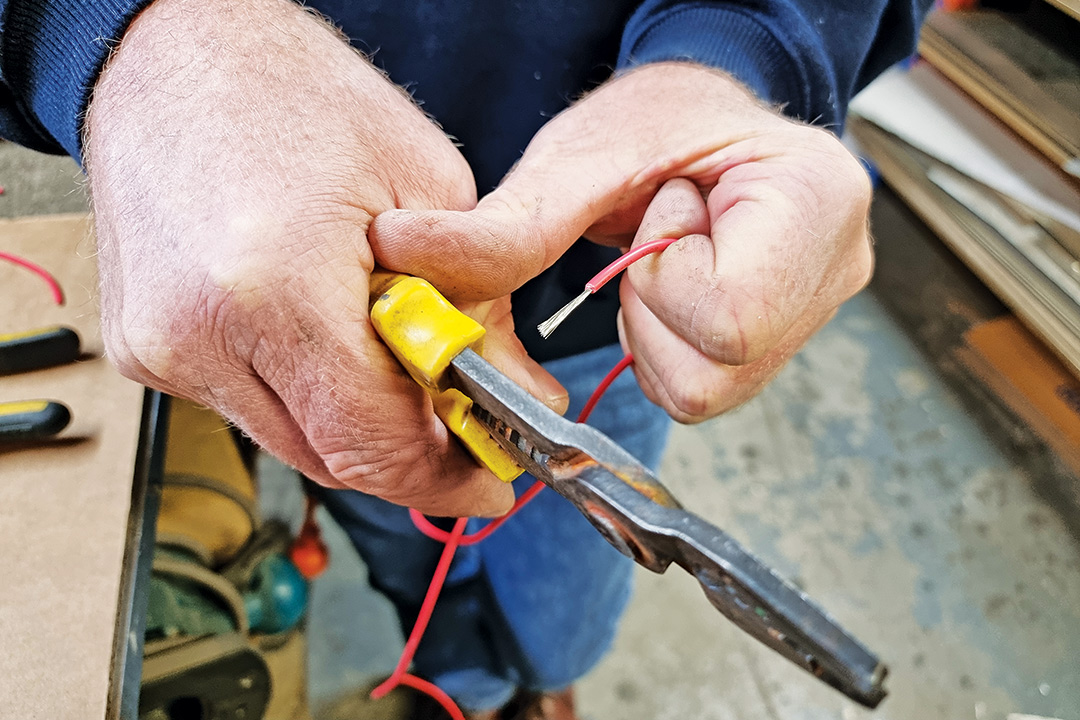
3. Electrician’s combination pliers This is an electrician’s most universal tool. The tool pictured has a section just above the pivot point for cutting. Again, it can be used for stripping insulation with finesse with the same constraints as the side cutters. It does have an advantage over the side cutters in that a ‘recess and knob’ is used for crimping connectors. |
|
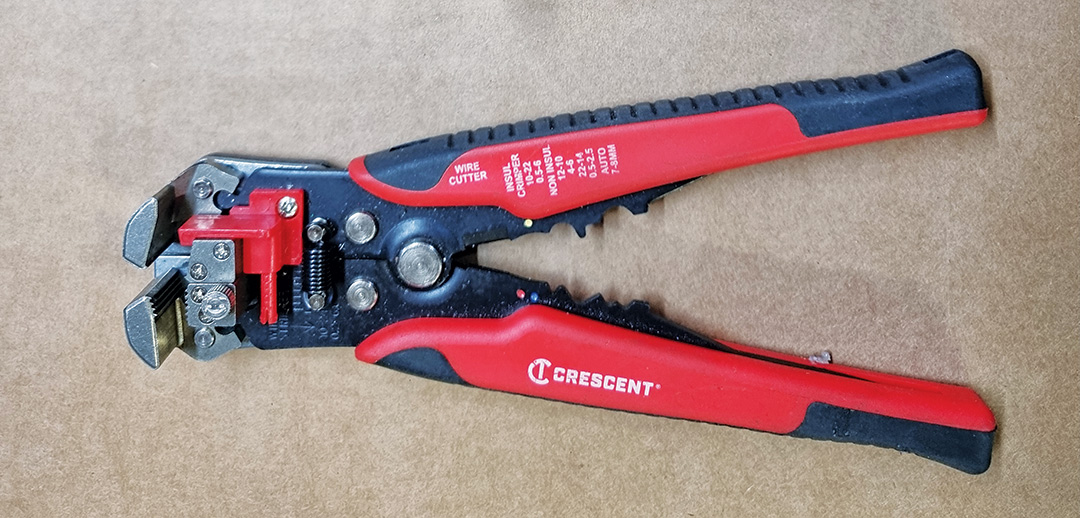
4. Self-adjusting wire stripper, cutter and crimper This is the most sophisticated tool shown. You can strip a variety of wire diameters by inserting it in the ‘jaws’ at the top of the tool pictured. It is self-adjusting in that as you squeeze the handles the jaws grab the insulation and nick and shear it. Just below the pivot point is the wire cutter and below that are the crimping points. |
Connections
Multiple connectors are available to join wires and devices.

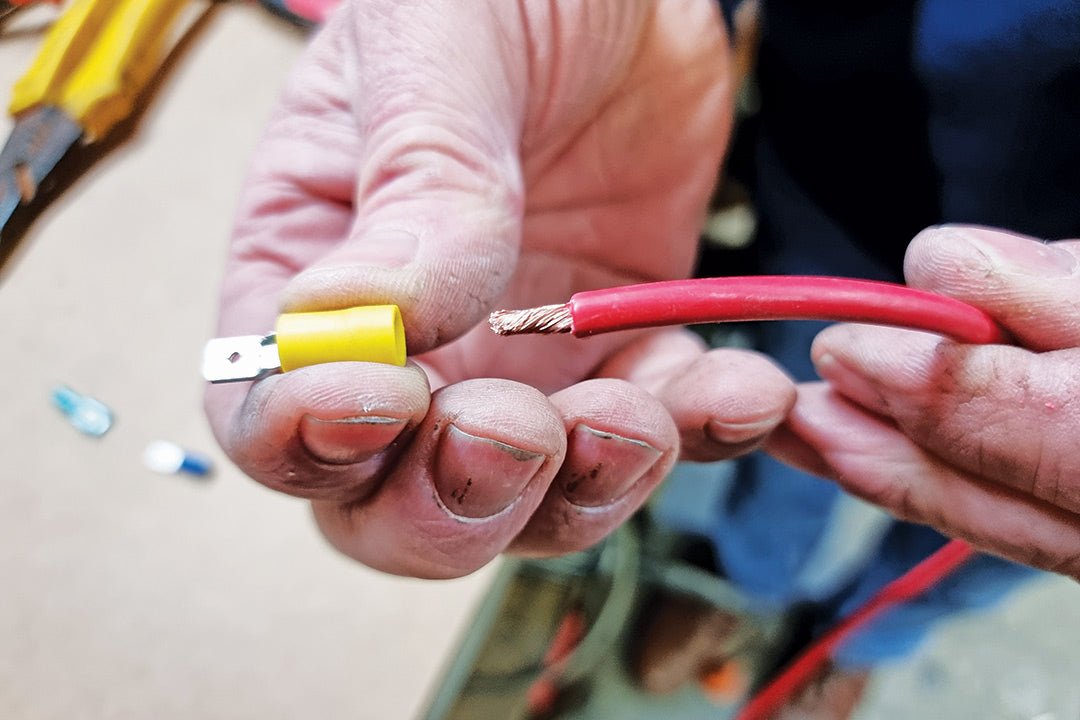
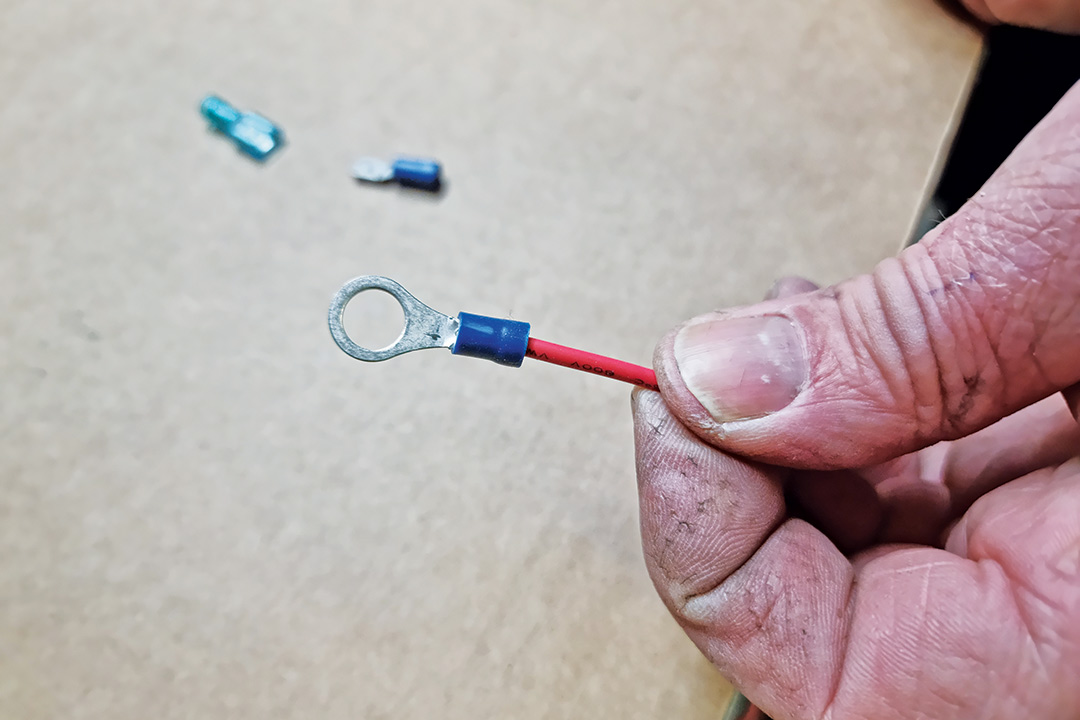
Ring connector / Eye terminal
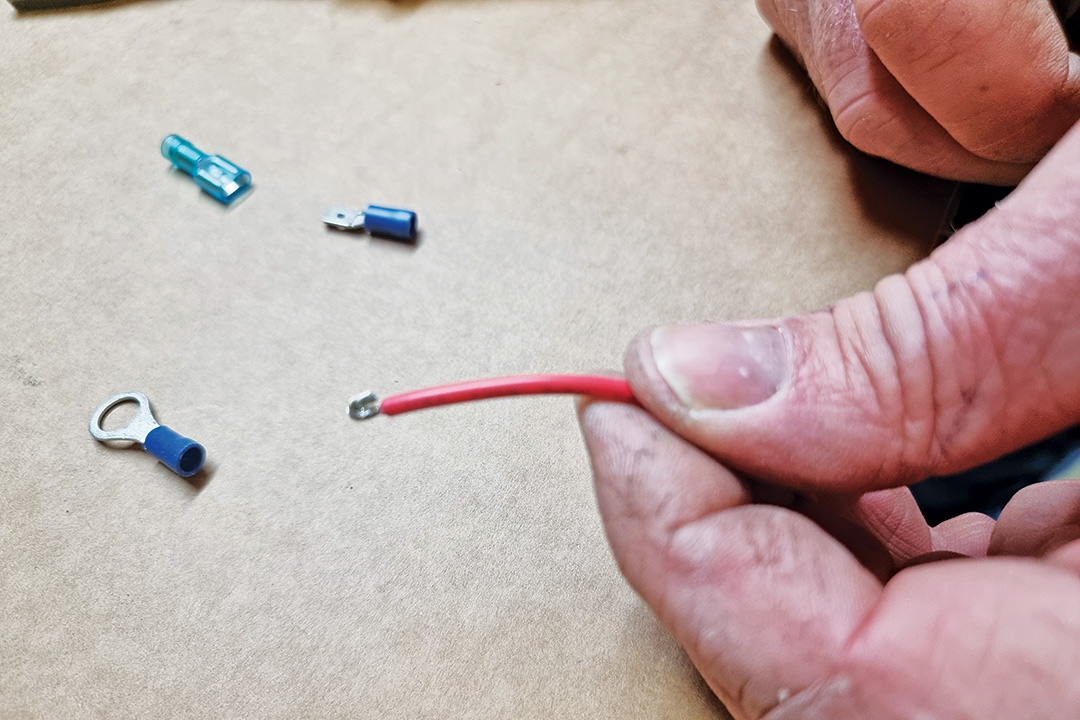 1. Strip the insulation off the end of a wire to expose the copper strands 1. Strip the insulation off the end of a wire to expose the copper strands |
 2. Insert the stripped wire into the eye connector 2. Insert the stripped wire into the eye connector |
 3. Crimp the connector onto the wire using a suitable tool 3. Crimp the connector onto the wire using a suitable tool |
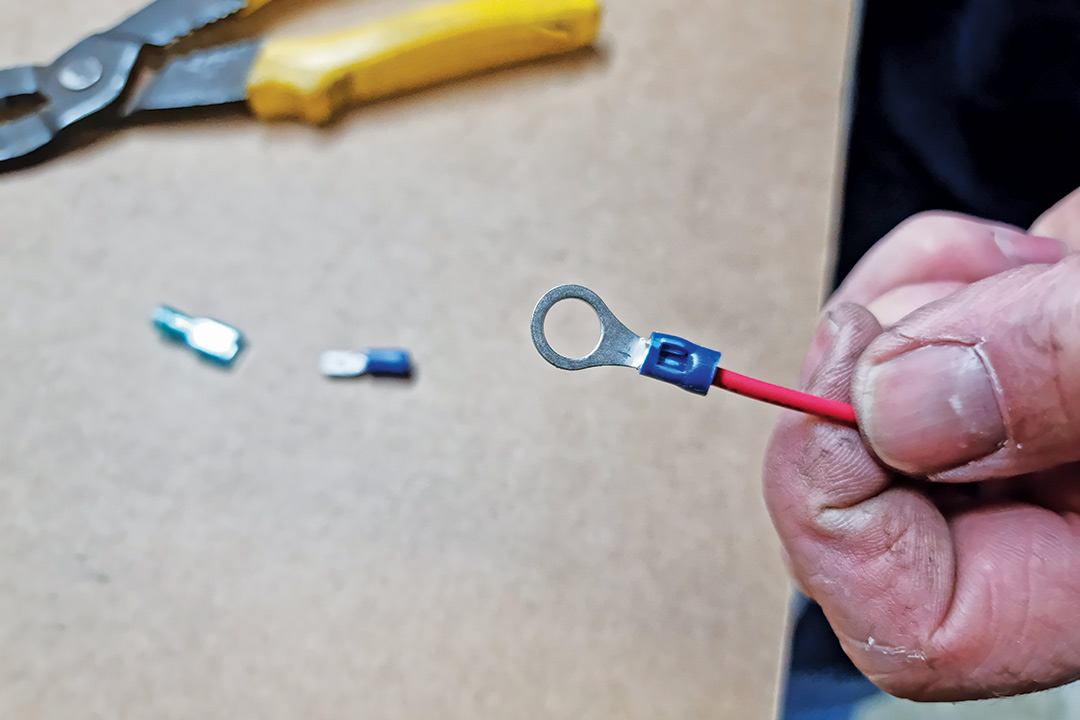 4. Inspect the connection has been properly crimped 4. Inspect the connection has been properly crimped |
 5. A battery terminal is an example of where an eye connector would be used 5. A battery terminal is an example of where an eye connector would be used |
Note — heat shrink could be used as per other examples |
Meshed connection
A meshed connection is a method to join two wires together without a connector.
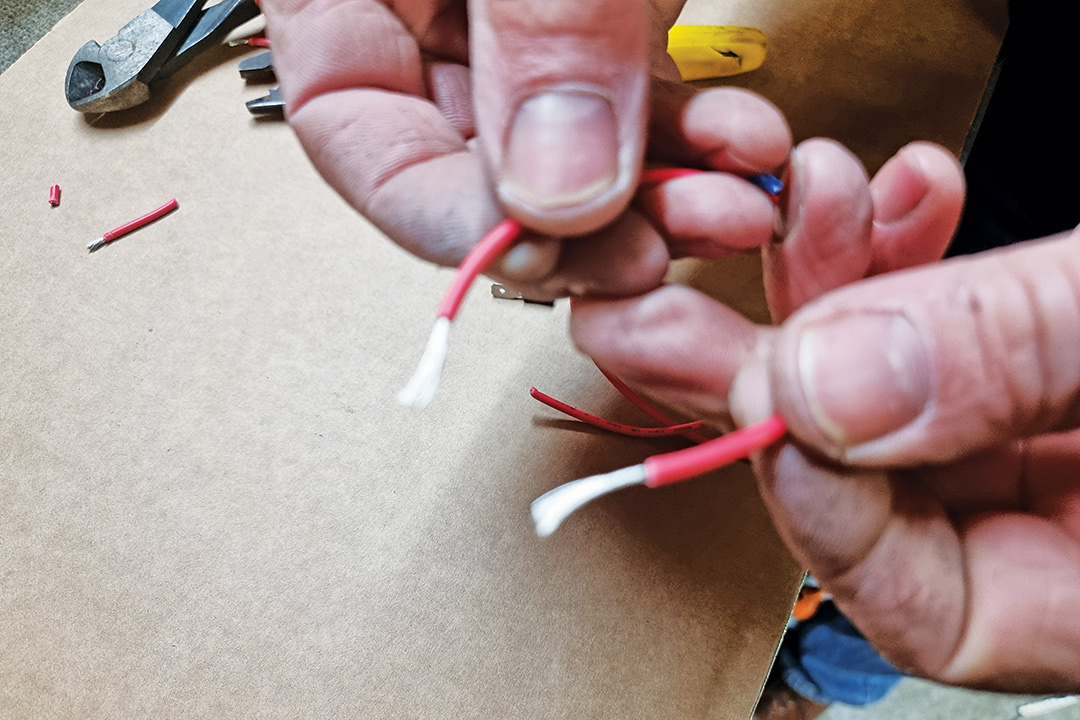 1. Strip the insulation off the end of two wires you wish to join to expose the metal strands 1. Strip the insulation off the end of two wires you wish to join to expose the metal strands |
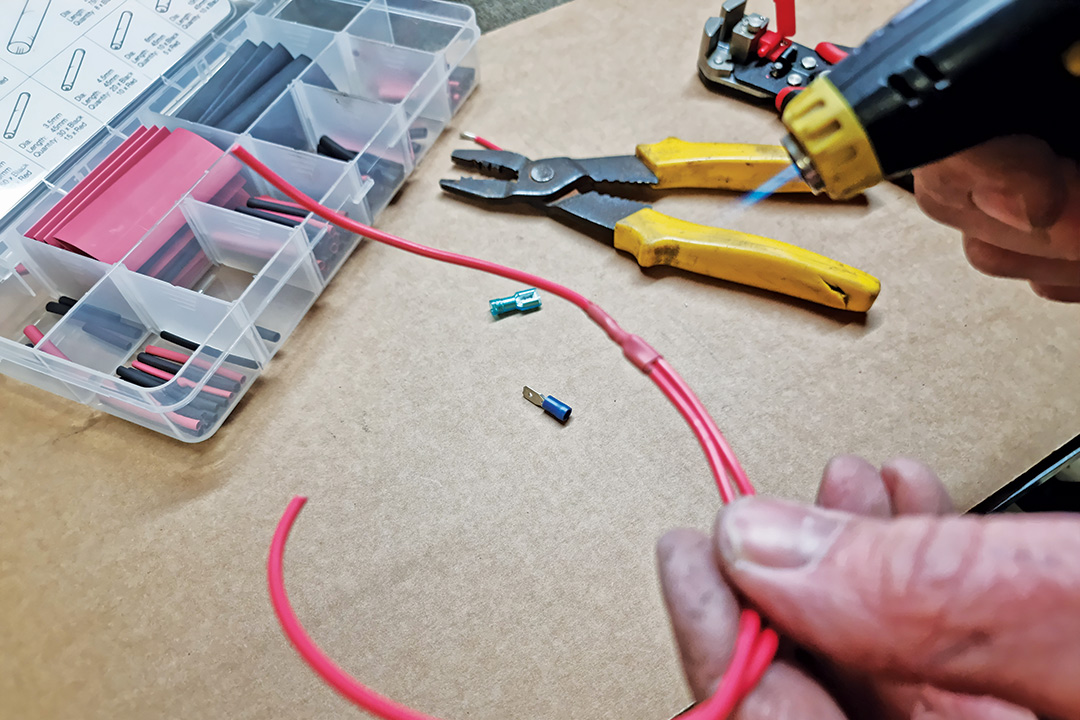
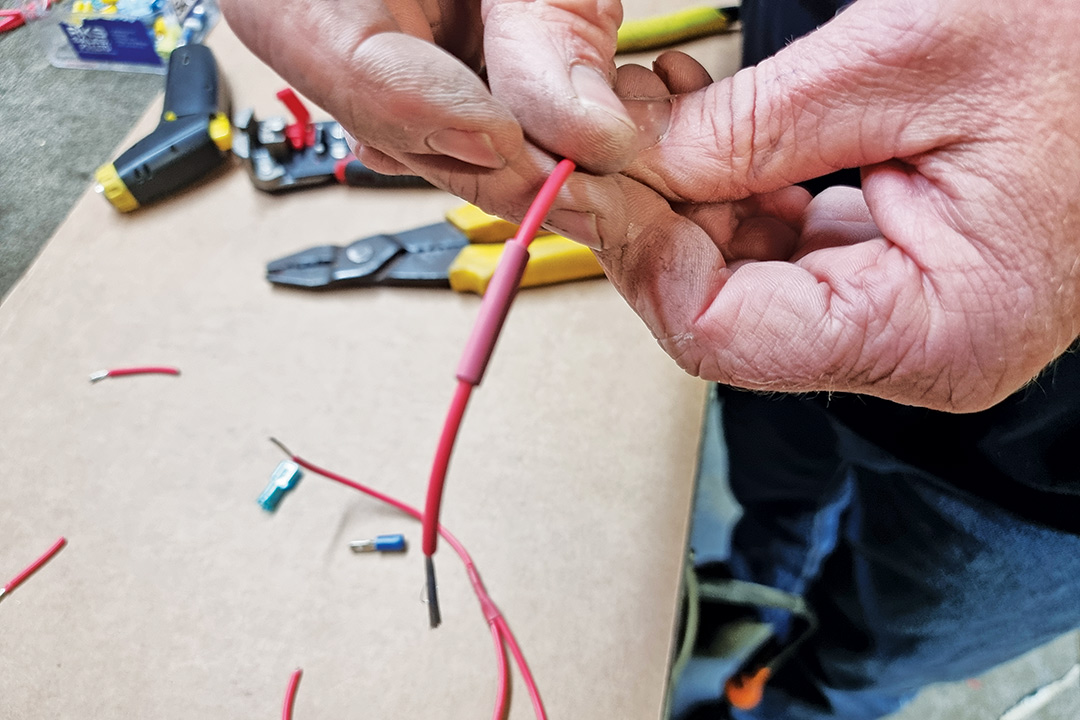 2. Slide some heat shrink tube over one of the wires 2. Slide some heat shrink tube over one of the wires |
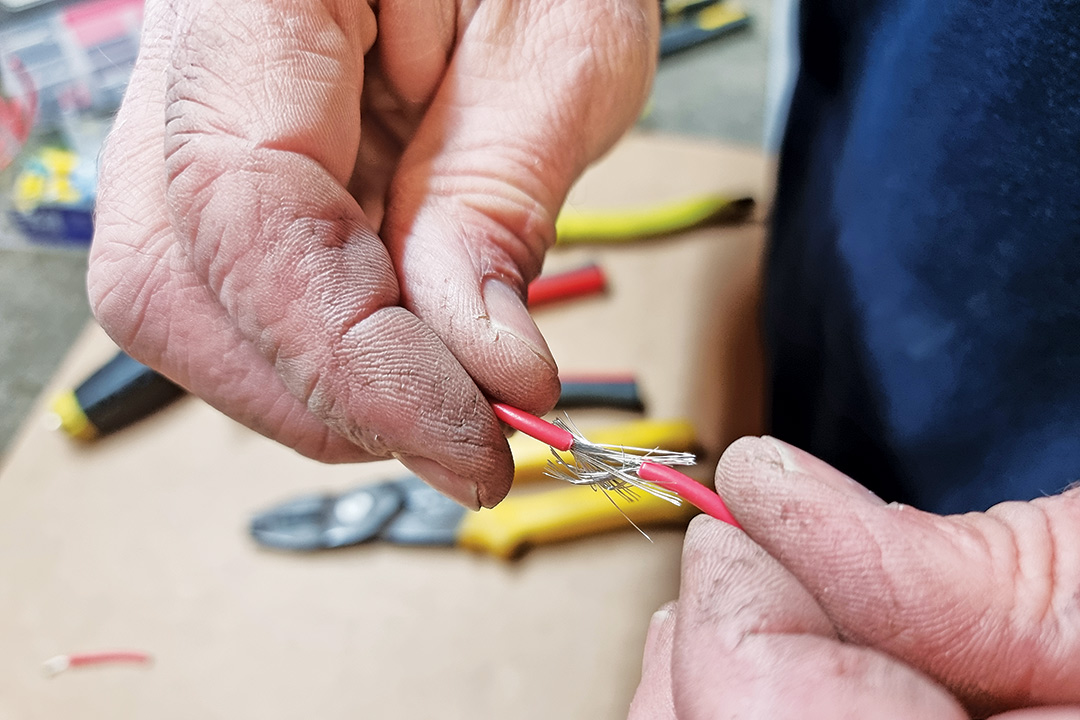 3. Mesh the two stripped wire strands together 3. Mesh the two stripped wire strands together |
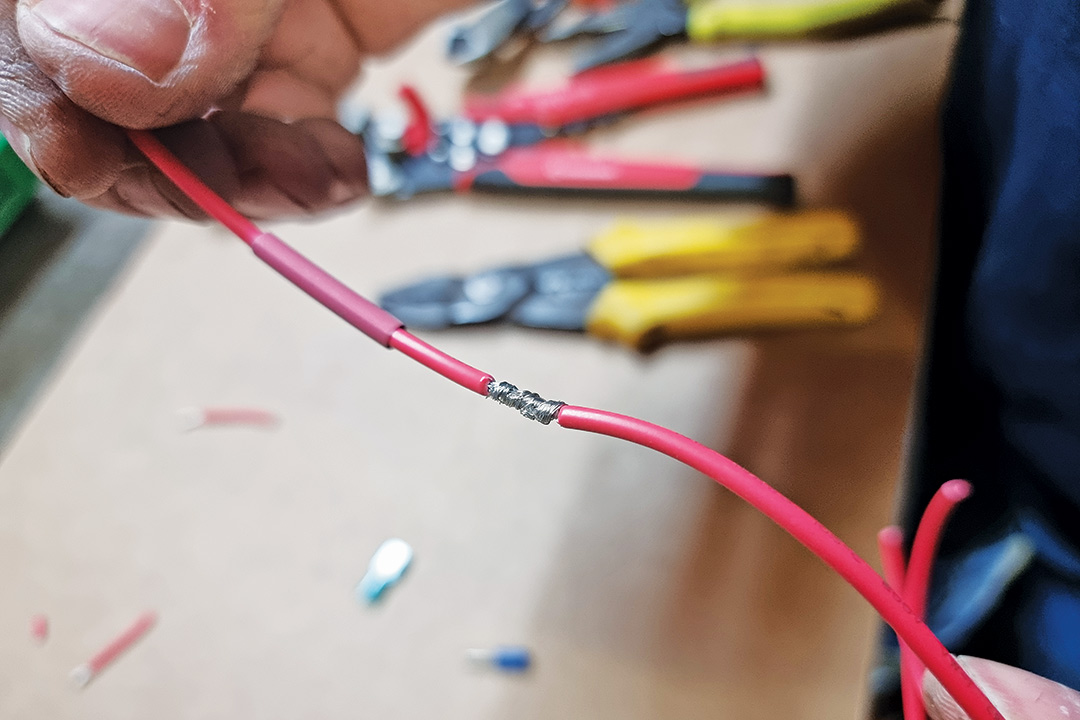 4. Twist the two wires strands together neatly 4. Twist the two wires strands together neatly |
 5. Slide the heat shrink tube over the connection 5. Slide the heat shrink tube over the connection |
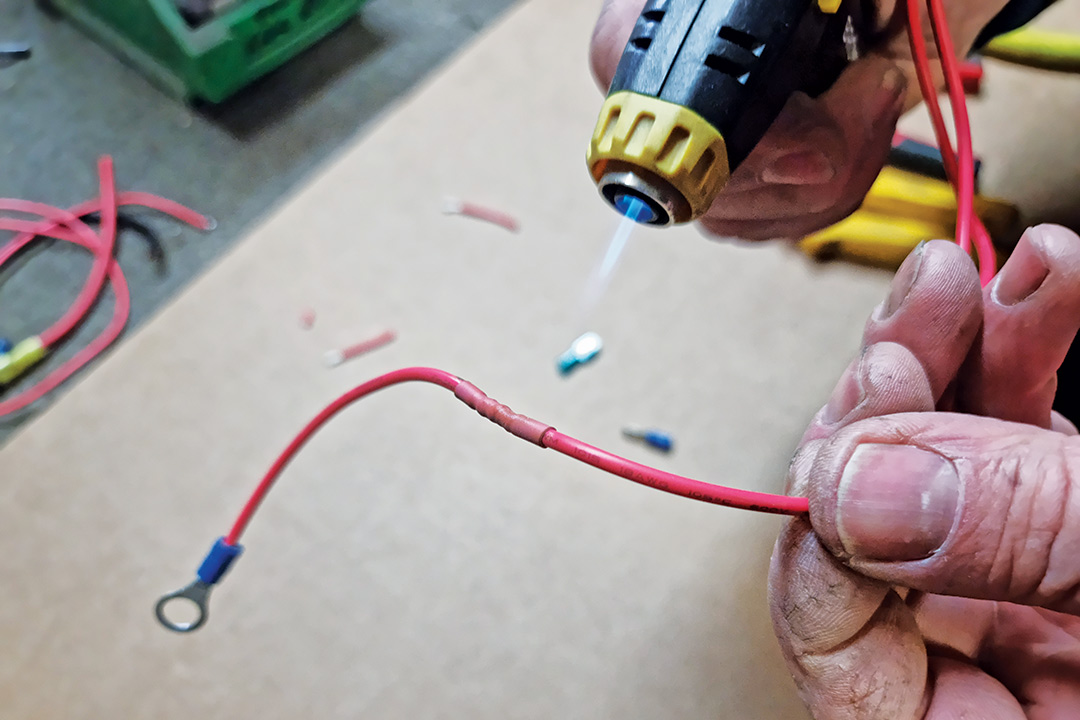 6. Apply heat to shrink the tube 6. Apply heat to shrink the tube |
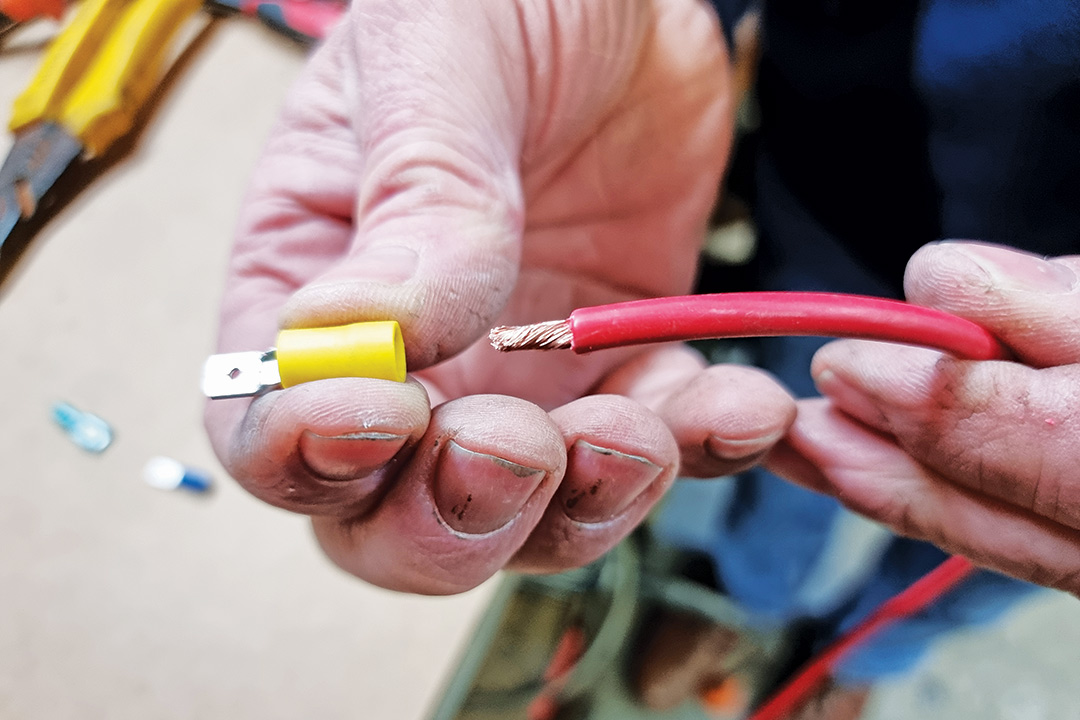
Spade connectors
Spade connectors are male/female connections to join two wires together. They can be easily disconnected and reconnected.
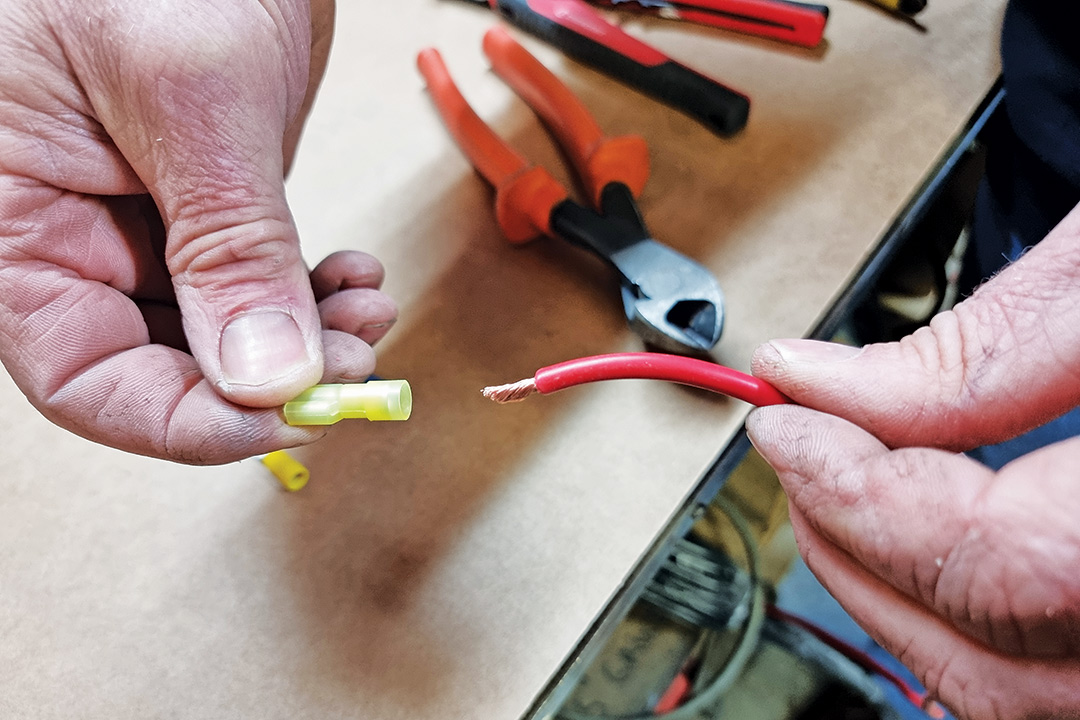 1. Insert one stripped wire into the female connector 1. Insert one stripped wire into the female connector |
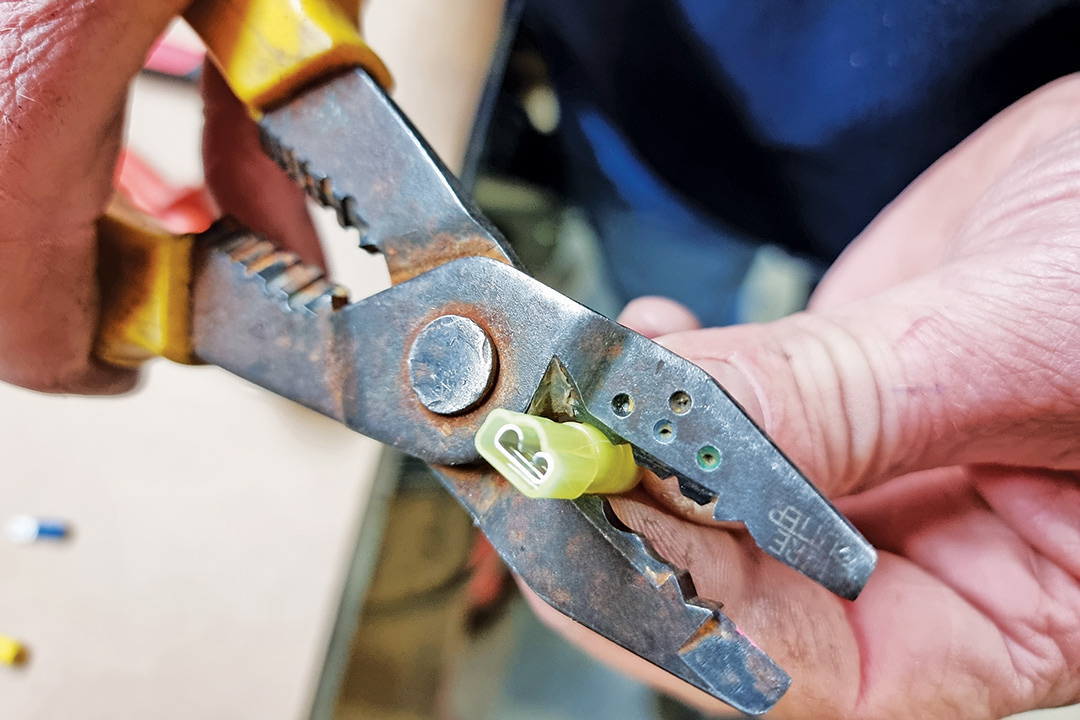 2. Crimp the female connector onto the wire using a suitable tool 2. Crimp the female connector onto the wire using a suitable tool |
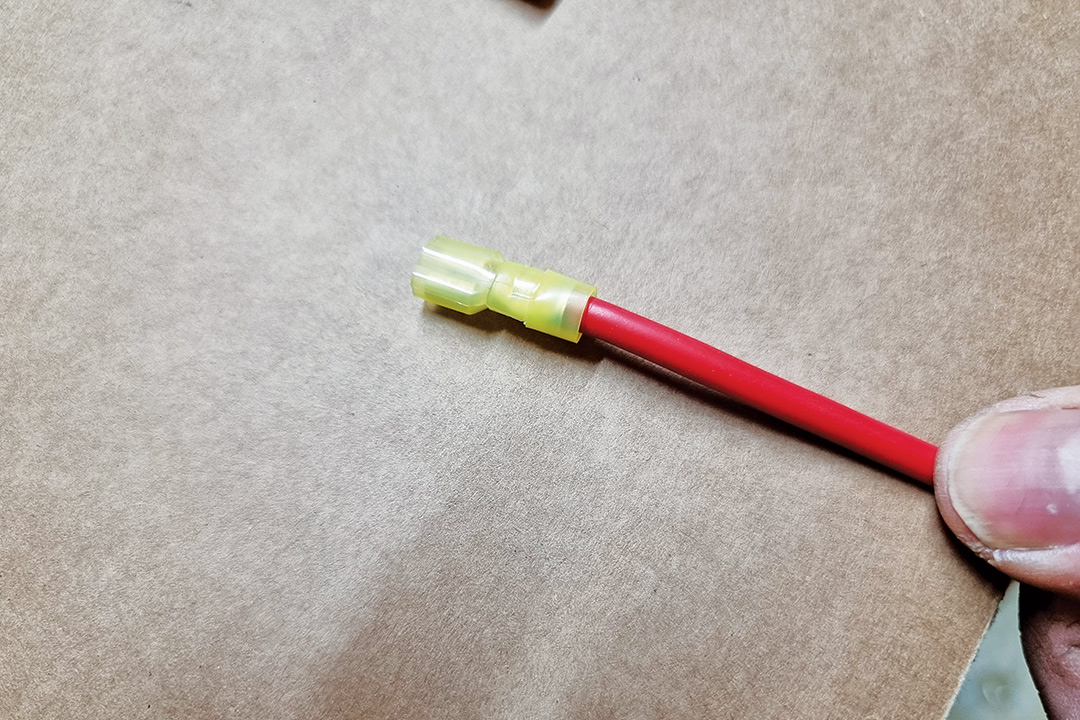 3. Check the female connector has been properly crimped 3. Check the female connector has been properly crimped |
 4. Insert the other stripped wire into the spade (male) connector 4. Insert the other stripped wire into the spade (male) connector |
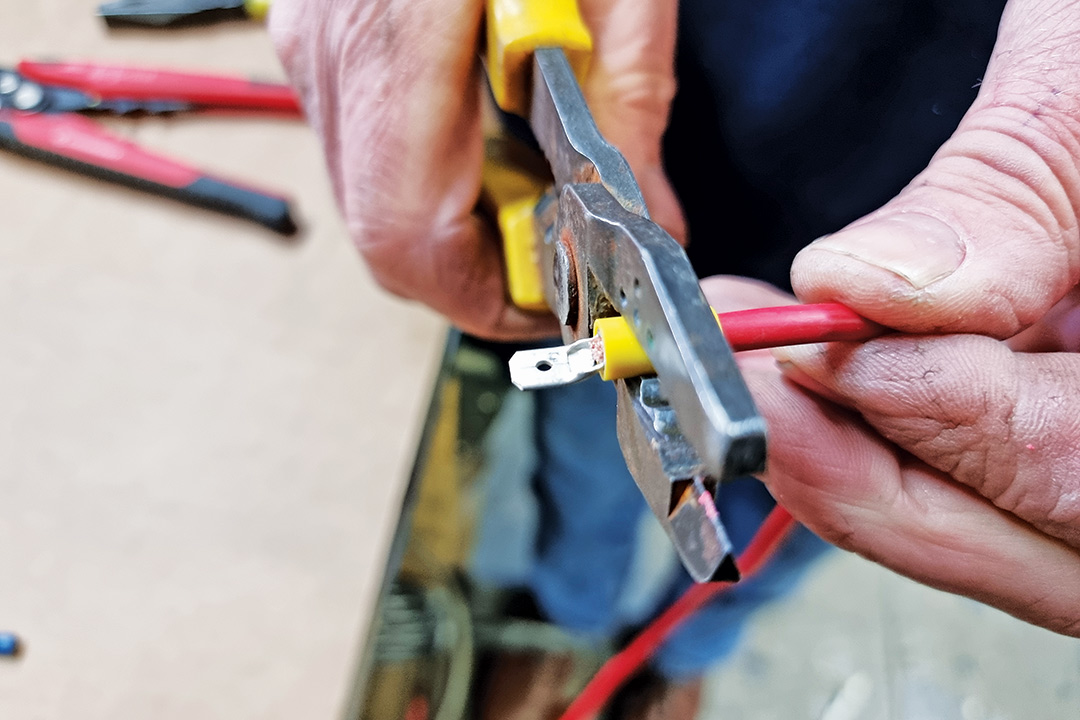 5. Crimp the male connector onto the wire using a suitable tool 5. Crimp the male connector onto the wire using a suitable tool |
 6. Check the male connector has been properly crimped 6. Check the male connector has been properly crimped |
 7. Insert the spade into the female connector 7. Insert the spade into the female connector |
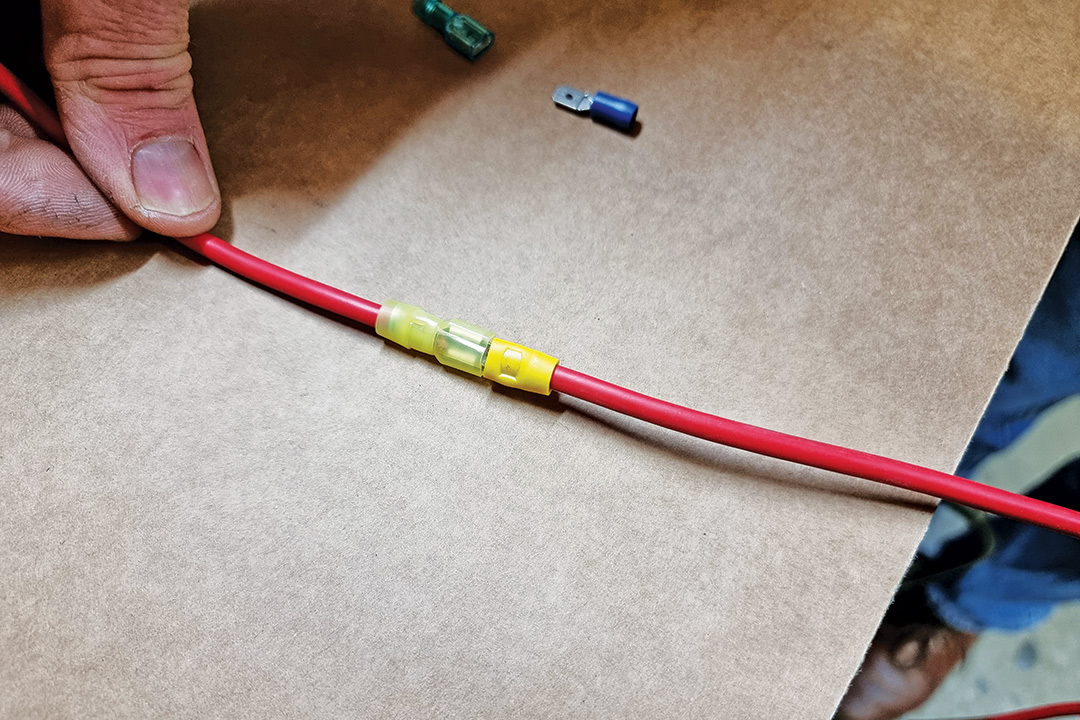 8. Push firmly and check the connection has been made 8. Push firmly and check the connection has been made |
Note — heat shrink would not necessarily be used in this application as it can be used for easy disconnection and reconnection. |
Power take-off connectors
Power take-off connectors are one of many ways to put a ‘T’ in a wire to add another line to an existing circuit. This is only done for low-current draw devices such as a 12V light. The process needs to be done on the positive and negative wires and brought to the device being added into the system.
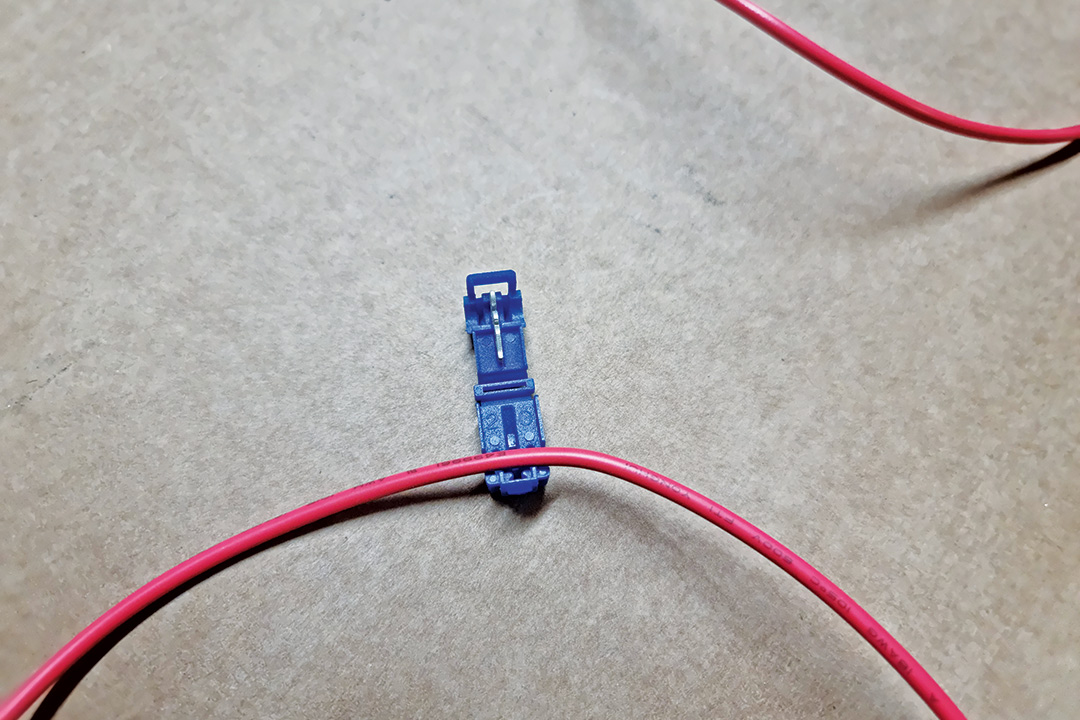 1. Place the open connector on the wire in the existing circuit 1. Place the open connector on the wire in the existing circuit |
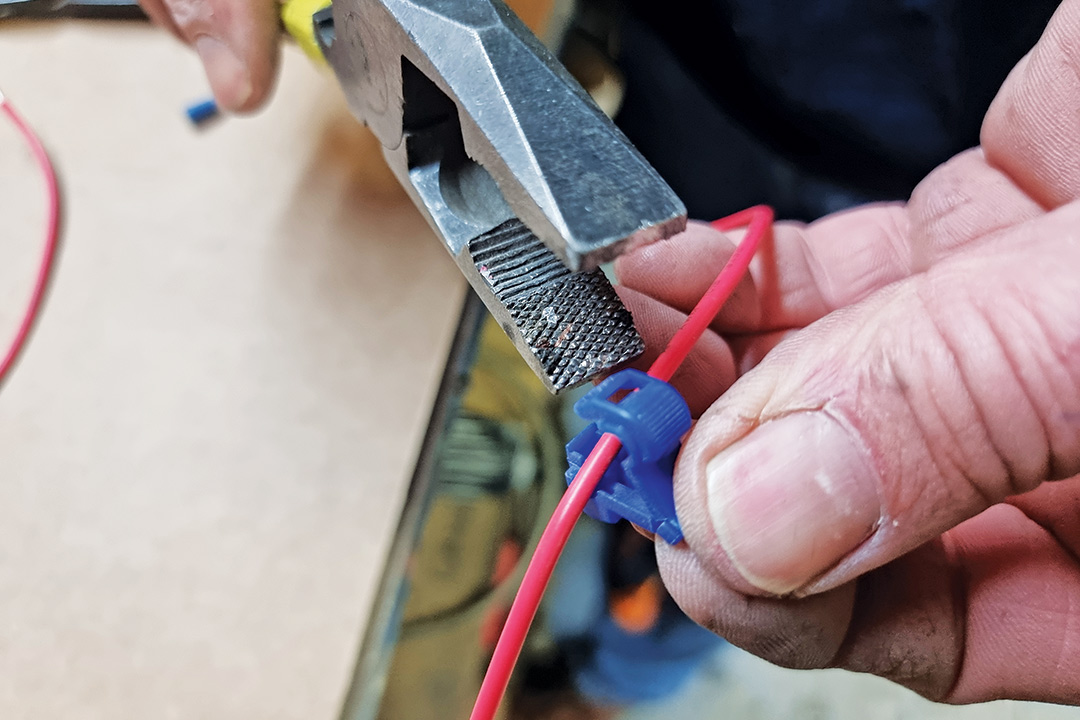 2. Close the connector over the existing circuit wire 2. Close the connector over the existing circuit wire |
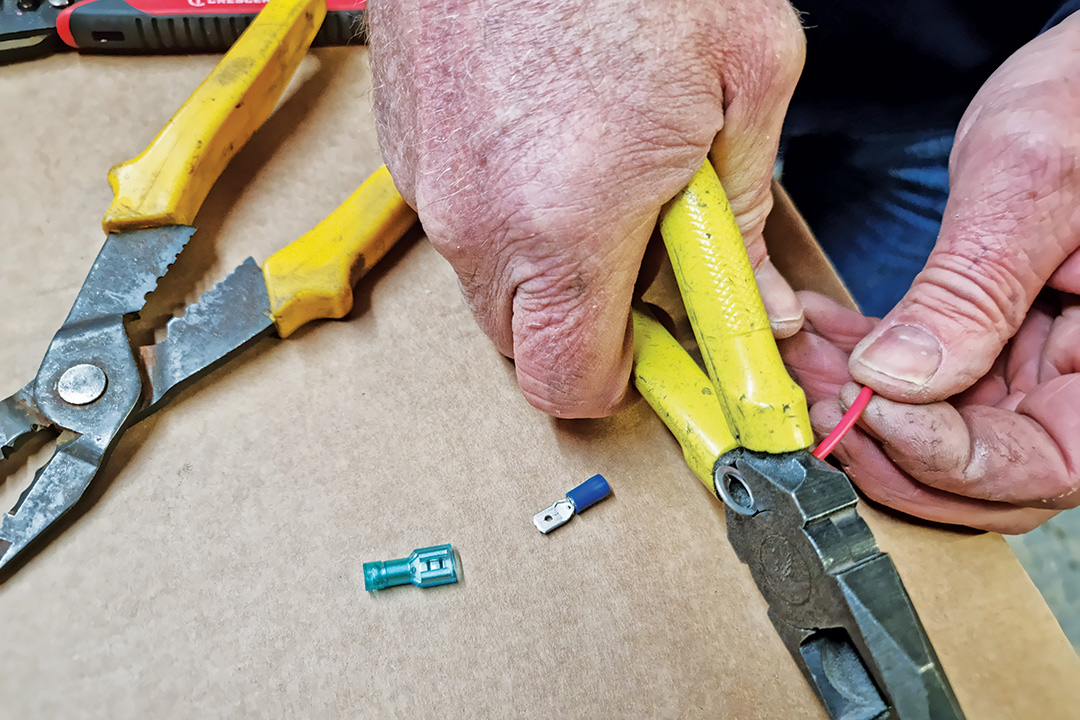
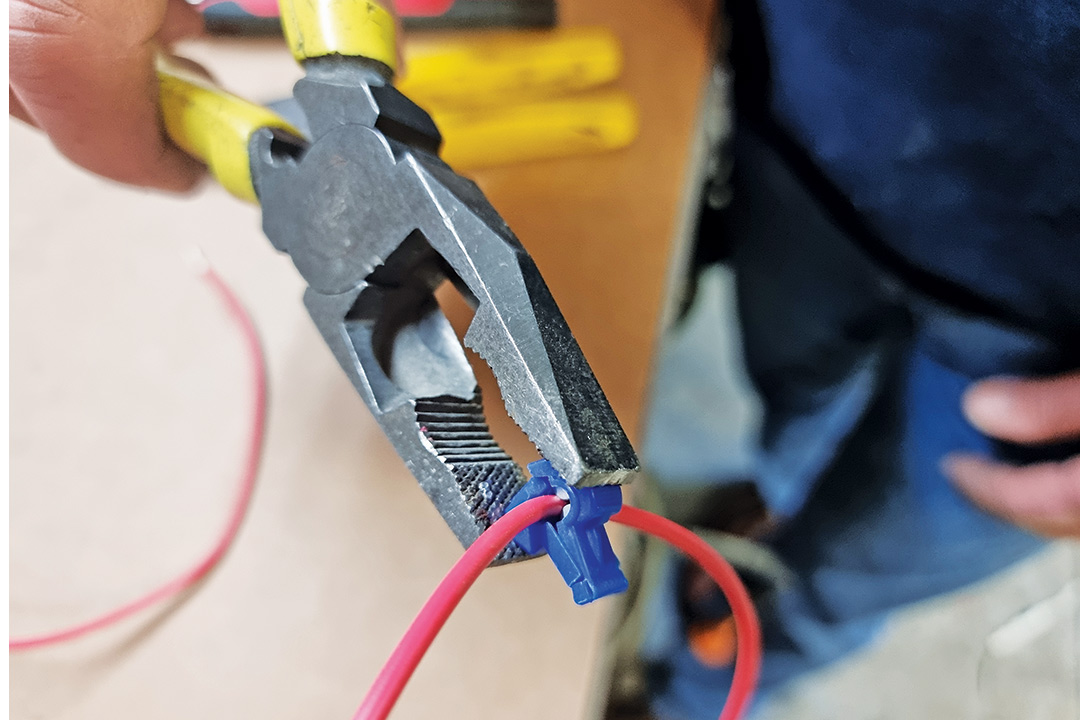 3. Clamp the connector over the wire with pliers 3. Clamp the connector over the wire with pliers |
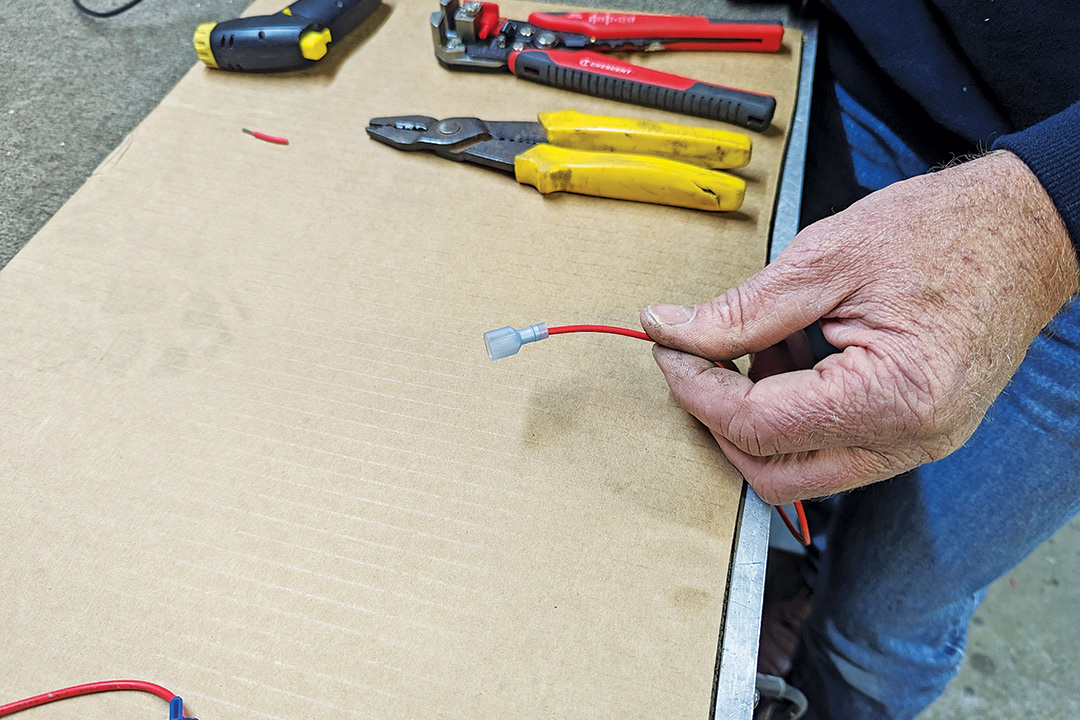 4. Insert the other stripped wire into the spade (male) connector 4. Insert the other stripped wire into the spade (male) connector |
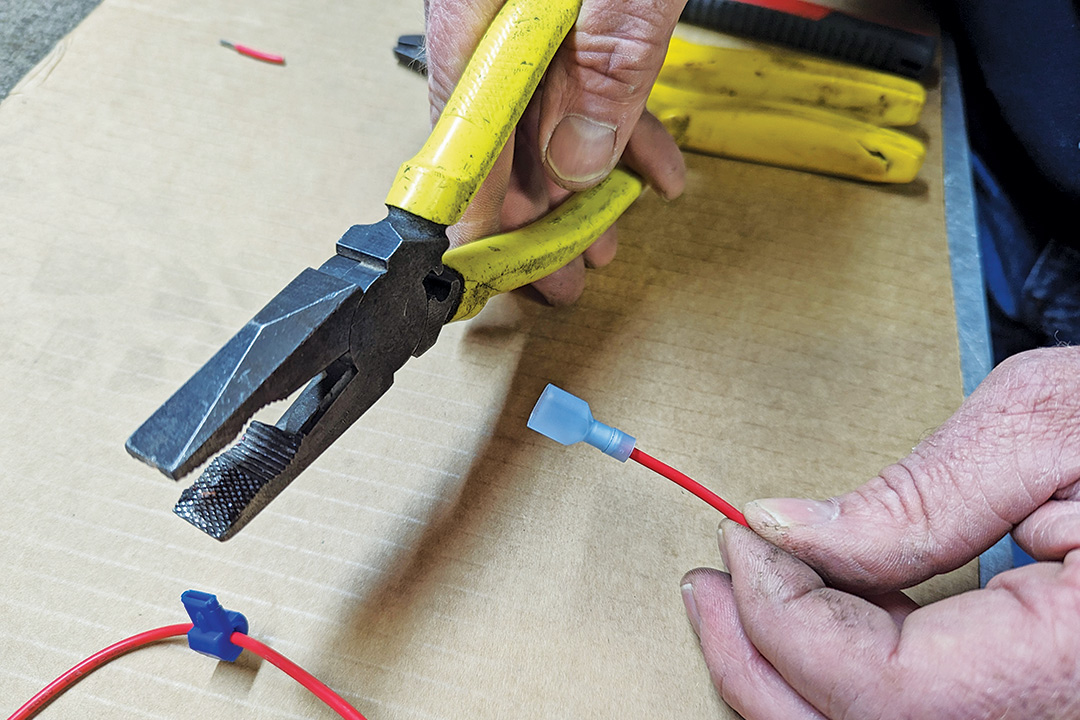 5. Crimp the male connector onto the wire using a suitable tool and inspect the crimp 5. Crimp the male connector onto the wire using a suitable tool and inspect the crimp |
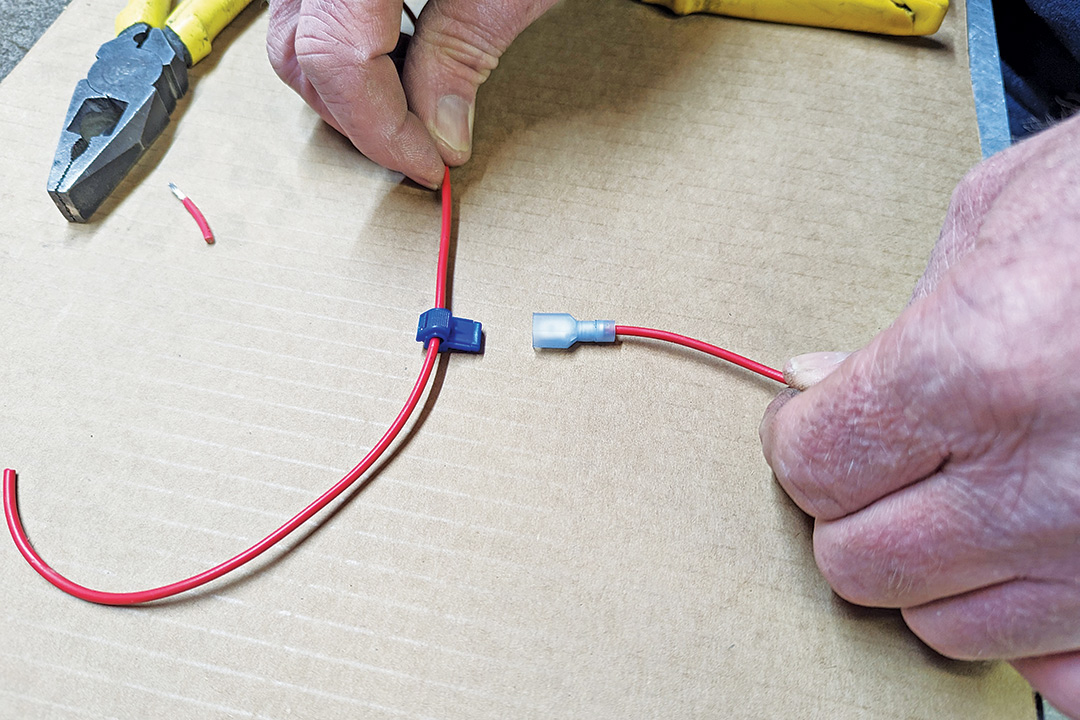 6. Insert the spade into the female connector 6. Insert the spade into the female connector |
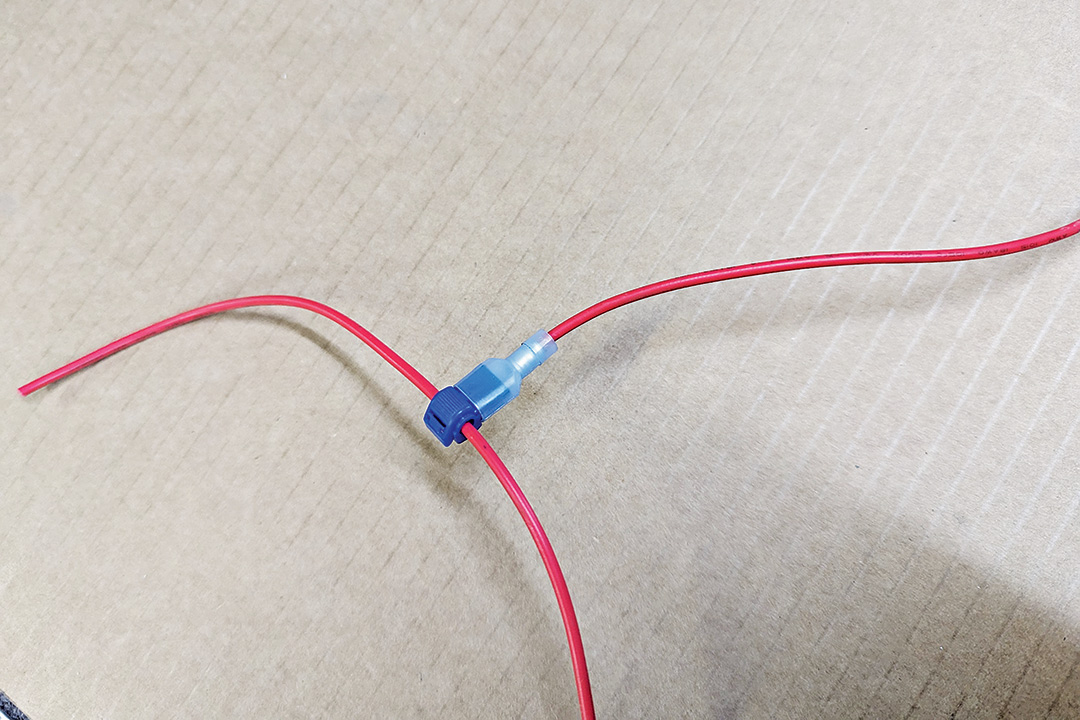 7. Push firmly and check the connection has been made 7. Push firmly and check the connection has been made |
Busbar
A busbar allows multiple wires to be distributed from one point. An example of where this is done is close to a battery terminal. These images depict a large gauge wire distributing to multiple lighter gauge wires. (The large gauge wire is used so it can handle the load draw if multiple devices are used at once. A suitably rated fuse would need to be used.)
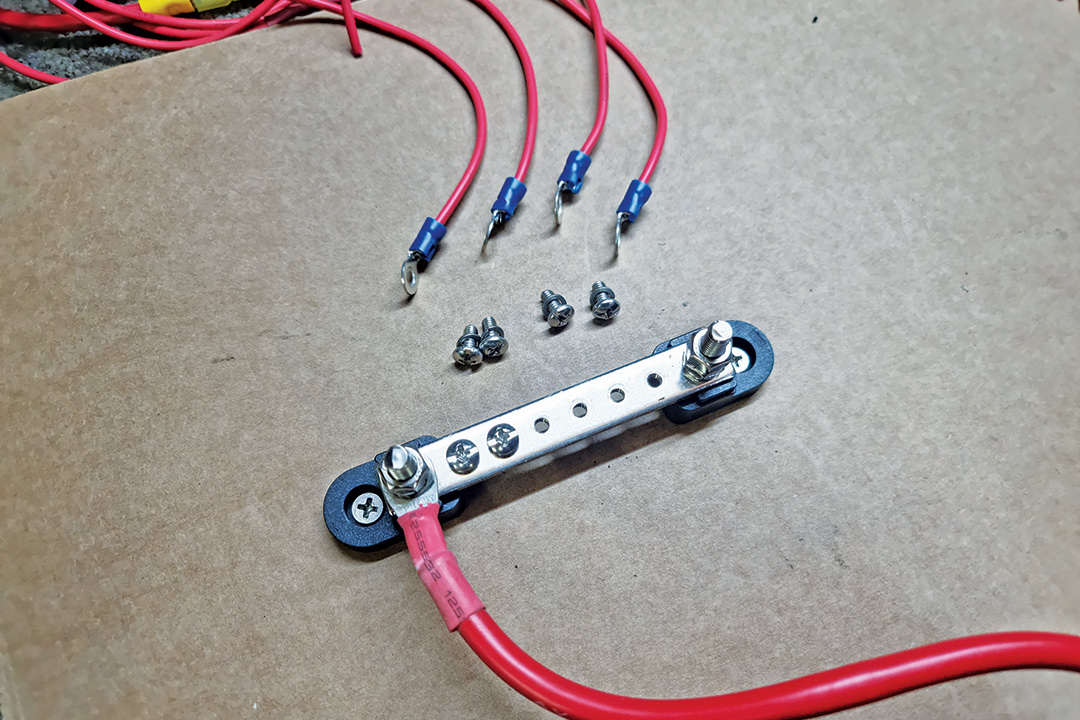 1. Attach eye connectors to wires as per above 1. Attach eye connectors to wires as per above |
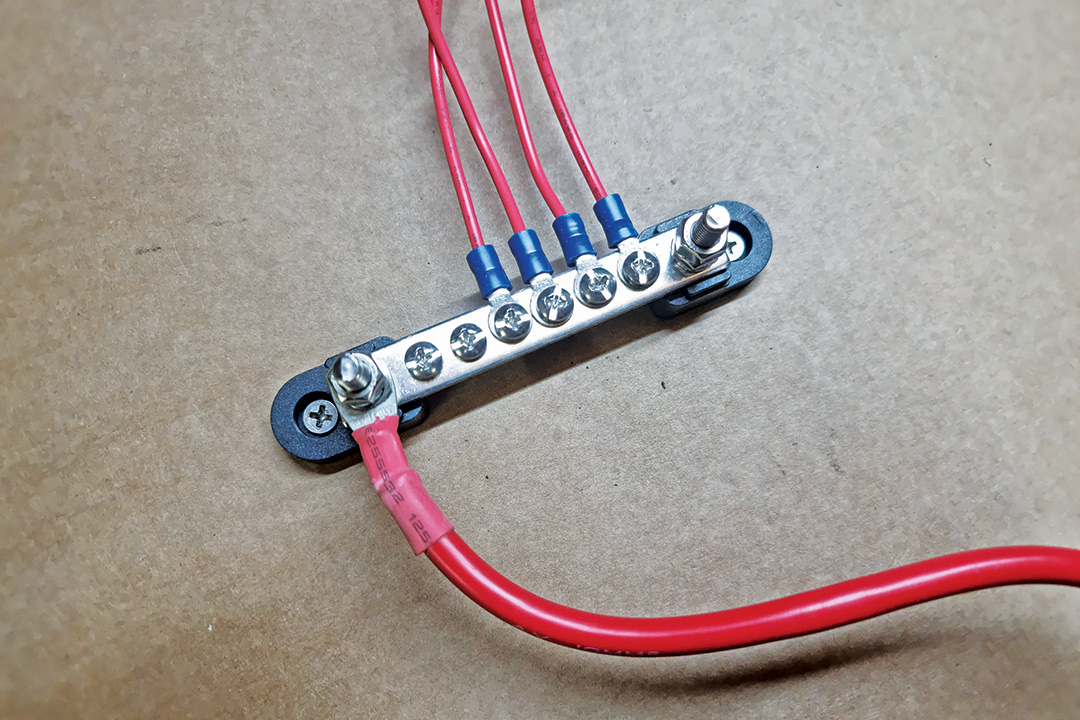 2. Screw eye connectors to the busbar 2. Screw eye connectors to the busbar |
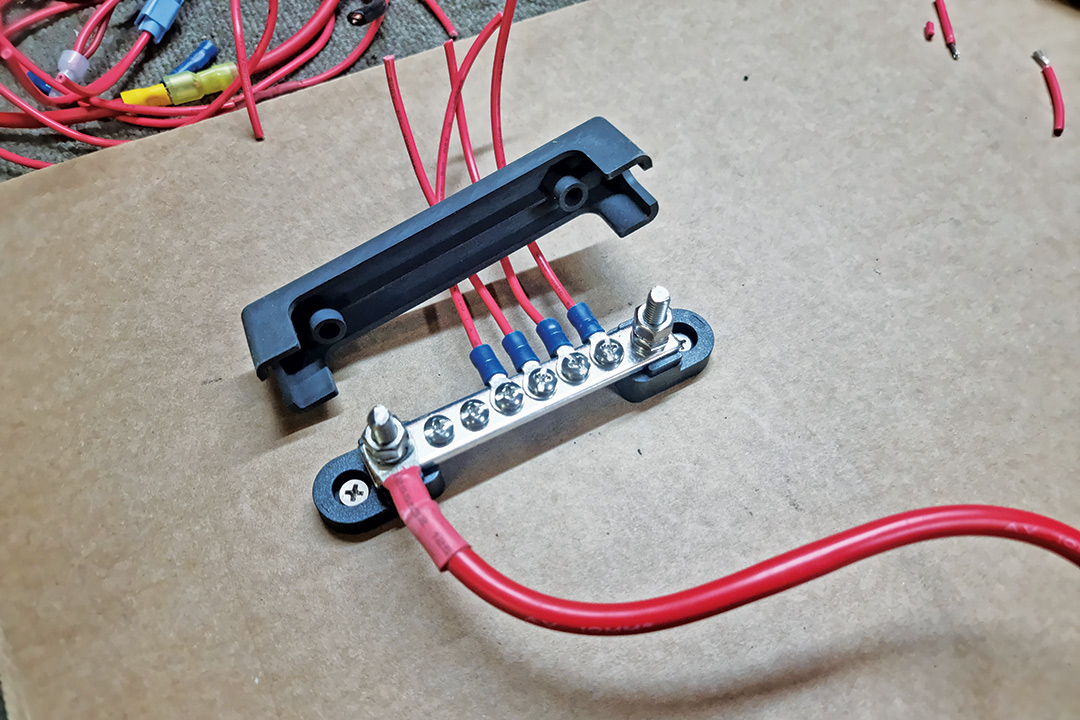 3. An open cover is used to allow heat dissipation 3. An open cover is used to allow heat dissipation |
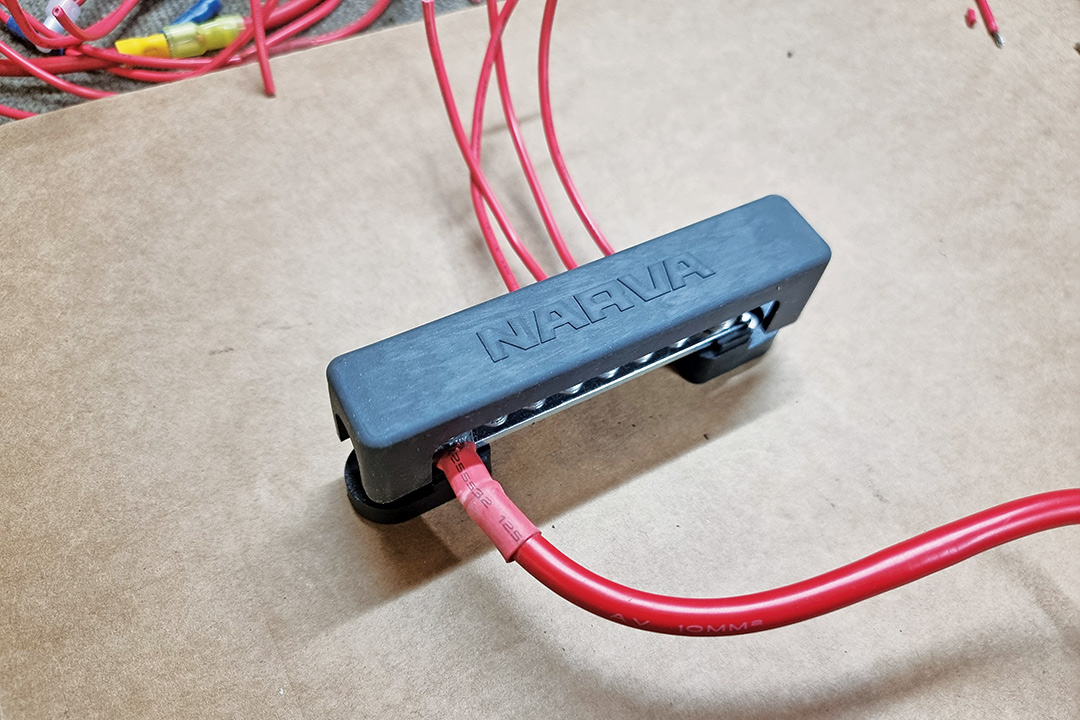 4. Push the busbar cover on the busbar 4. Push the busbar cover on the busbar |
If in doubt, consult a professional
Improper maintenance can lead to injury, death or property damage. Maintenance work of this nature should only be undertaken by people with suitable competence. The information provided is general in nature, not comprehensive and should only be taken as a guide. Individual discretion must be exercised and persons undertaking described tasks do so completely at their own risk. Publishers and creators of this content accept no responsibility for loss or damage.
Thanks to Andrew Phillips and the team from the RV Repair Centre, 120 Canterbury Road, Bayswater North Vic 3151, P: 03 9761 4189.
THE NEXT STEP
If you want to learn the latest caravan news, find the most innovative new caravans and camping gear or get inspired to plan your next adventure to some of Australia's best getaway destinations, subscribe to our weekly newsletter. We promise to send you only the best content.
Related Articles:
DIY: 12V theory — Understanding the basics


