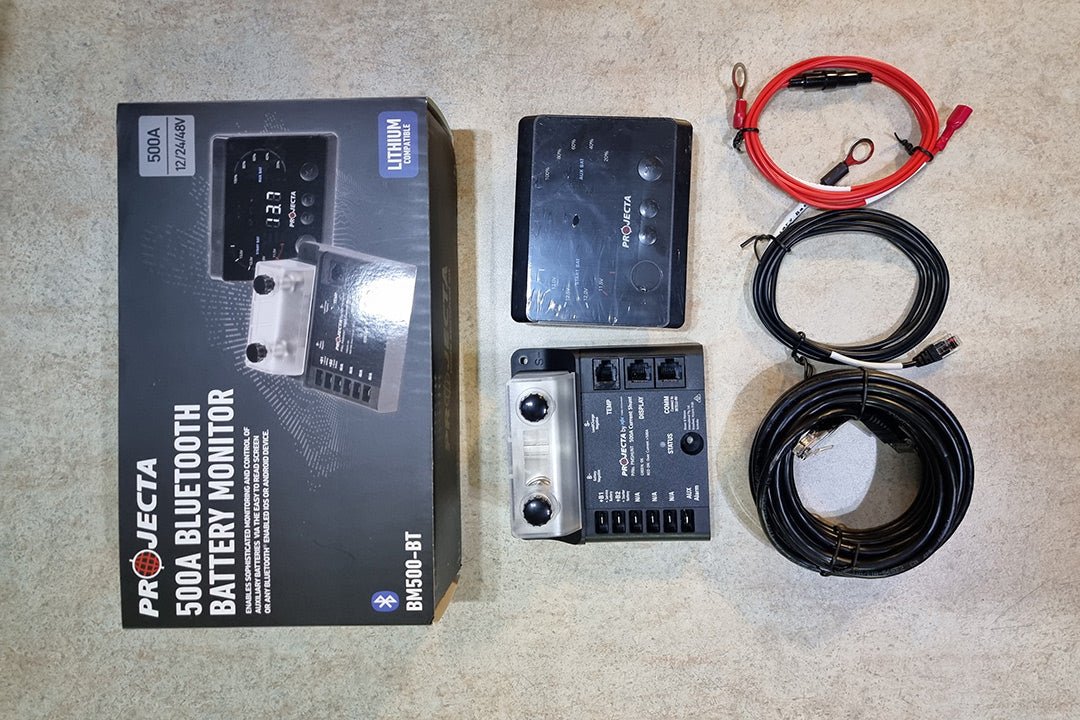

Continuing on the theme of all things power related, in this article the RV Repair Centre shows us how to protect our power sources by installing a battery monitor.
A battery is kind of like a bucket holding energy. You can put energy in by charging it through solar, the car’s charging system or plugging into mains power. You can also drain energy out of the battery by running devices or when the system is dormant and small amounts of energy are being used up over time.
Understanding how much energy is going in and out of your battery is important for a couple of reasons. Firstly, if the energy exiting your battery is greater than the energy going in, over time you will run out of energy needed to power your devices and that’s no fun. And secondly, if your systems are allowing too much energy to go in or out, it is harmful to the battery.
This is where a battery monitor is very helpful to keep an eye on the amount of energy going in and out of the battery. The battery monitor receives the information it needs from the component known as a shunt. The shunt is connected to the negative terminal of the battery and measures the real time voltage of the battery and current draw in and out of the battery. A smart shunt — otherwise known as a battery monitor — can analyse the information it is receiving against parameters you set and let you determine the ‘state of play’.
The parameters you input include battery type (AGM, lithium and so on), battery capacity in amps, low and high voltage/amp, and values. This enables the processor to flag or even shut down the system if too much voltage is going in or out. It also enables you to simply keep an eye on the state of charge of the battery simply by looking at a screen. Some battery monitors have an additional user-friendly feature of Bluetooth connectivity to your phone. This generally allows data to be more easily inputted during set up and information to be displayed more graphically and in more detail on your phone screen.
This setup can be a great retrofit project for older vans that do not have battery monitors. The team at The RV Repair Centre shows us the install of a Projecta Battery Monitor with Bluetooth connectivity. This monitor is capable of monitoring the caravan battery as well as the crank battery. For this installation we only hooked it up to the caravan battery. Also, it was a simulated installation using dummy panels as we did not want to cut any holes in the demonstration van.
Reconfiguring wires to negative terminal
Every installation will be a little bit different. In this instance there were multiple wires leading to the negative terminal. Some wires were connected to the top of the battery negative terminal and some to the bottom of the terminal. To install the battery monitor, all these wires need to be removed and routed through the shunt and back to the battery negative terminal. In this instance, to help neaten up the wiring a busbar was added into the system so that all the wires could feed through a common connection point. We mounted the busbar to a dummy panel for the simulated installation.
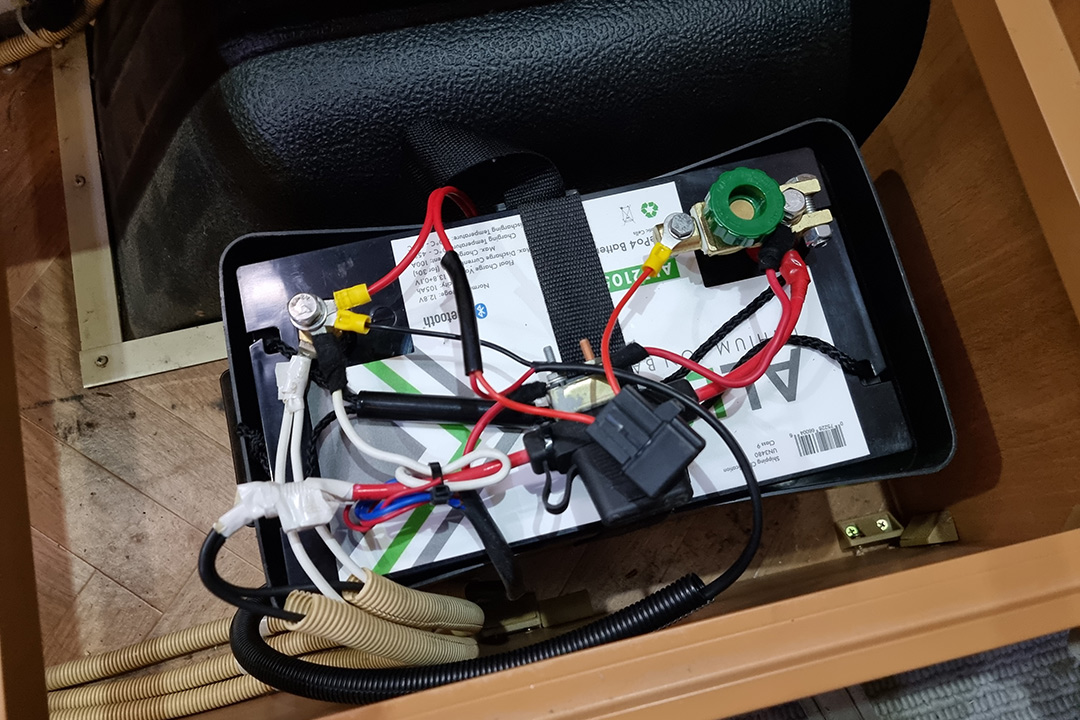 1. Assess the current configuration of the battery wiring to determine suitable new routing 1. Assess the current configuration of the battery wiring to determine suitable new routing |
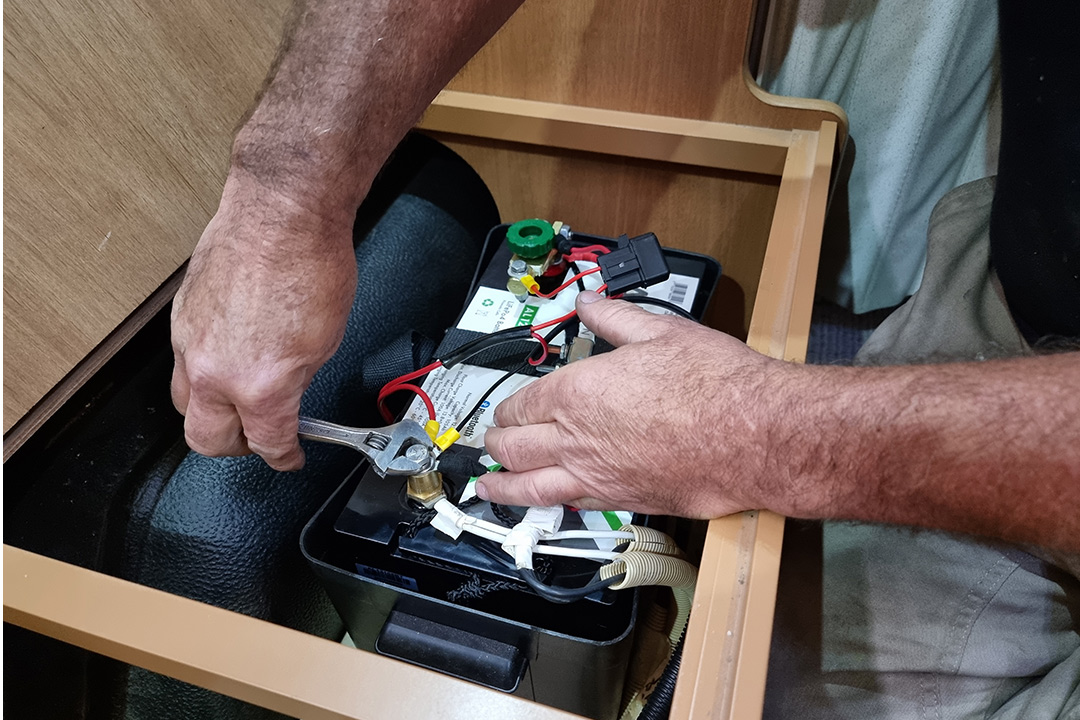 2. Undo the upper bolt on the battery negative terminal 2. Undo the upper bolt on the battery negative terminal |
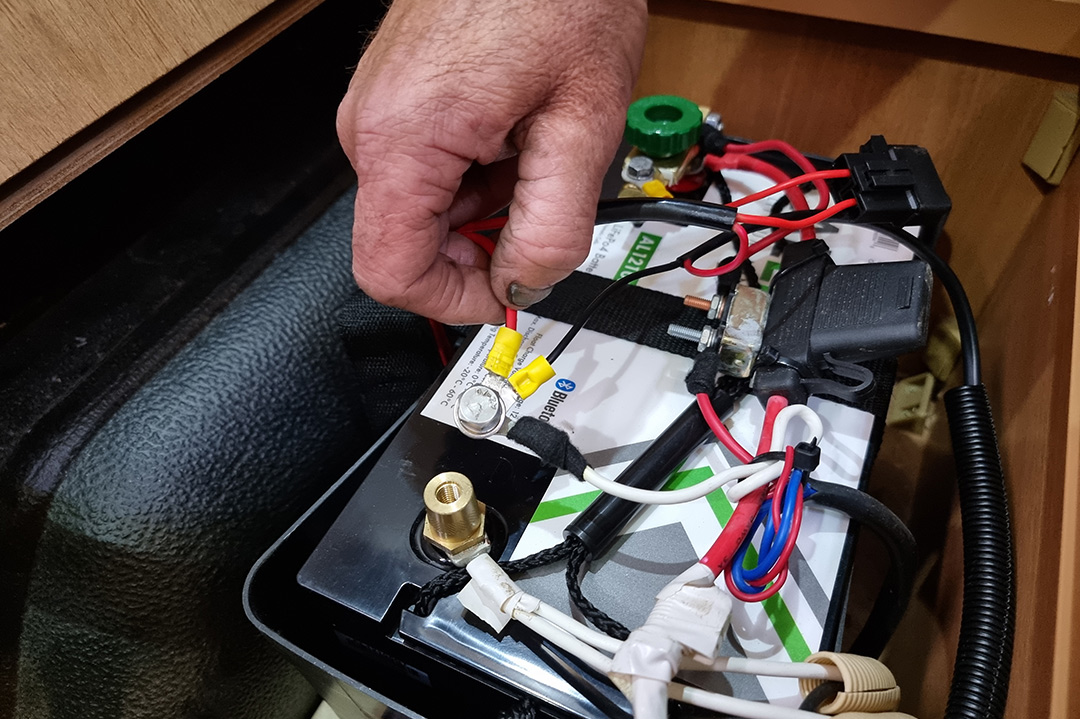 3. Remove wires running to battery negative terminal 3. Remove wires running to battery negative terminal |
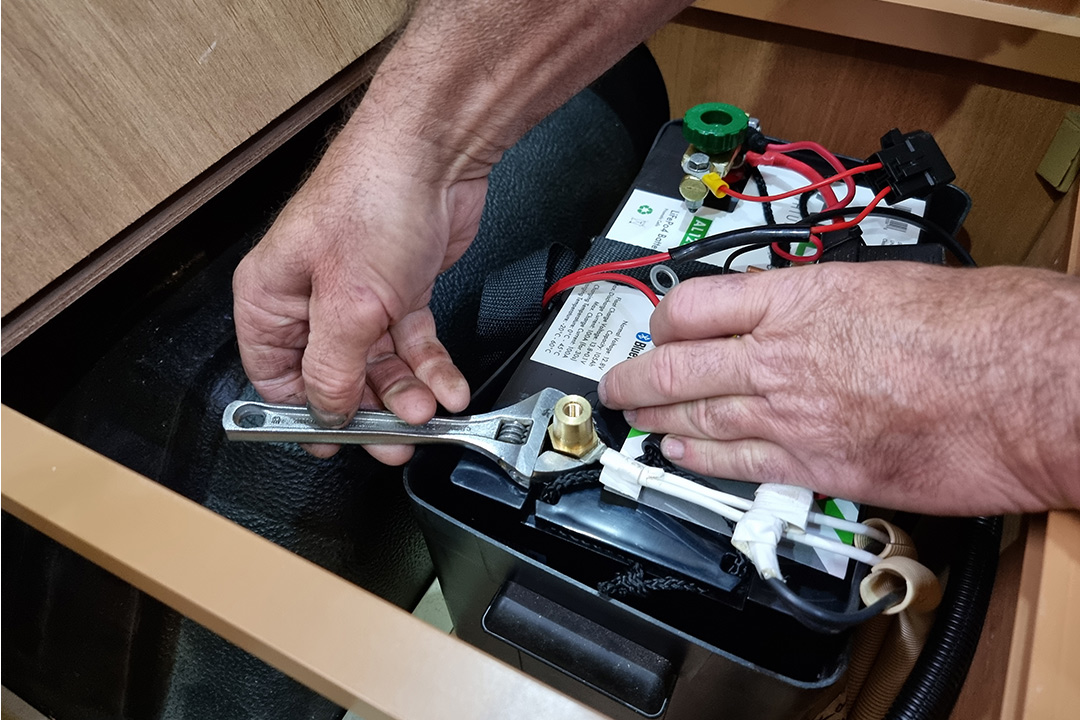 4. Undo the lower battery terminal point 4. Undo the lower battery terminal point |
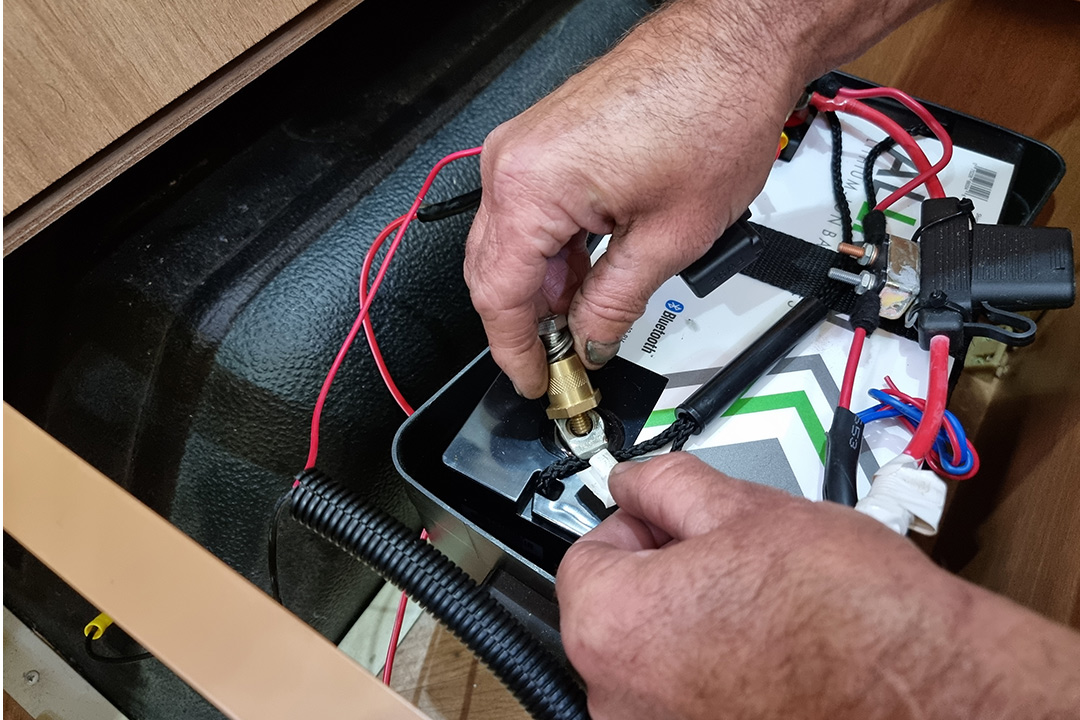 5. Remove all remaining wires running to the battery negative terminal 5. Remove all remaining wires running to the battery negative terminal |
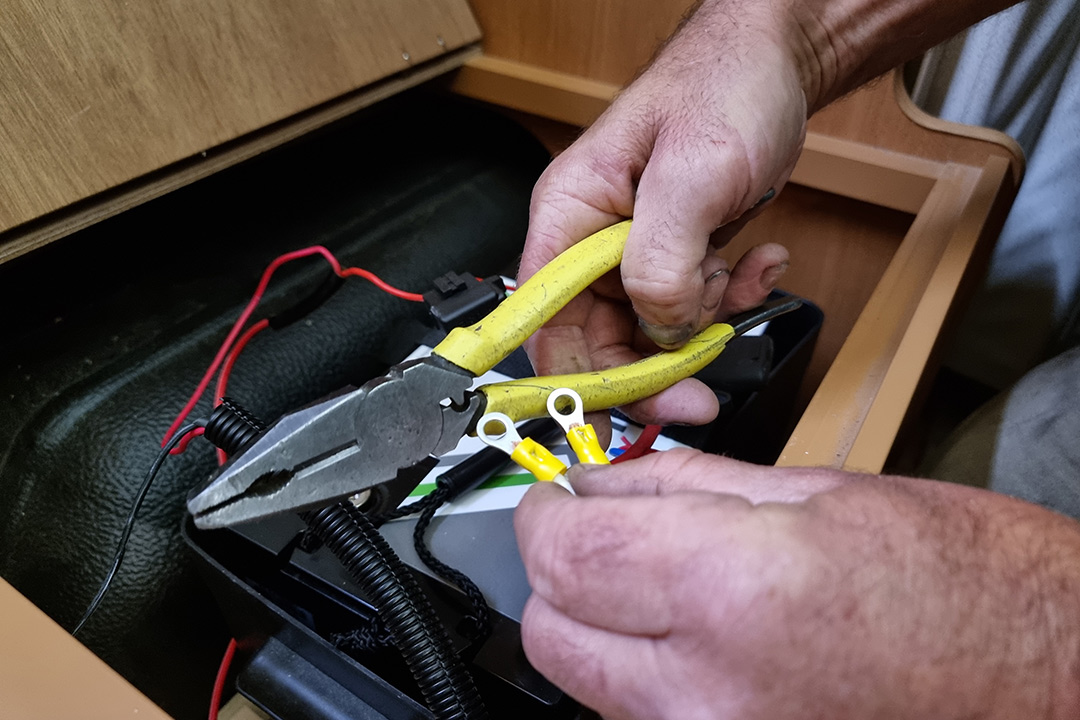 6. All wires from the negative terminal were fitted with new ring terminals suitable for connecting to the busbar 6. All wires from the negative terminal were fitted with new ring terminals suitable for connecting to the busbar |
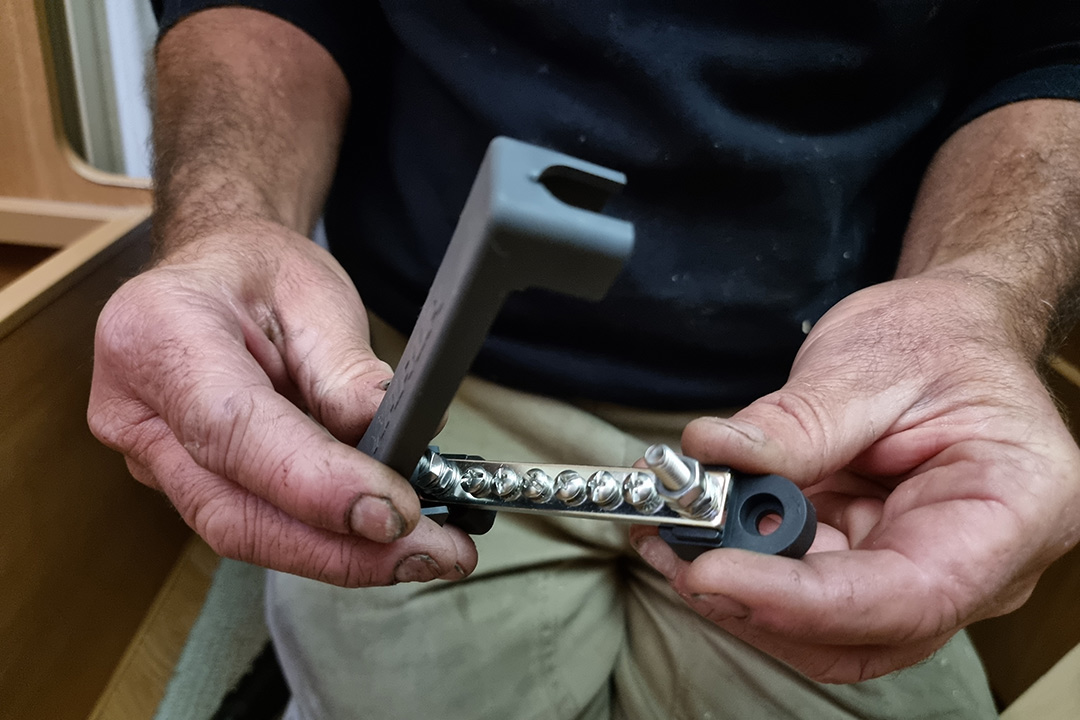 7. Remove the cover from the busbar to enable the wires to be fitted 7. Remove the cover from the busbar to enable the wires to be fitted |
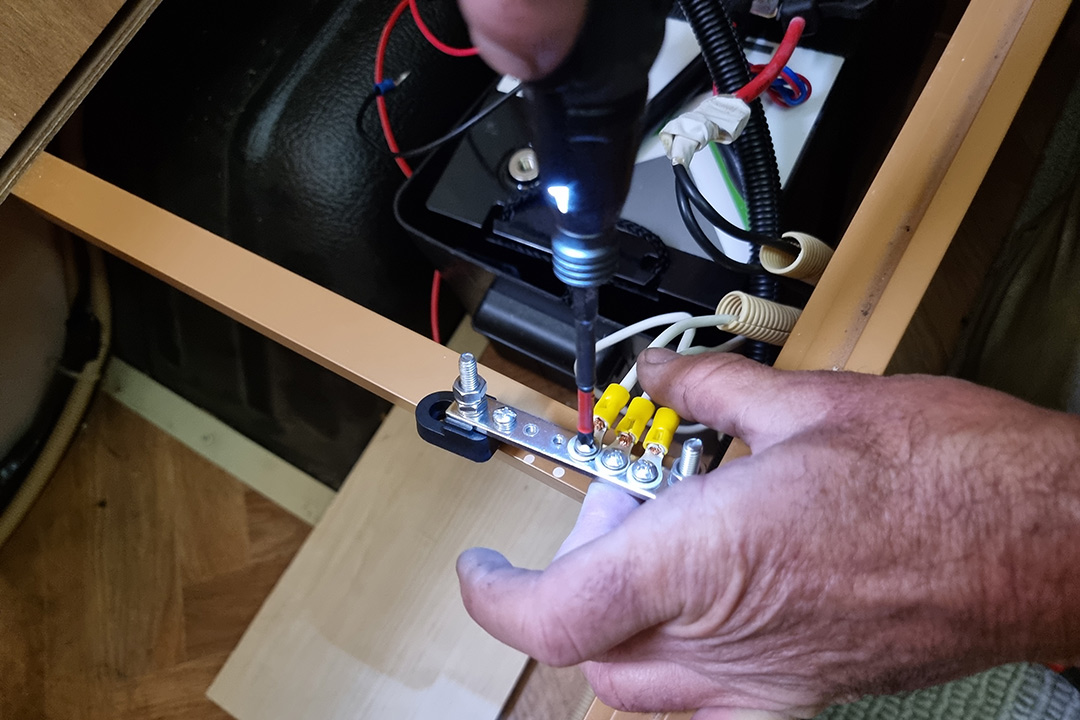 8. Attach the negative wires to the busbar 8. Attach the negative wires to the busbar |
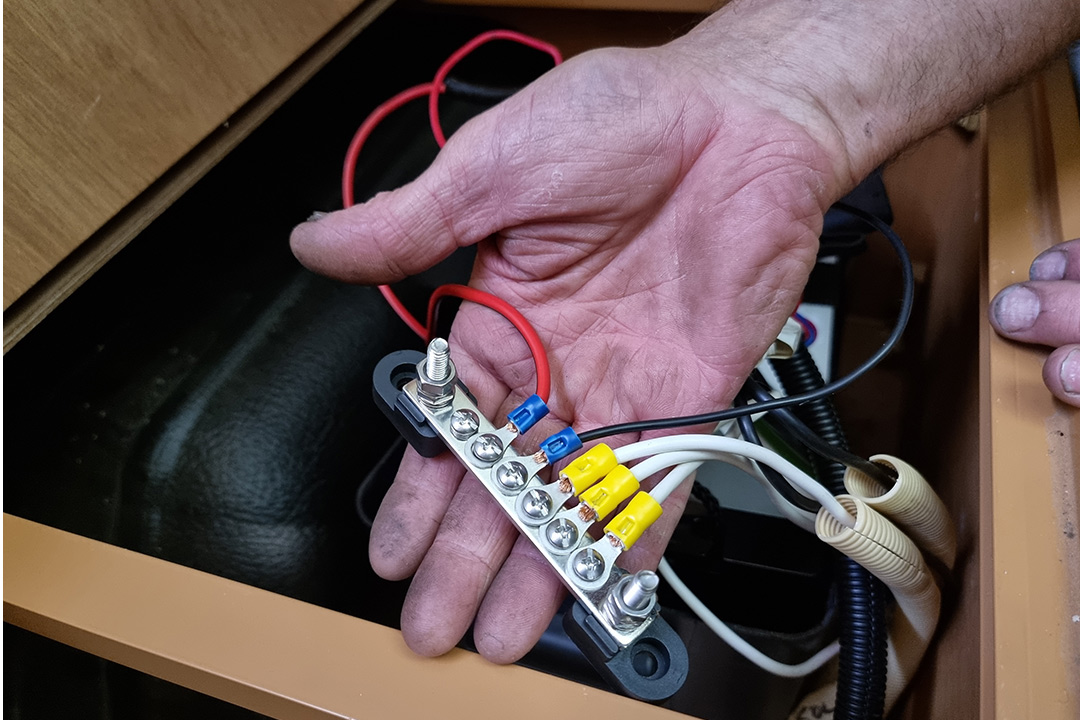 9. Ensure all negative wires are connected 9. Ensure all negative wires are connected |
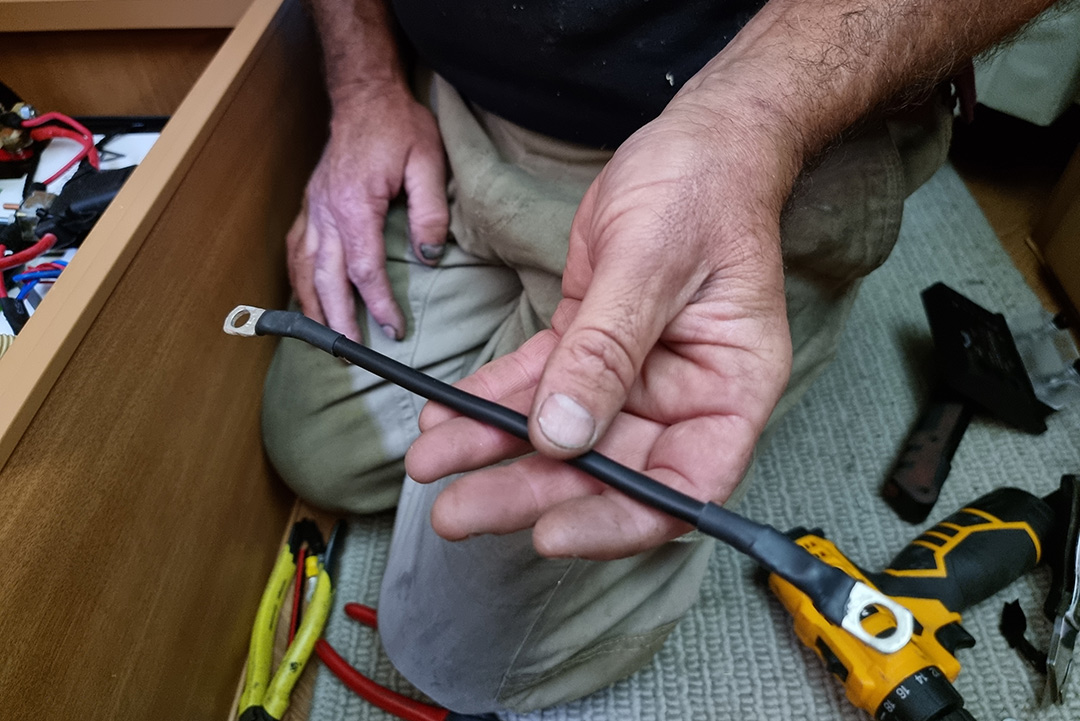 10. Select a suitable load rated wire to connect the busbar to the shunt 10. Select a suitable load rated wire to connect the busbar to the shunt |
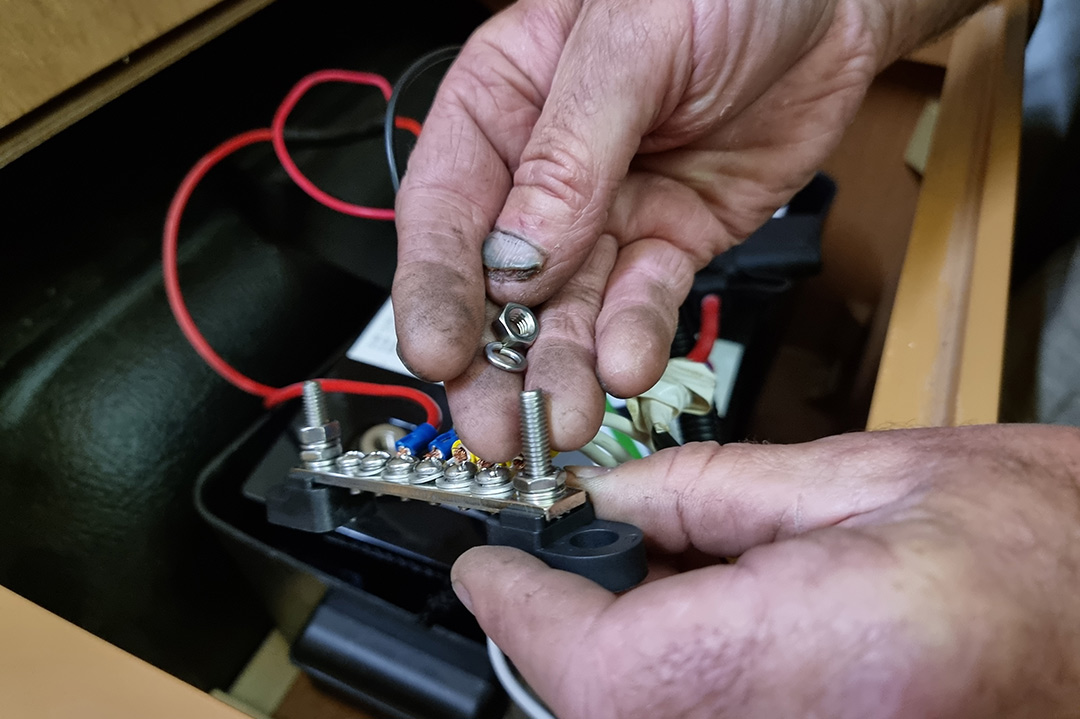 11. Remove the nut and washer from one end of the busbar 11. Remove the nut and washer from one end of the busbar |
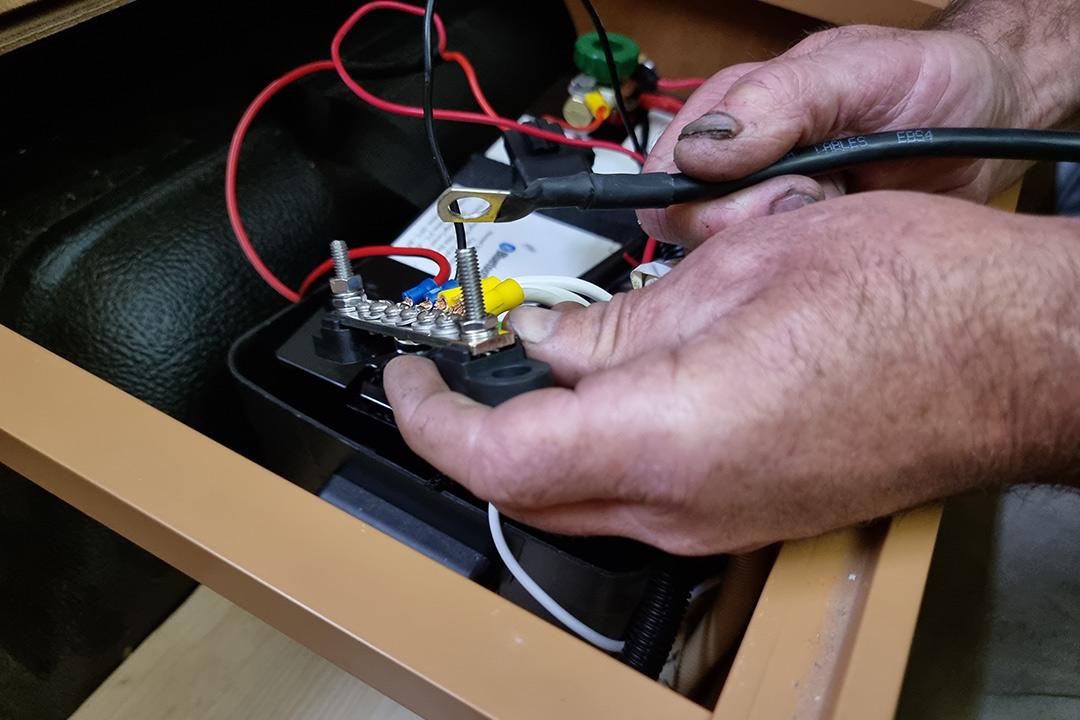 12. Attach the shunt negative wire to the busbar main terminal 12. Attach the shunt negative wire to the busbar main terminal |
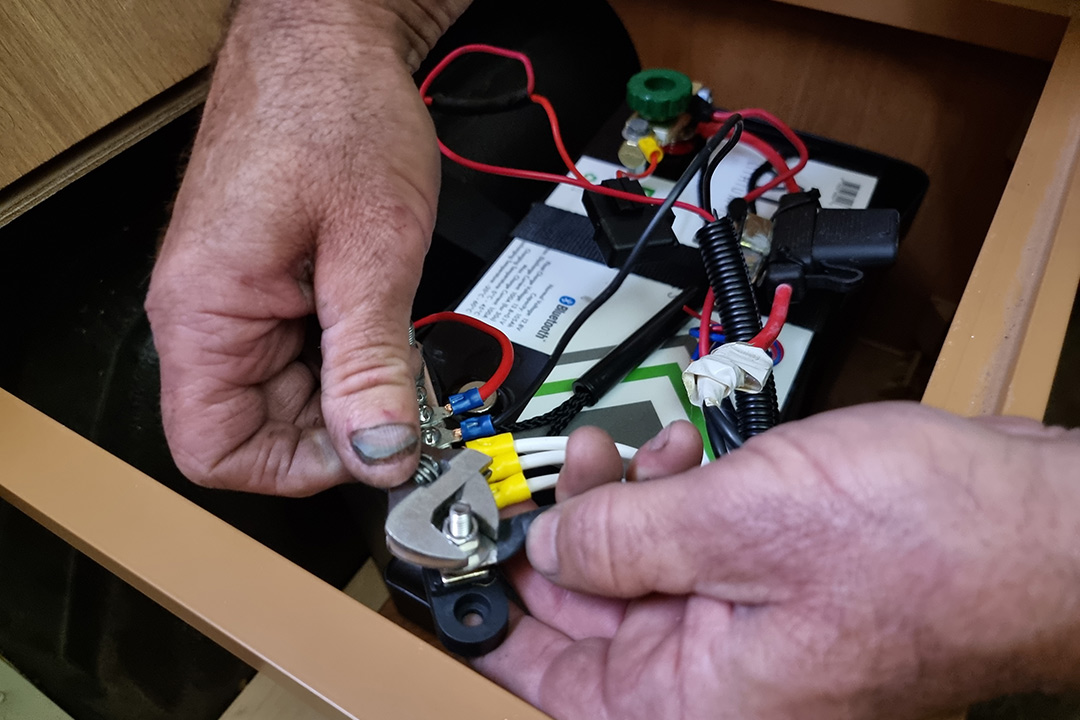 13. Refit the nut and washer and tighten to secure the shunt negative wire 13. Refit the nut and washer and tighten to secure the shunt negative wire |
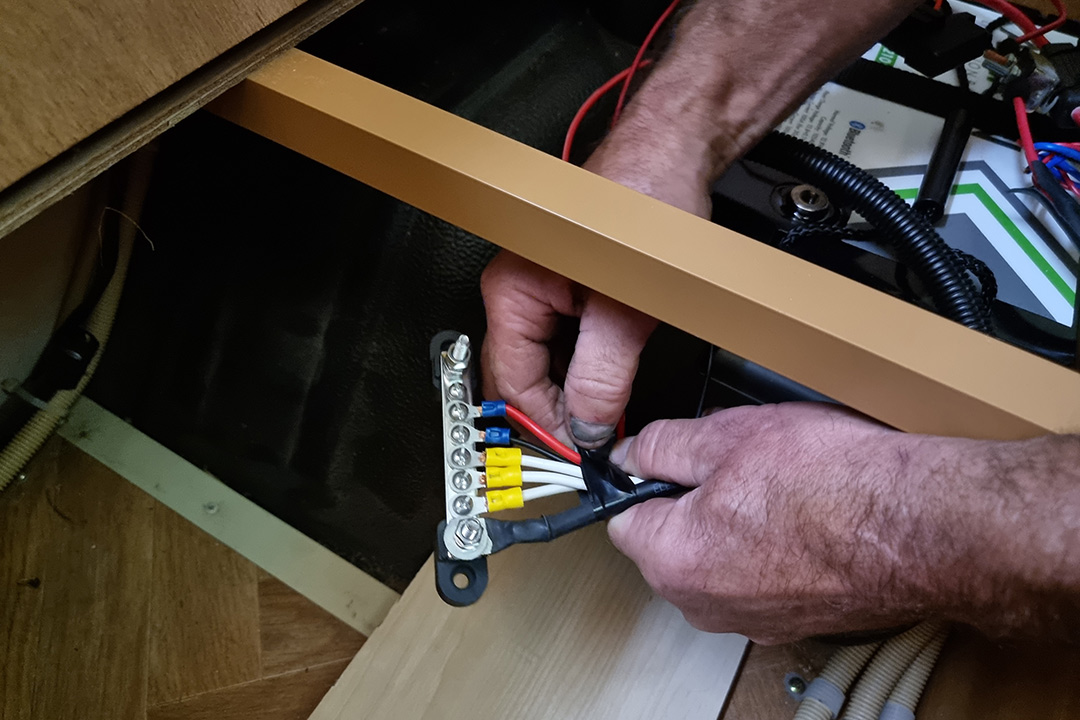 14. Tape the wires together 14. Tape the wires together |
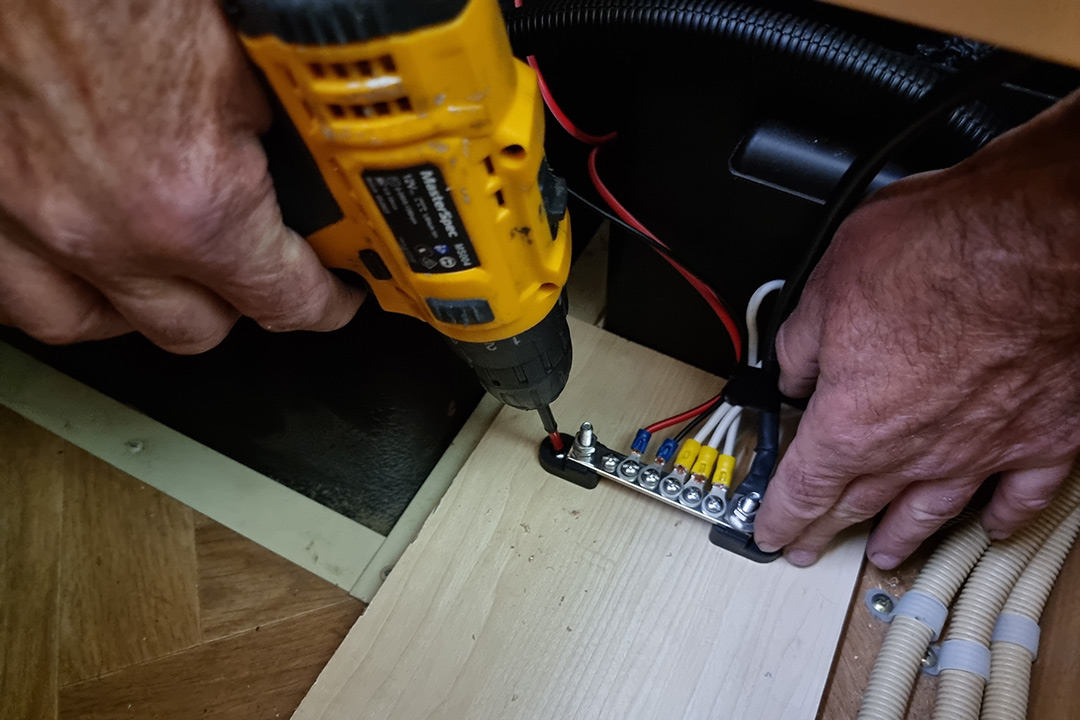 15. Secure the busbar in a suitable location (note, we are securing to a dummy panel) 15. Secure the busbar in a suitable location (note, we are securing to a dummy panel) |
| 16. The final step is to replace the cover on the busbar |
Installing the shunt
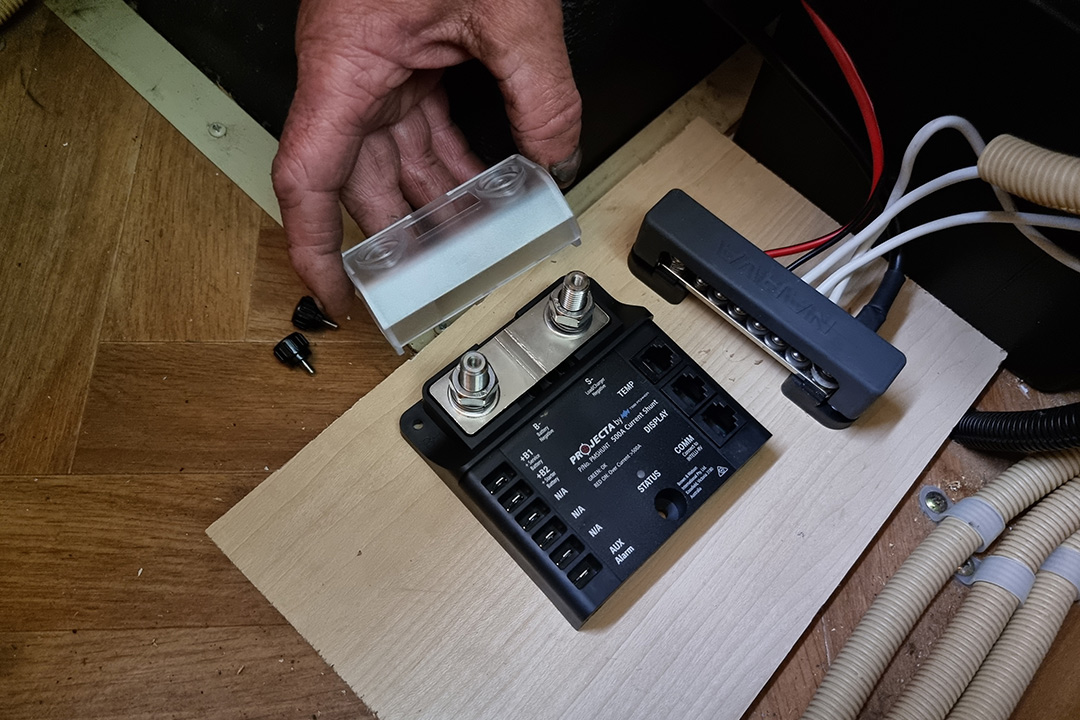 1. Identify a suitable location for the shunt and remove the terminal cover 1. Identify a suitable location for the shunt and remove the terminal cover |
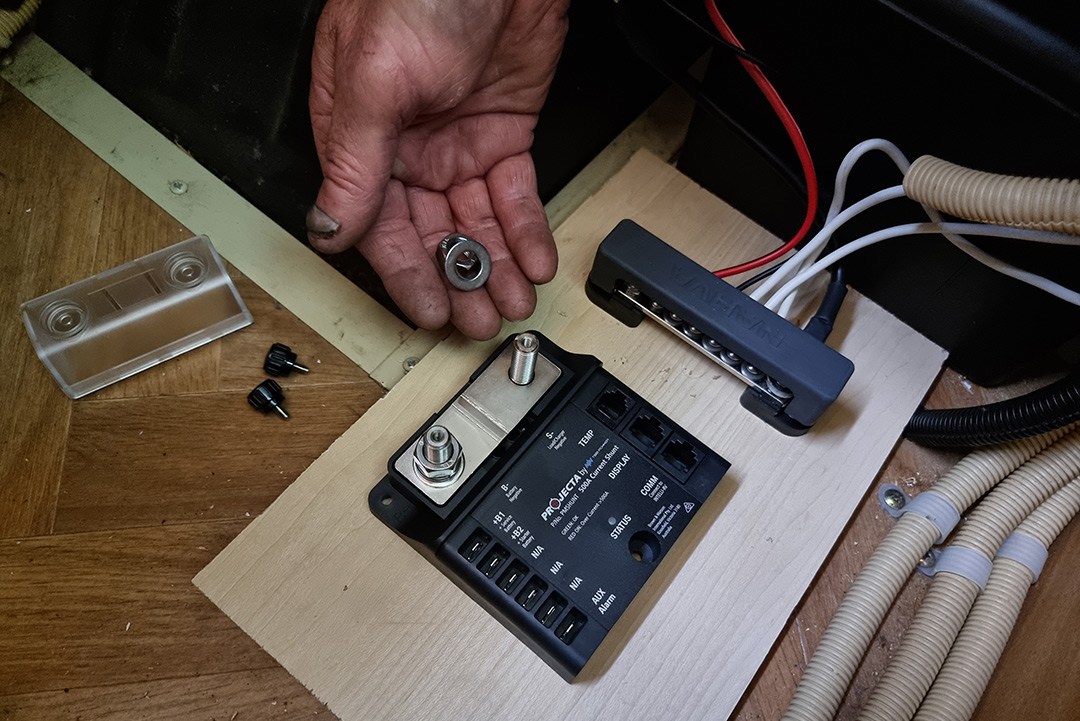 2. Remove the shunt negative load side terminal nut and washer 2. Remove the shunt negative load side terminal nut and washer |
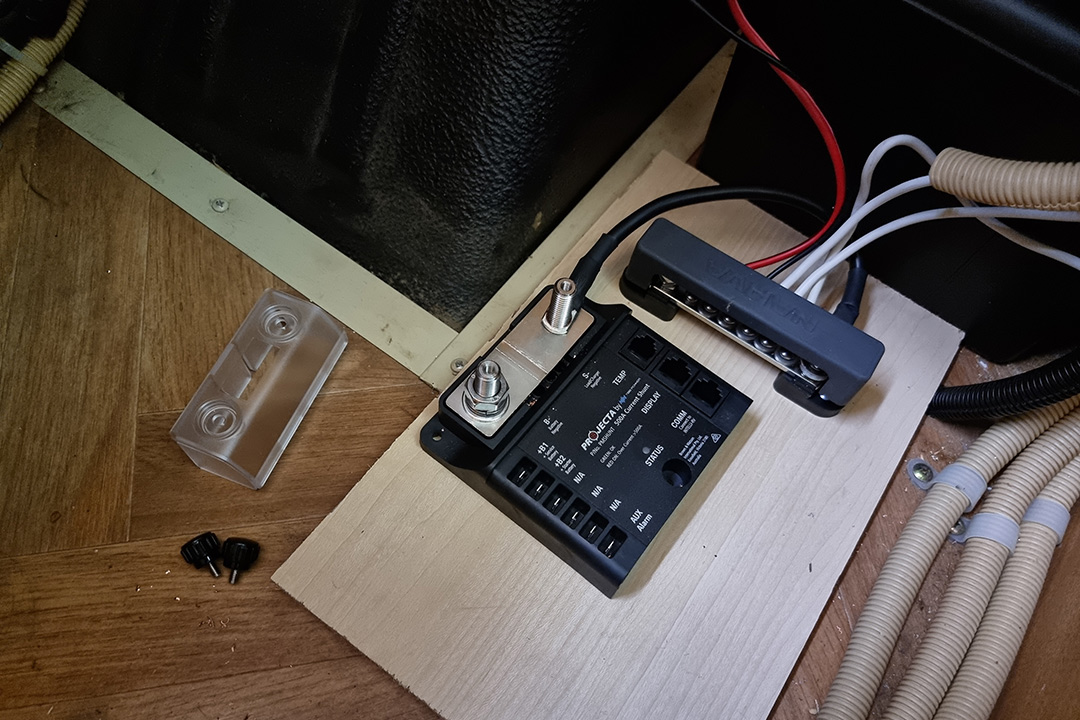 3. Attach the connecting lead to the terminal 3. Attach the connecting lead to the terminal |
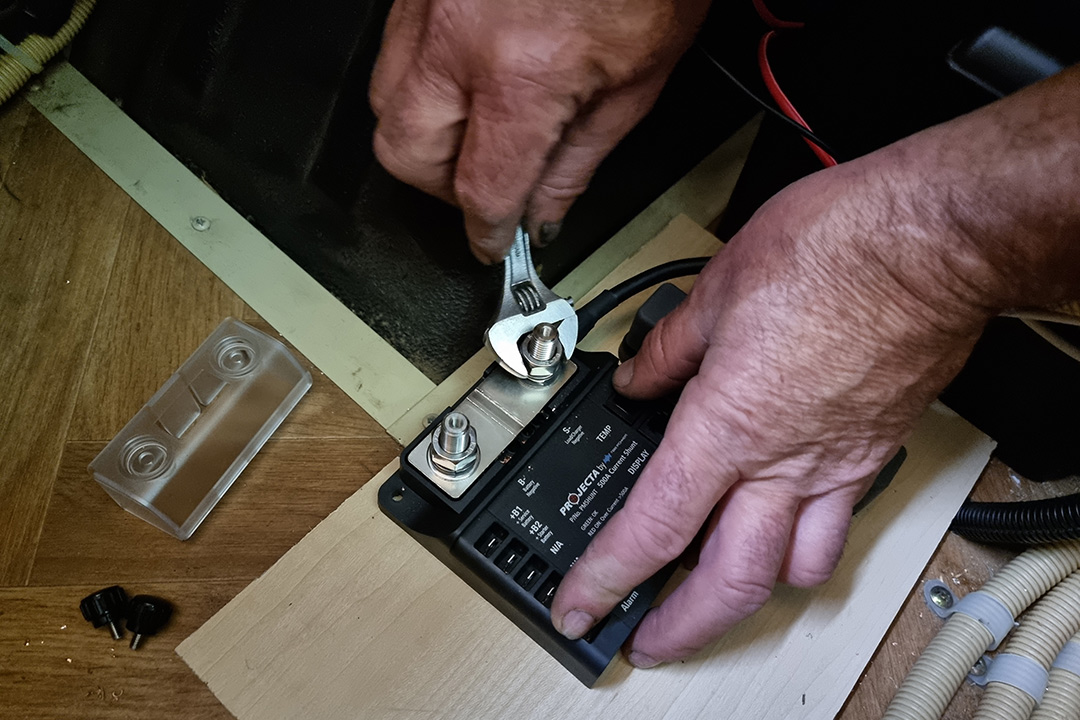 4. Replace the terminal nut and washer and gently tighten 4. Replace the terminal nut and washer and gently tighten |
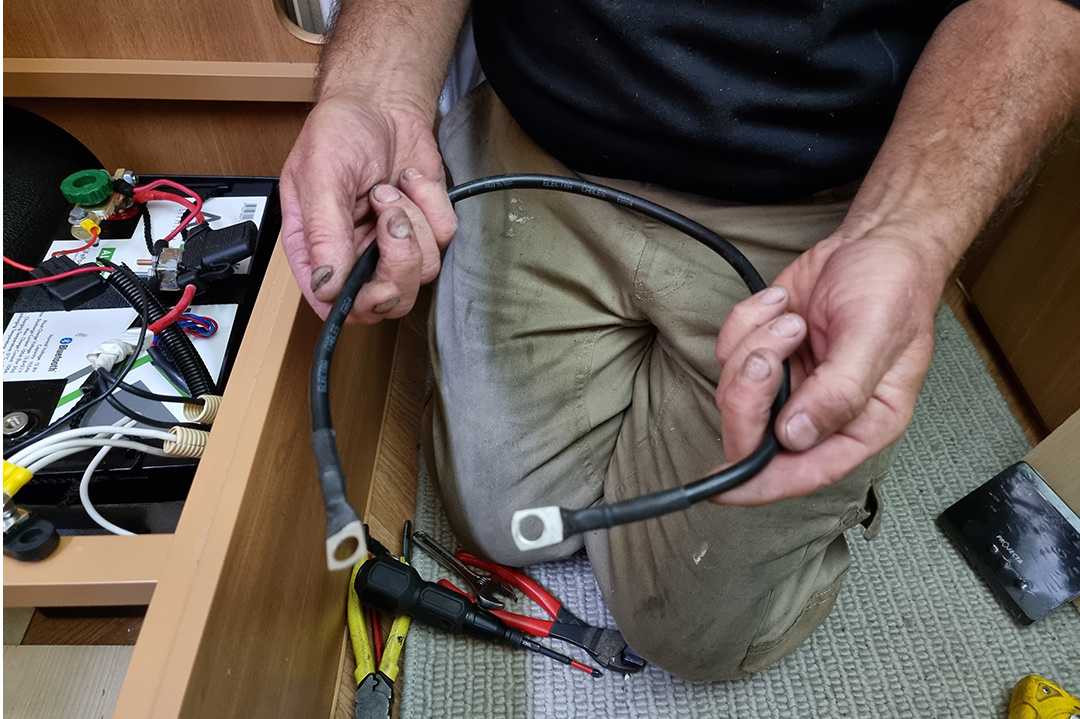 5. Select a suitably rated wire to connect the negative battery side of the shunt to the battery negative terminal 5. Select a suitably rated wire to connect the negative battery side of the shunt to the battery negative terminal |
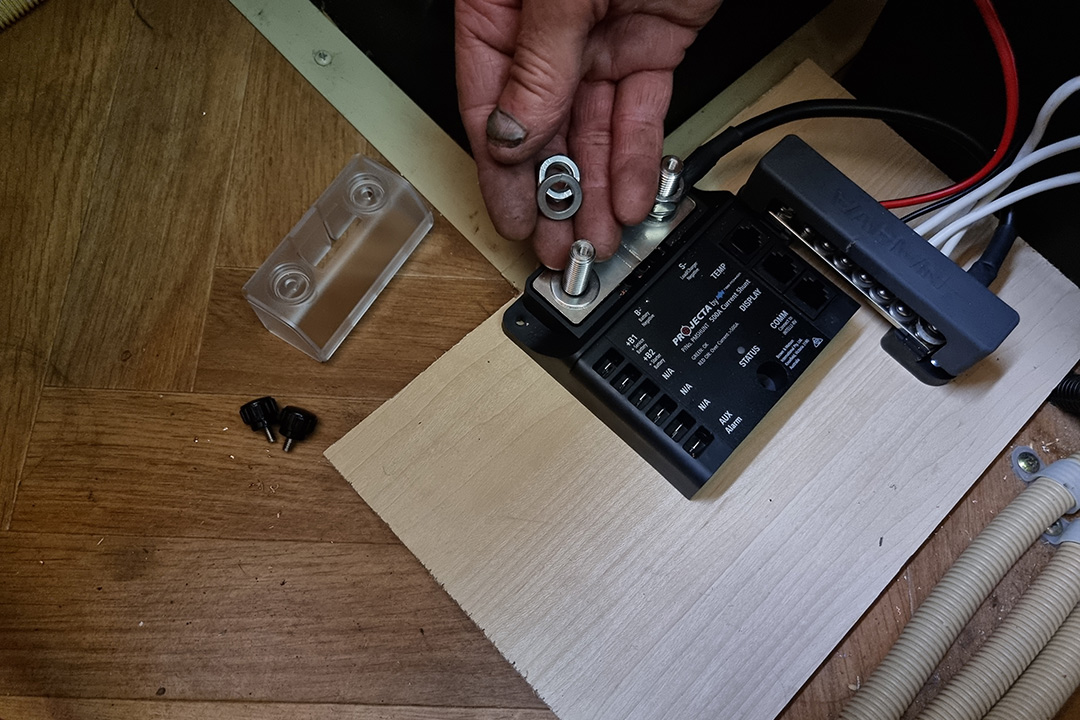 6. Remove the negative battery side of the shunt terminal nut and washer 6. Remove the negative battery side of the shunt terminal nut and washer |
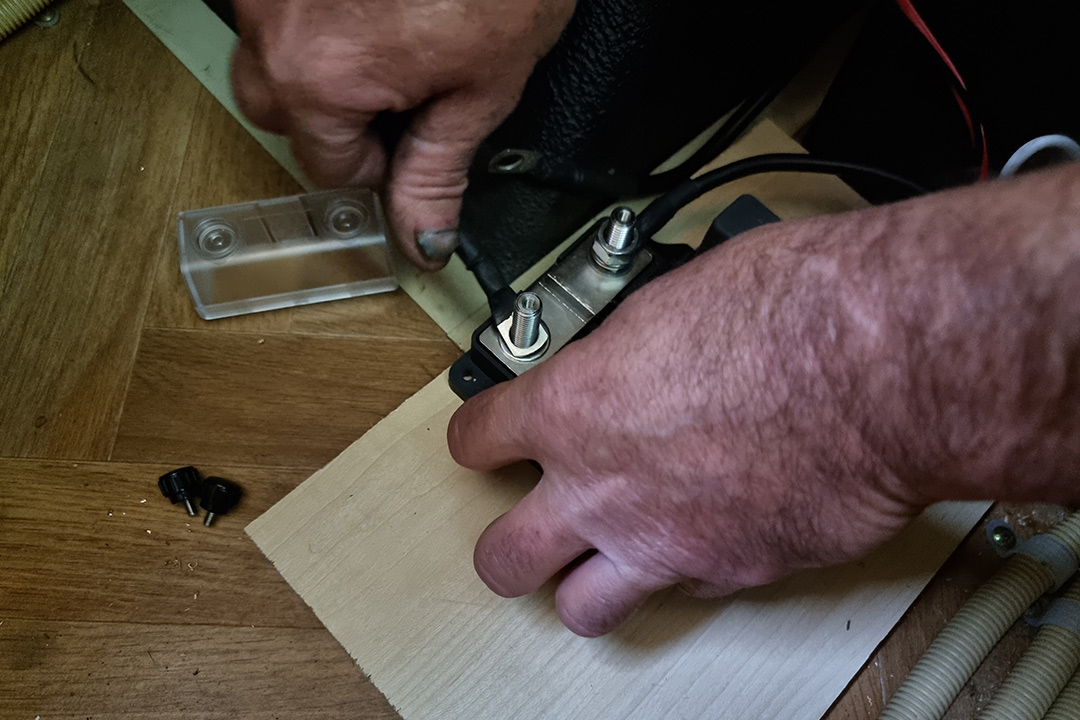 7. Attach the joining wire to the negative battery side of the shunt terminal 7. Attach the joining wire to the negative battery side of the shunt terminal |
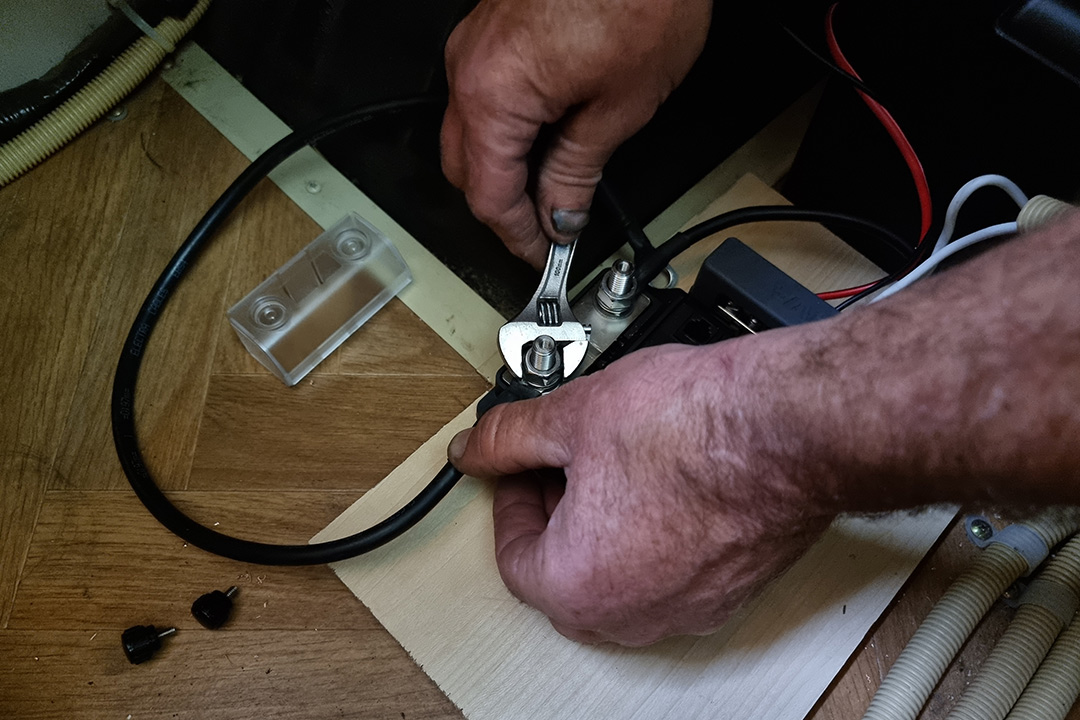 8. Replace the terminal nut and washer and gently tighten 8. Replace the terminal nut and washer and gently tighten |
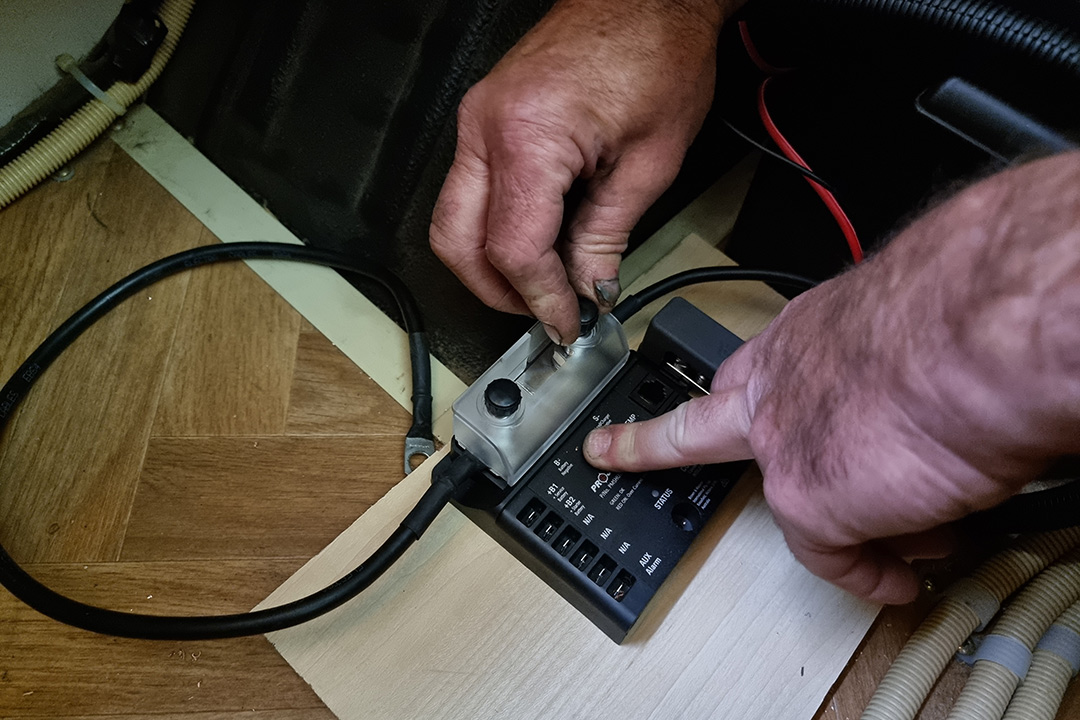 9. Refit the terminal cover 9. Refit the terminal cover |
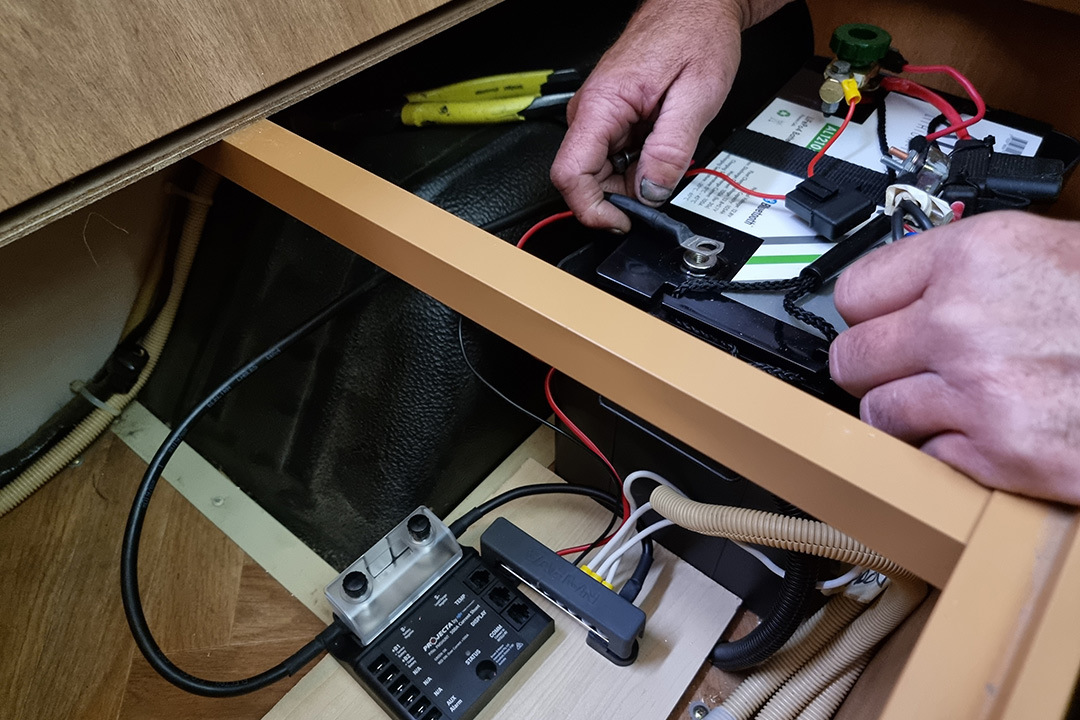 10. Route the joining wire to the battery negative terminal 10. Route the joining wire to the battery negative terminal |
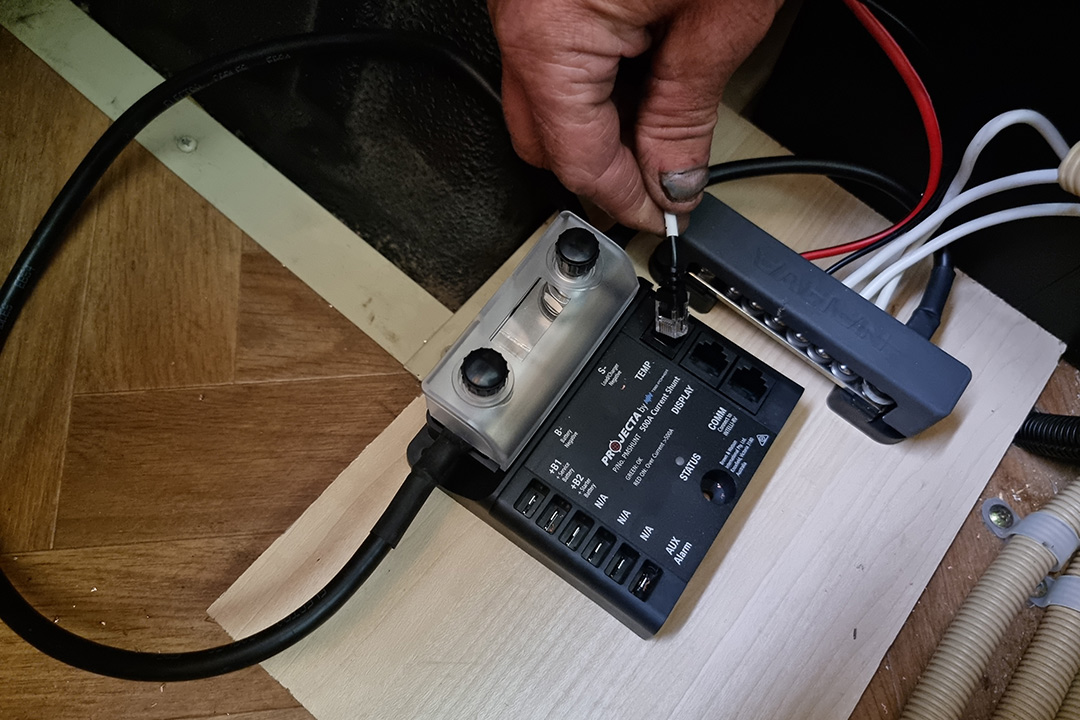 11. Plug in the temperature sensor (supplied with kit) into shunt 11. Plug in the temperature sensor (supplied with kit) into shunt |
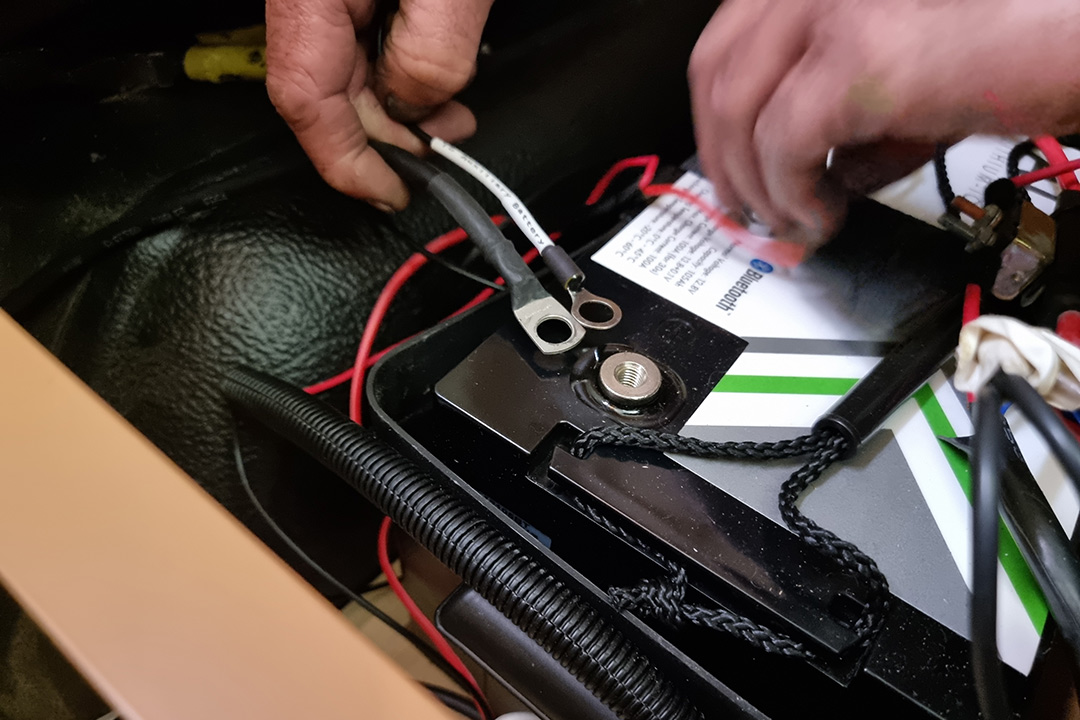 12. Attach both the shunt connecting negative wire and the temperature sensor to the battery negative terminal 12. Attach both the shunt connecting negative wire and the temperature sensor to the battery negative terminal |
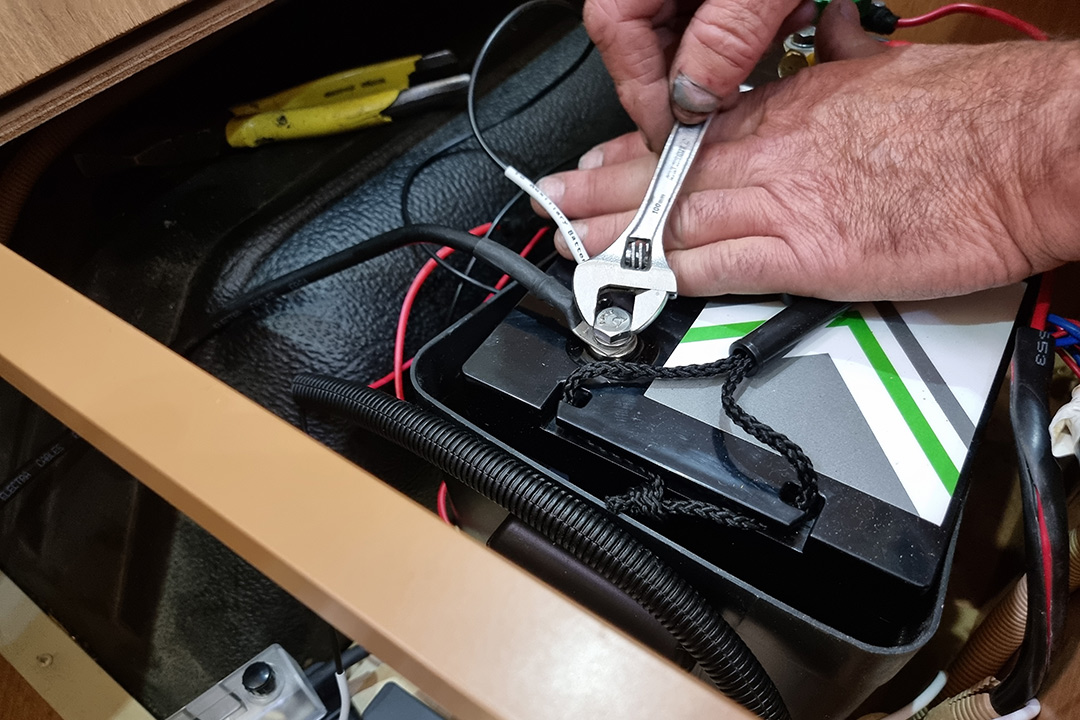 13. Tighten terminal bolt 13. Tighten terminal bolt |
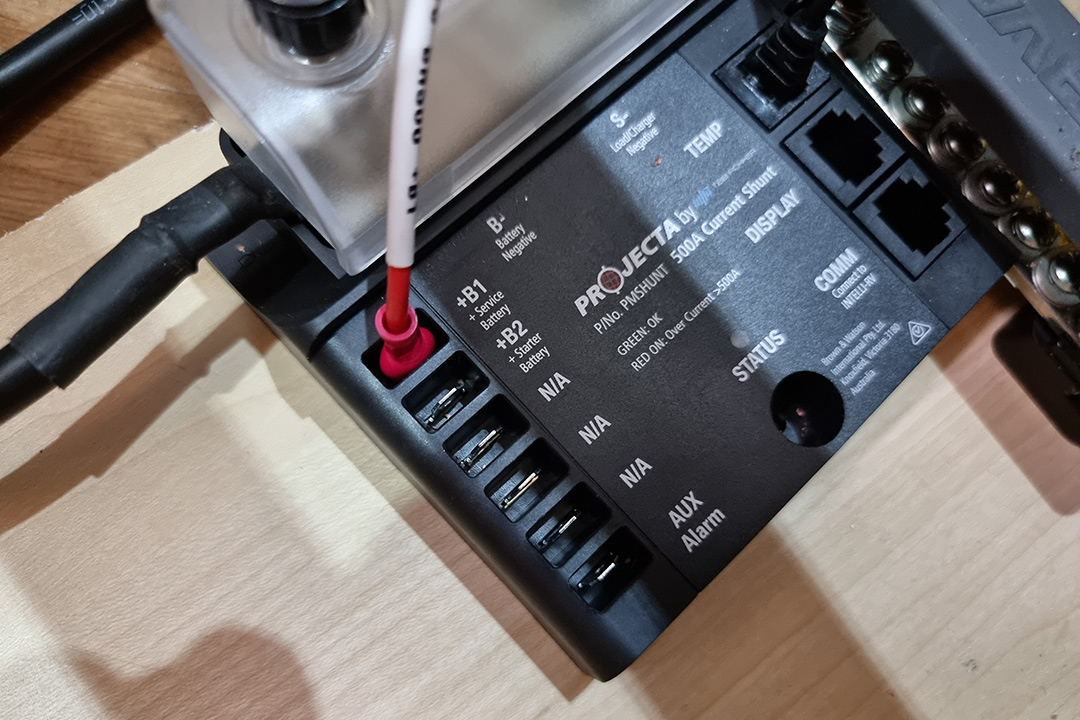 14. Plug in the auxiliary positive wire (supplied with kit) into shunt 14. Plug in the auxiliary positive wire (supplied with kit) into shunt |
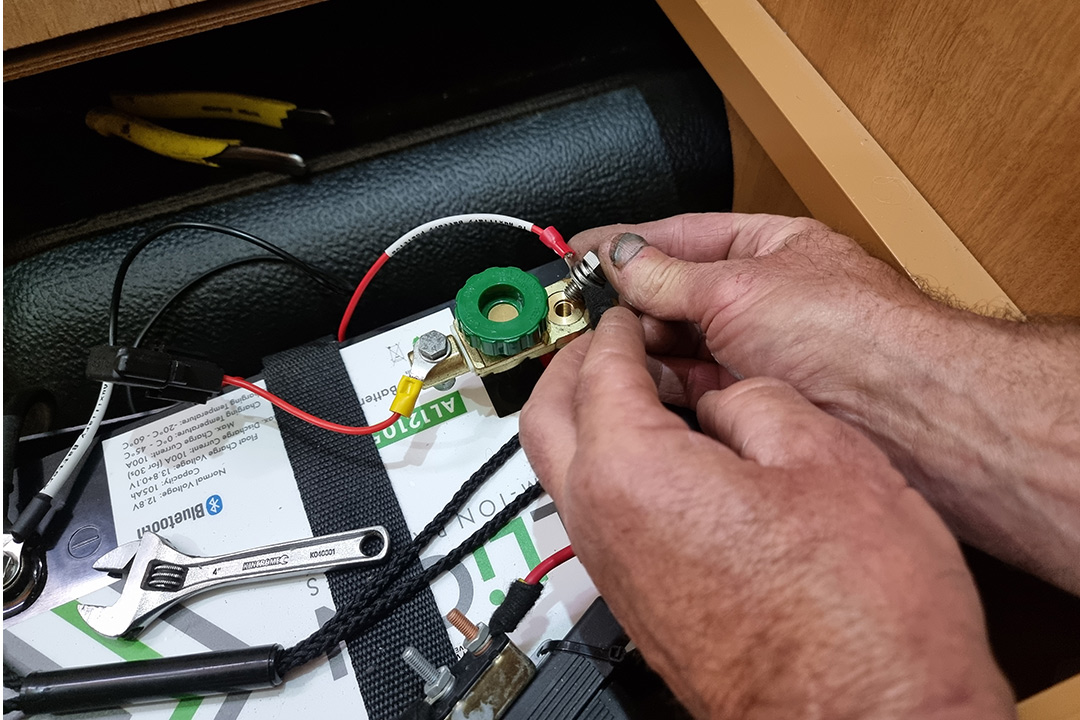 15. Attach the auxiliary positive wire to the battery positive terminal 15. Attach the auxiliary positive wire to the battery positive terminal |
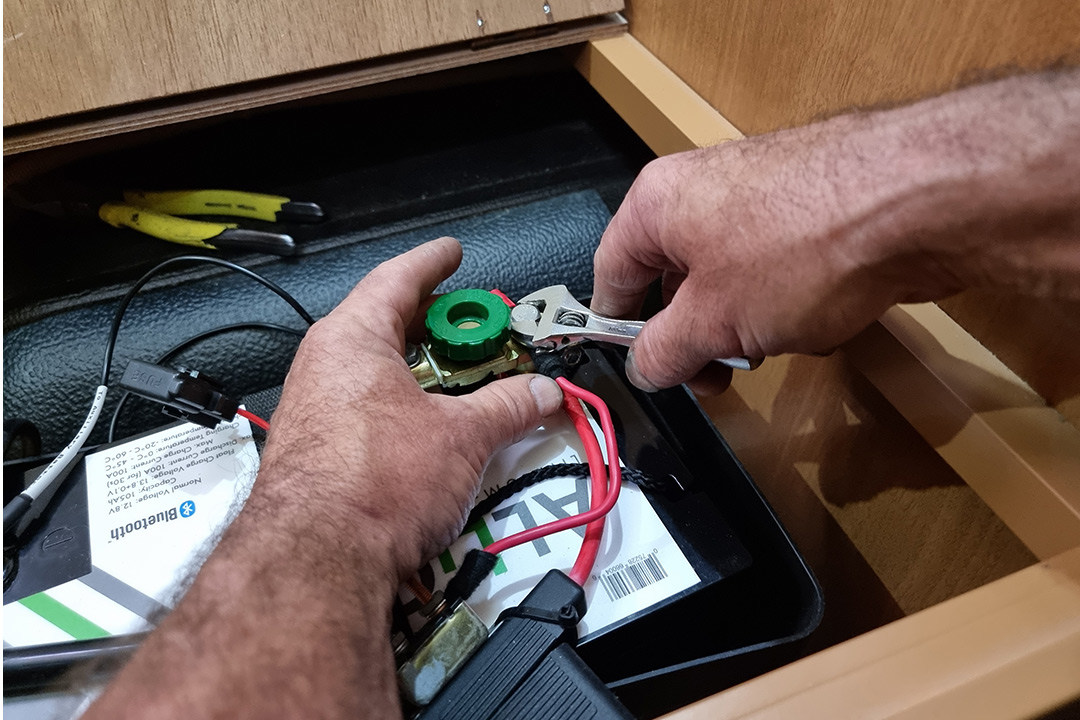 16. Tighten the terminal connector 16. Tighten the terminal connector |
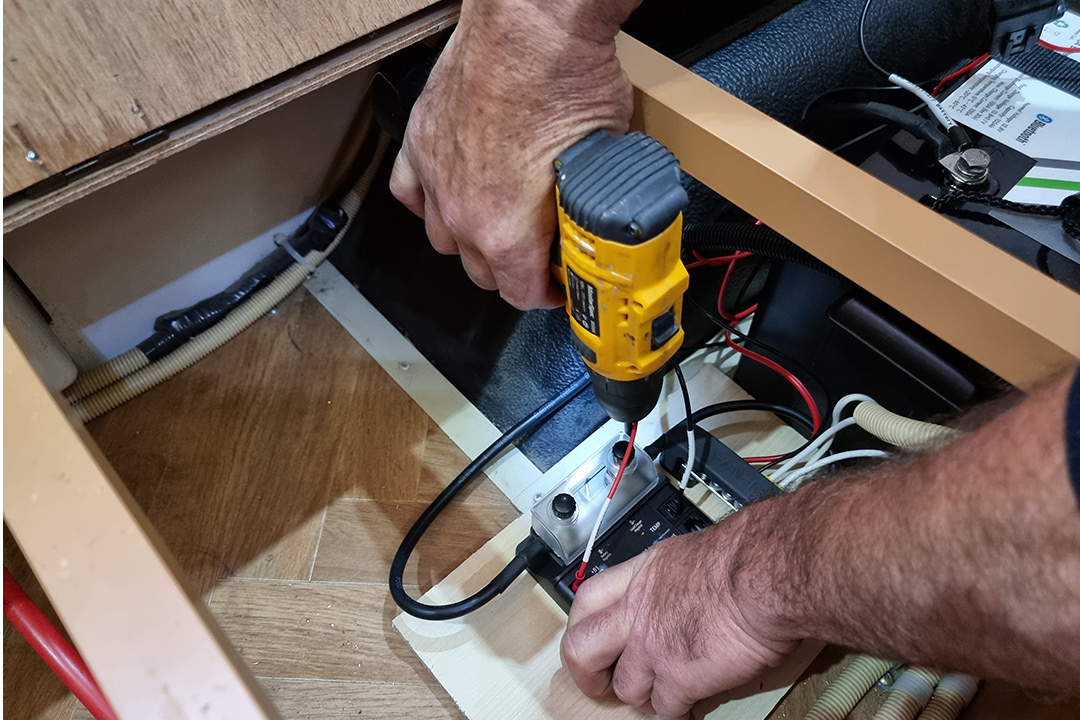 17. Secure the shunt in position with fasteners 17. Secure the shunt in position with fasteners |
Installing the battery monitor panel
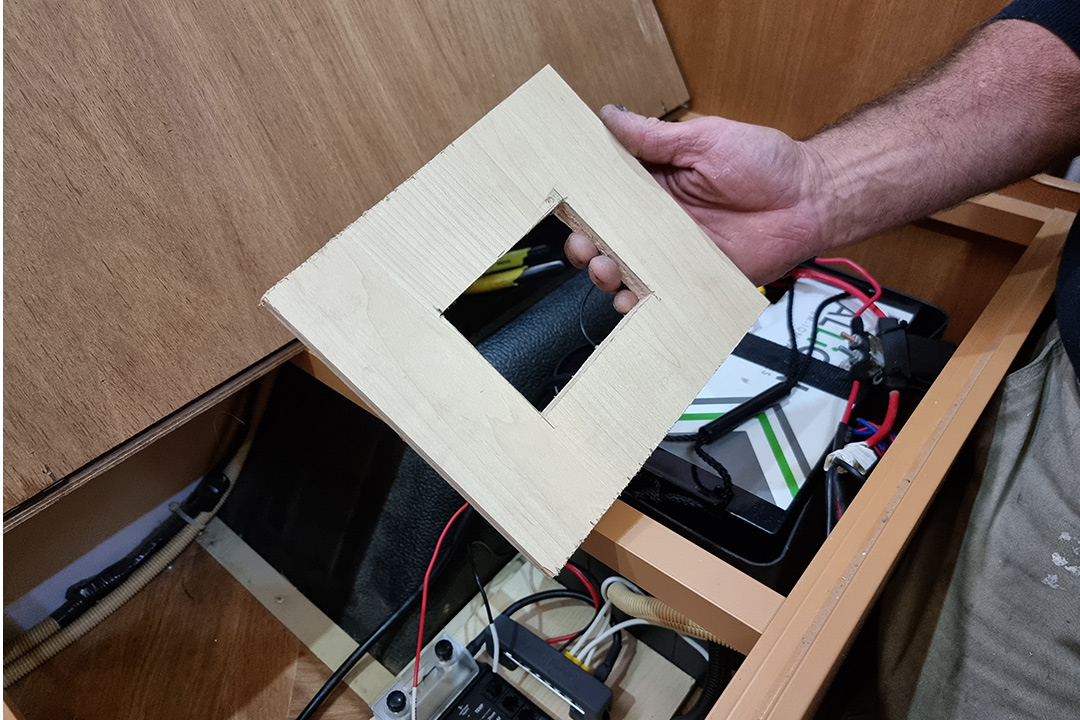 1. Identify a suitable location for the battery monitor and cut a hole in a panel for the monitor to be installed (again, we are using a dummy panel) 1. Identify a suitable location for the battery monitor and cut a hole in a panel for the monitor to be installed (again, we are using a dummy panel) |
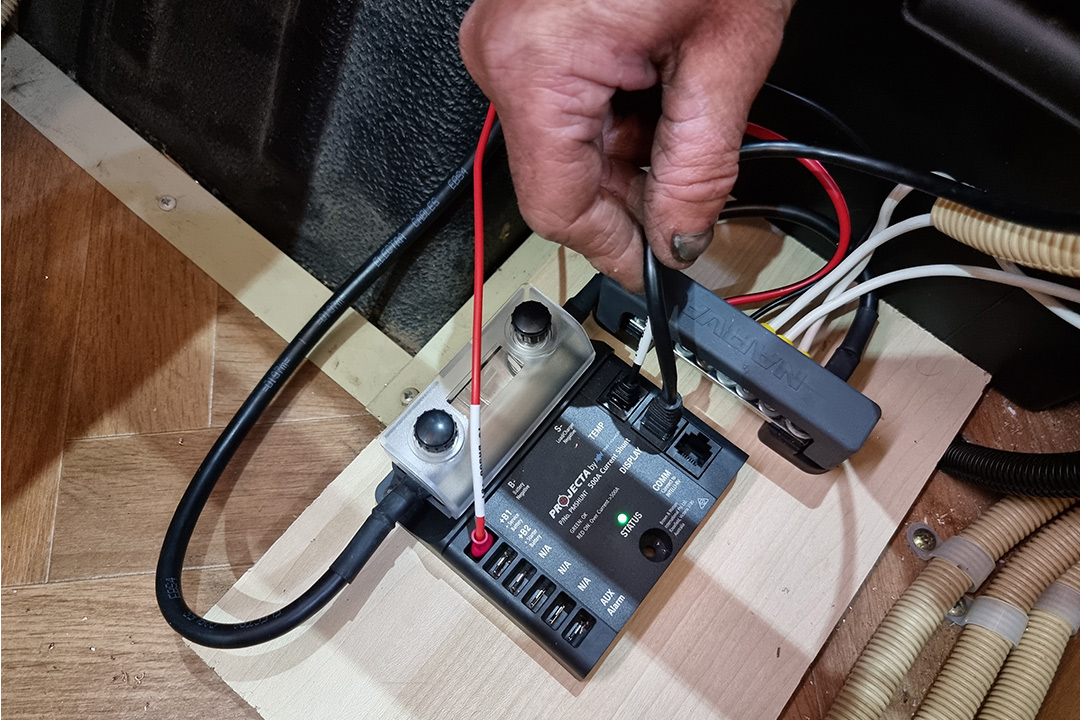 2. Plug in the control panel lead (supplied with kit) into shunt 2. Plug in the control panel lead (supplied with kit) into shunt |
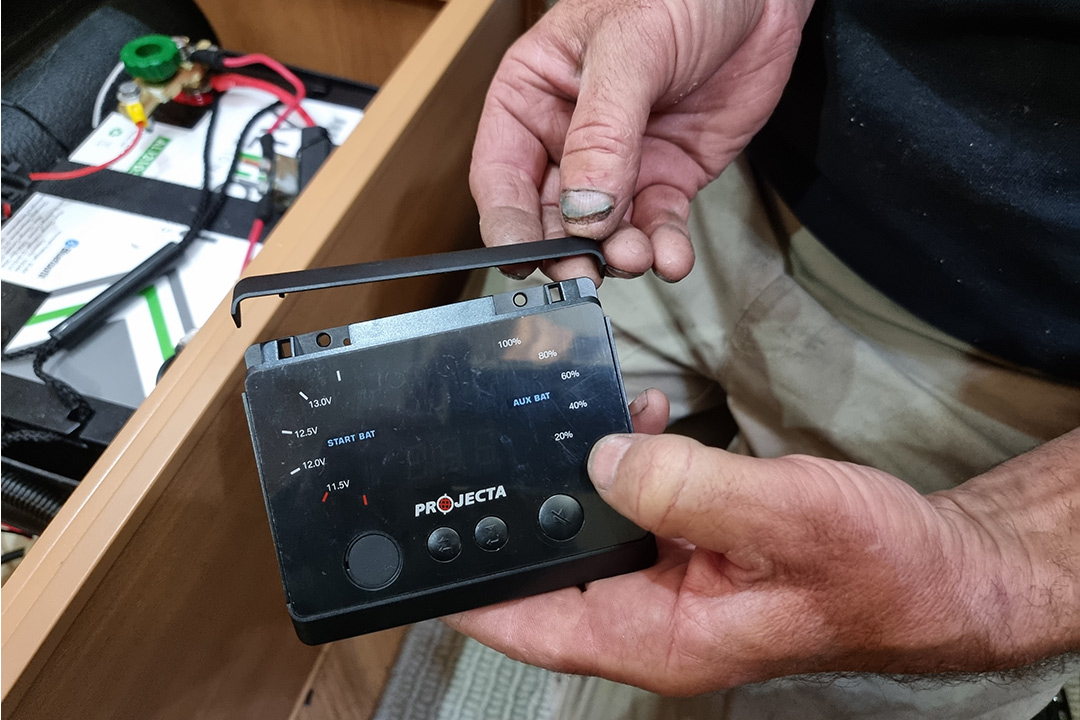 3. Unclip and remove the screw covers from the top and bottom of the control panel 3. Unclip and remove the screw covers from the top and bottom of the control panel |
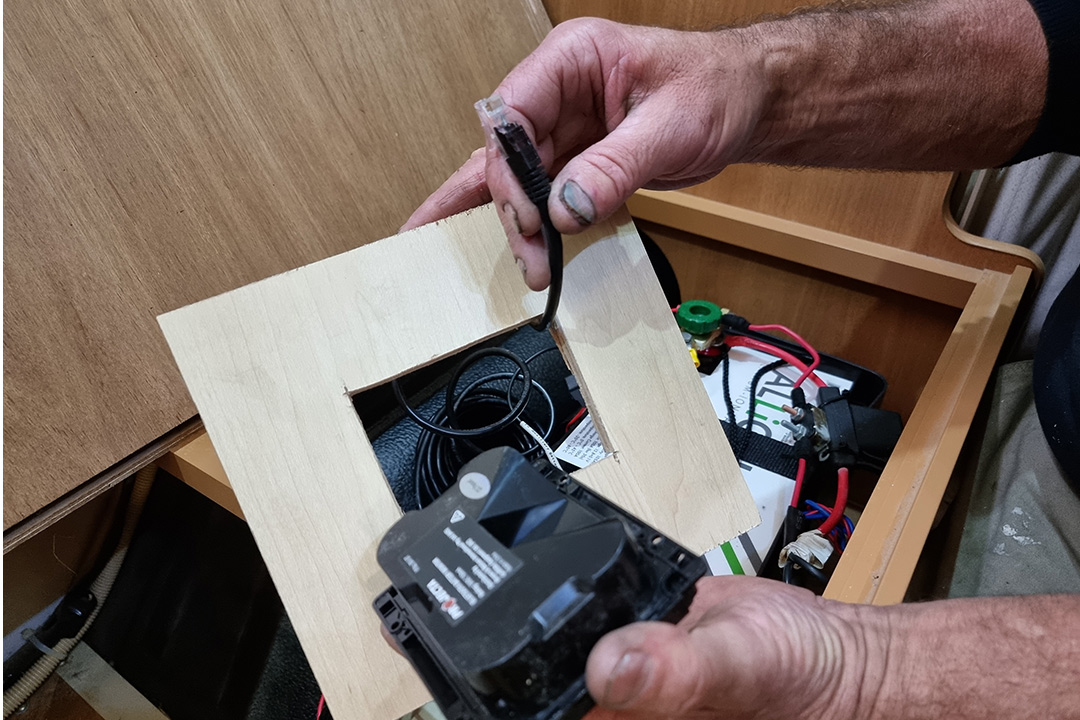 4. Route the control panel lead through the hole in the panel 4. Route the control panel lead through the hole in the panel |
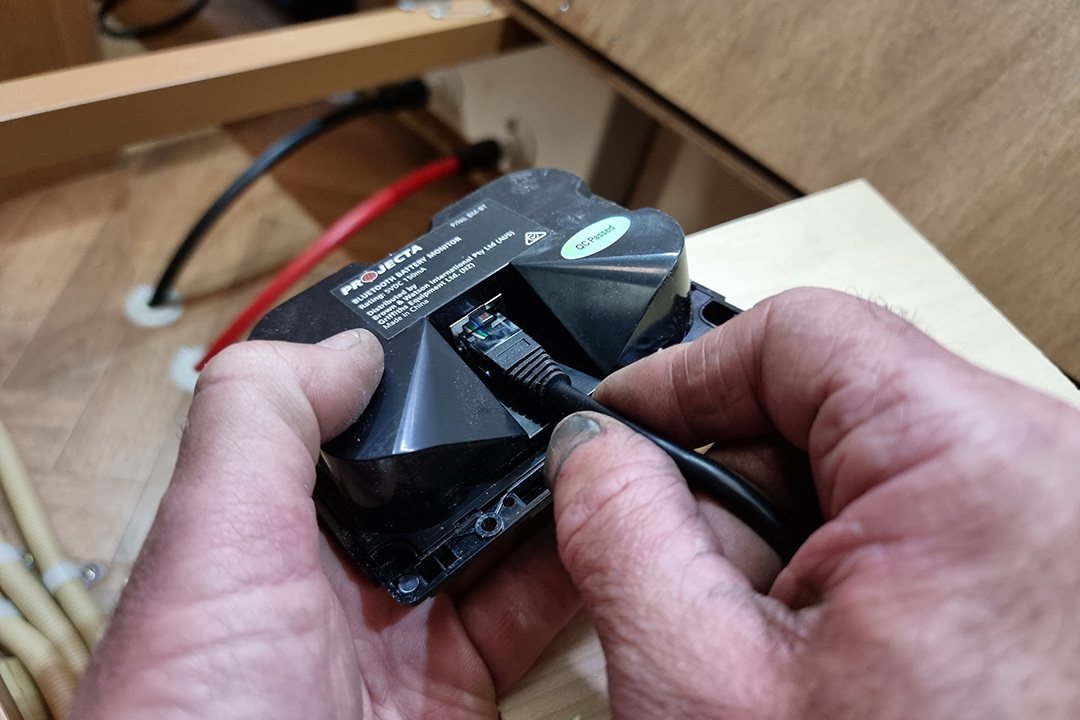 5. Plug in the control panel lead into the back of the control panel 5. Plug in the control panel lead into the back of the control panel |
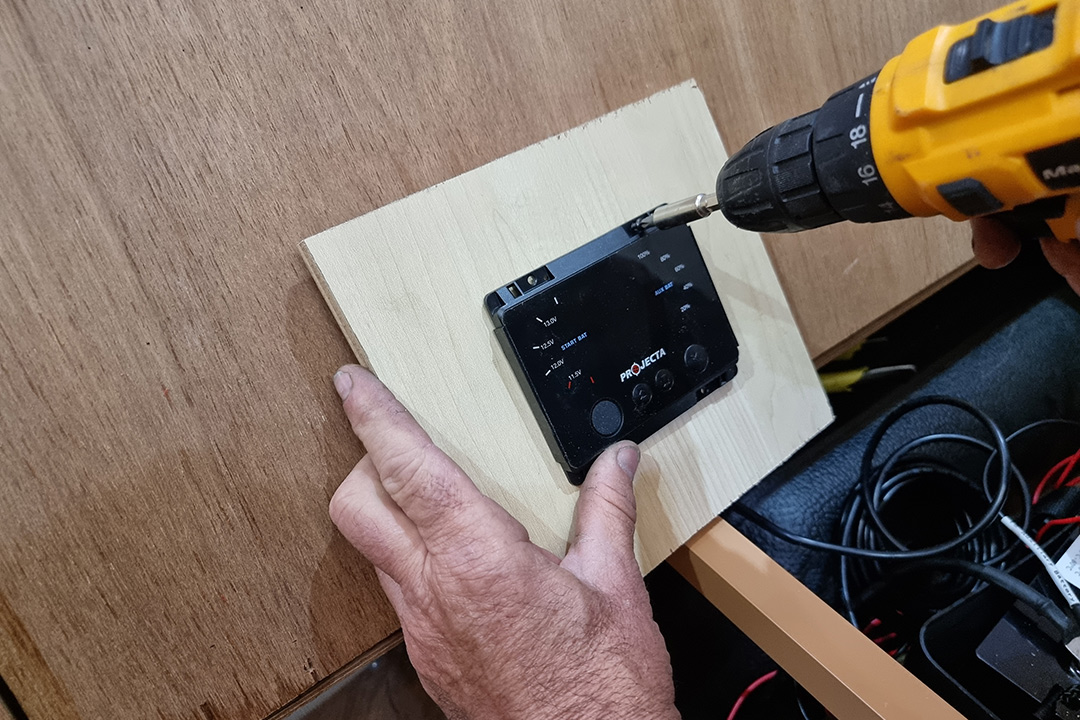 6. Position the control panel in the hole and secure with fasteners 6. Position the control panel in the hole and secure with fasteners |
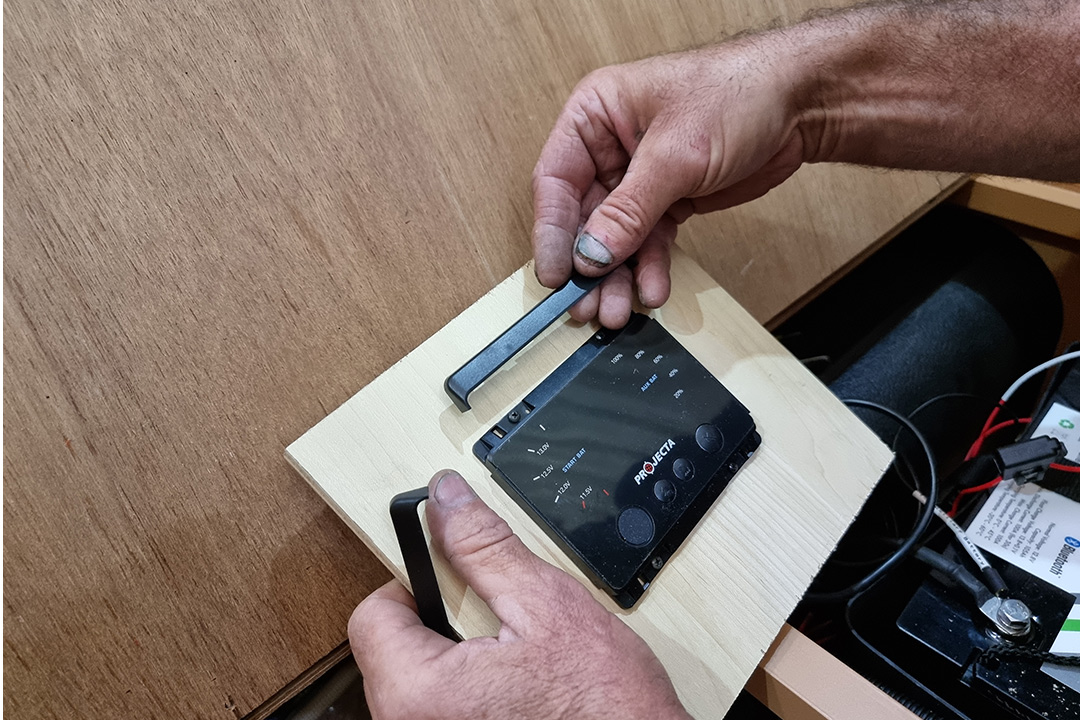 7. Refit the control panel upper and lower screw covers 7. Refit the control panel upper and lower screw covers |
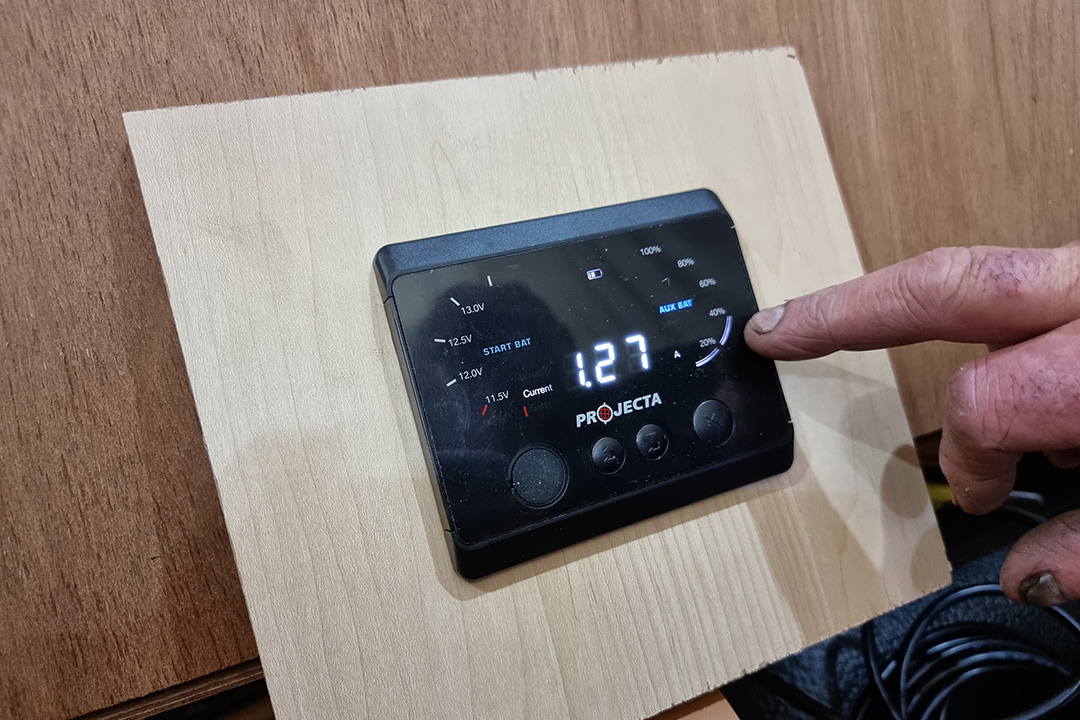 8. Follow the instructions supplied to configure the battery monitor panel 8. Follow the instructions supplied to configure the battery monitor panel |
Pair the Bluetooth device
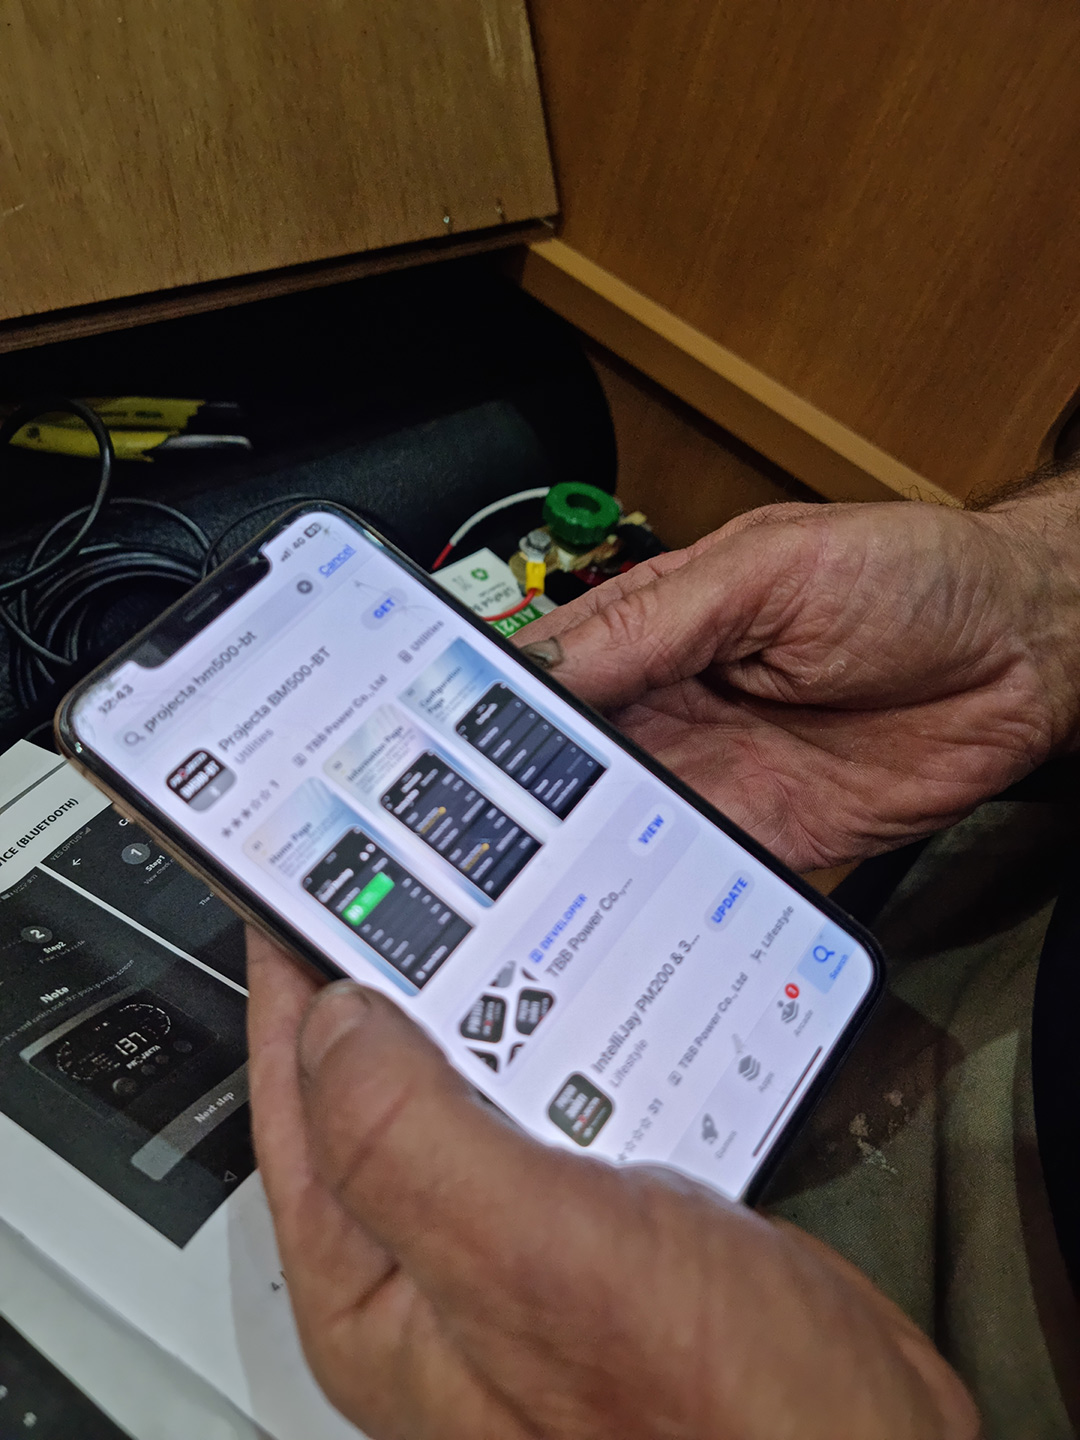 1. Use your phone to download the designated app 1. Use your phone to download the designated app |
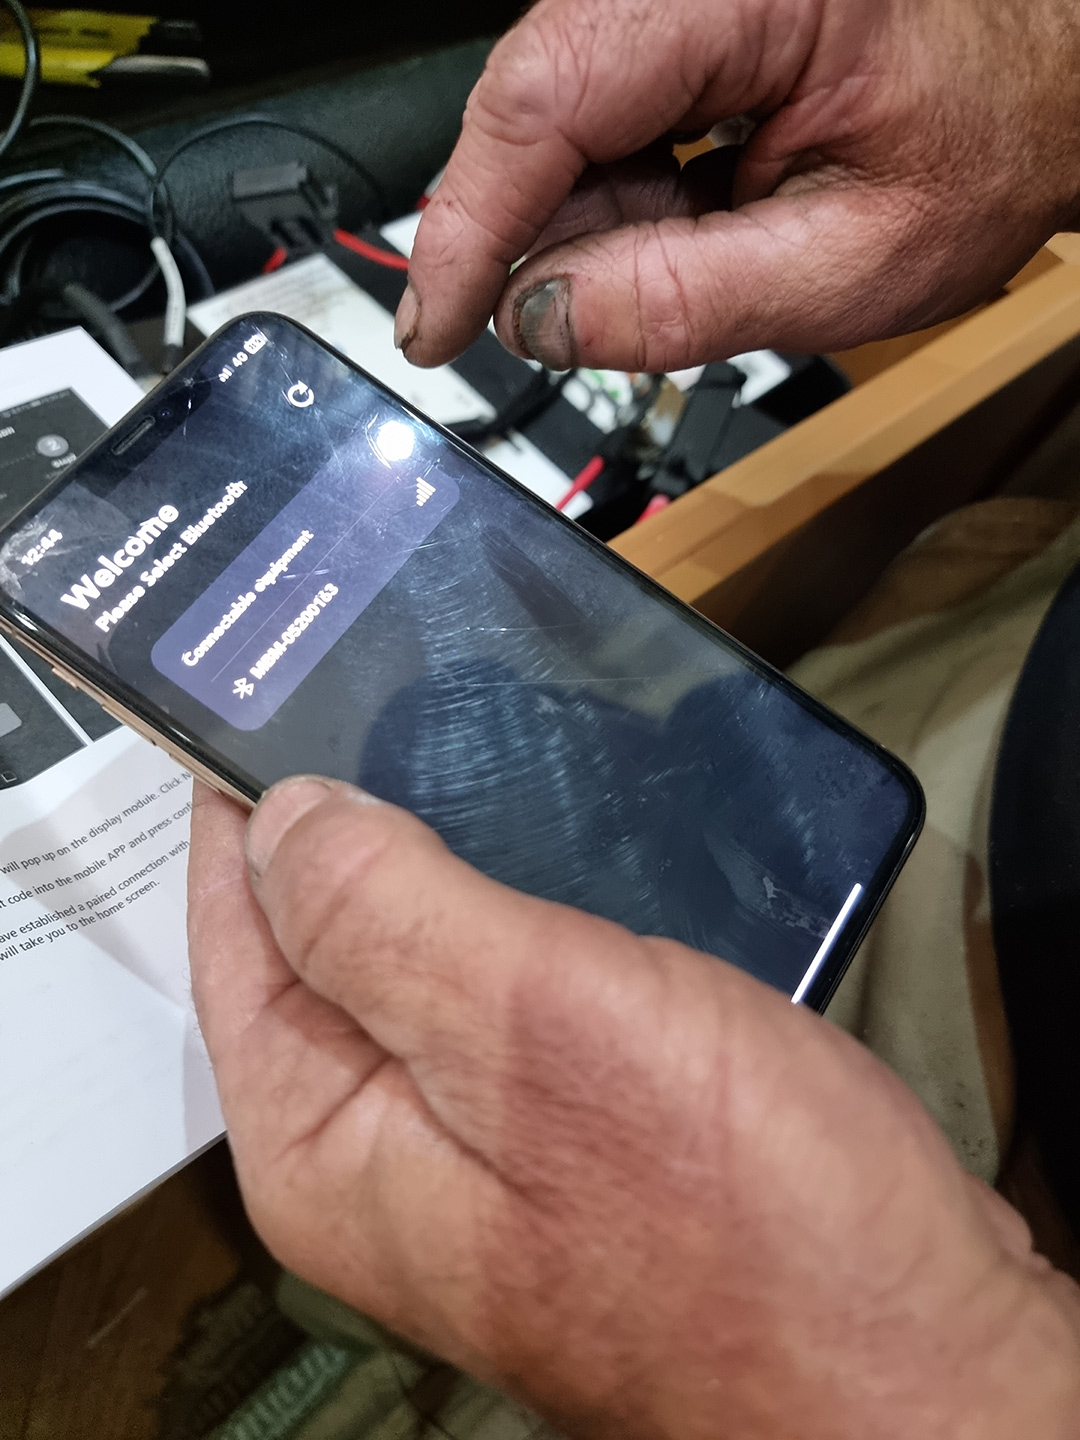 2. Use the app to pair your phone to the control panel 2. Use the app to pair your phone to the control panel |
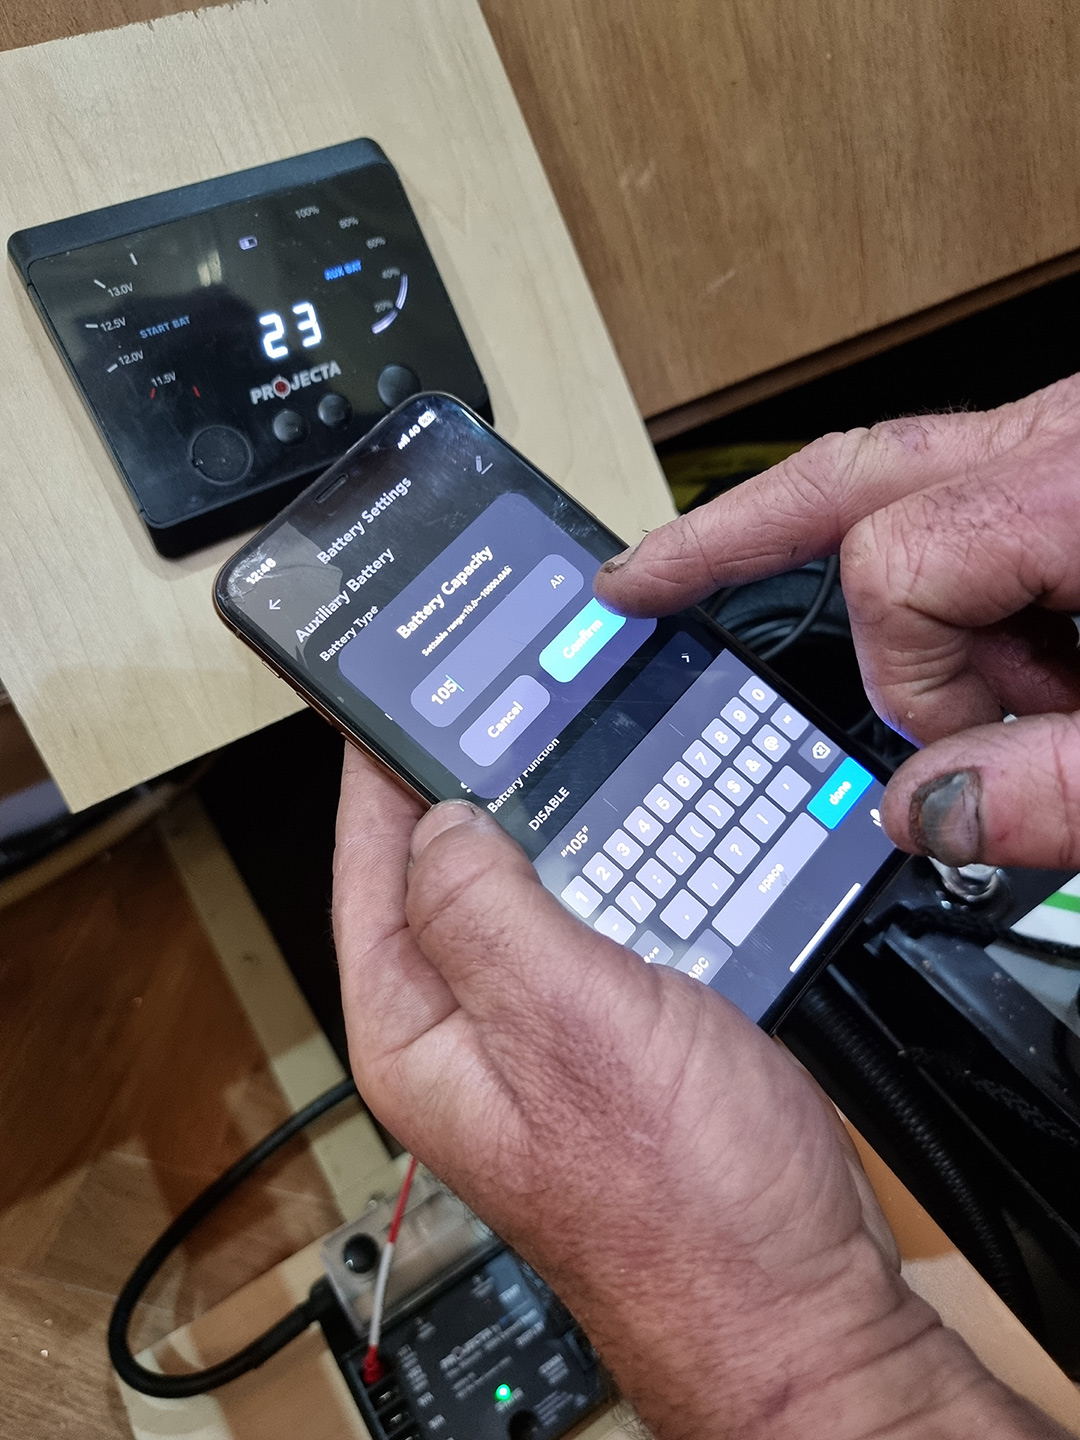 3. Follow the prompts to configure the app to your battery with settings such as battery type, capacity and parameters 3. Follow the prompts to configure the app to your battery with settings such as battery type, capacity and parameters |
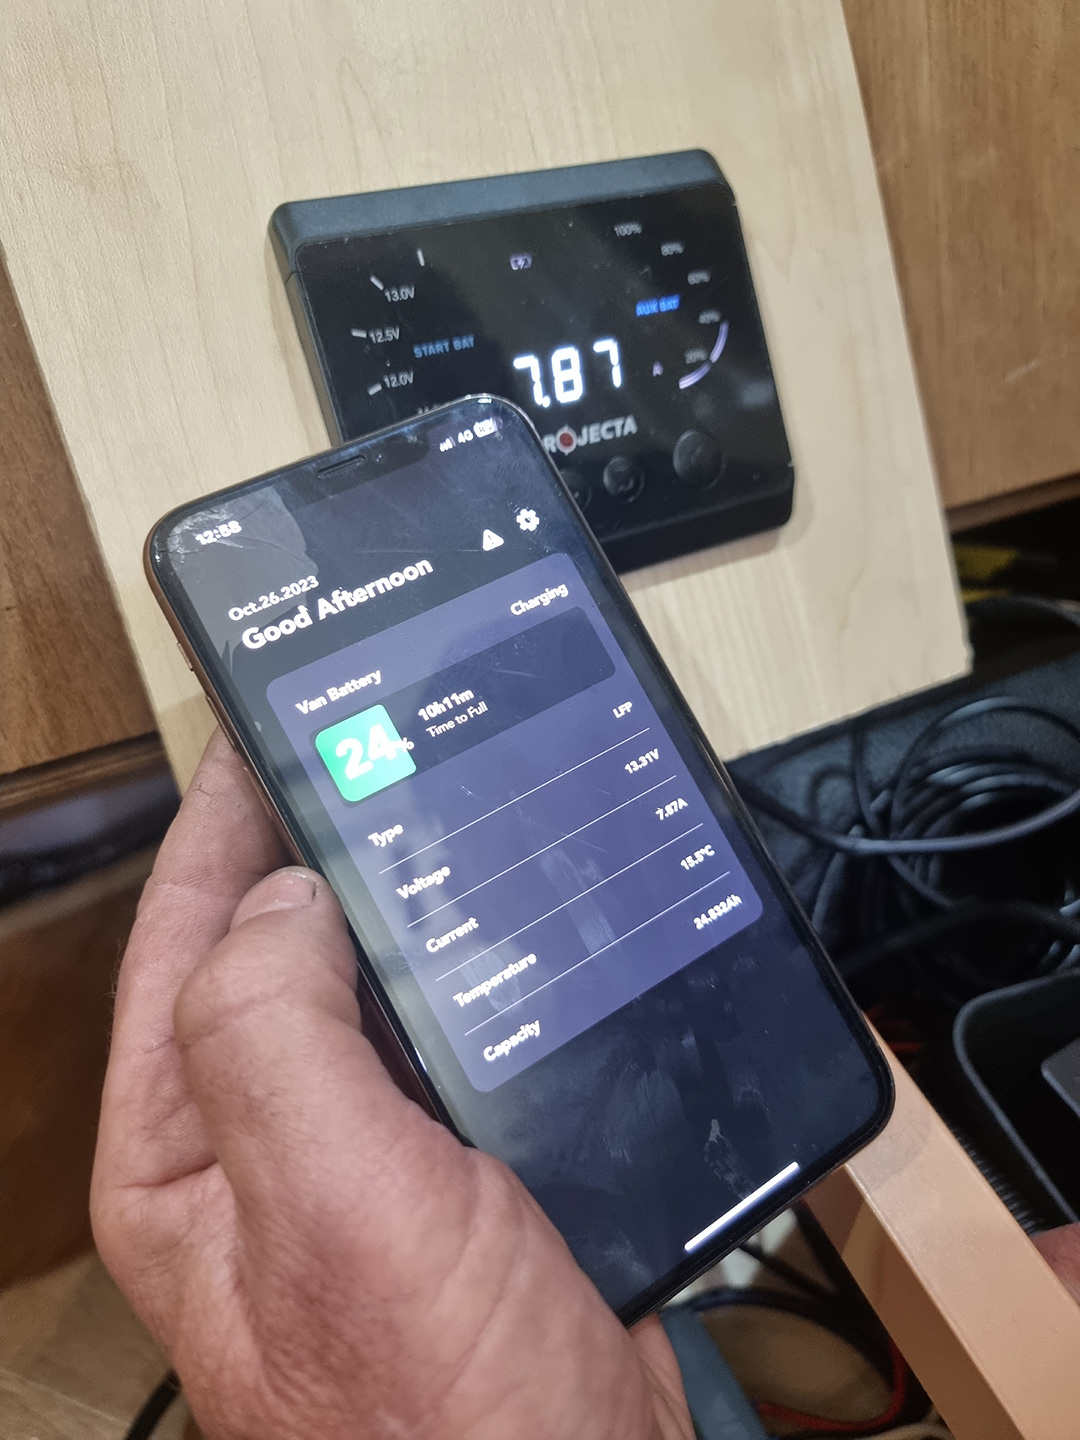 4. Use the app to monitor your battery status remotely 4. Use the app to monitor your battery status remotely |
If in doubt, consult a professional
Improper maintenance can lead to injury, death or property damage. Maintenance work of this nature should only be undertaken by people with suitable competence. The information provided is general in nature, not comprehensive and should only be taken as a guide. Individual discretion must be exercised and persons undertaking described tasks do so completely at their own risk. Publishers and creators of this content accept no responsibility for loss or damage.
Thanks to Andrew Phillips and the team from the RV Repair Centre, 120 Canterbury Road, Bayswater North Vic 3151, P: 03 9761 4189.
THE NEXT STEP
If you want to learn the latest caravan news, find the most innovative new caravans and camping gear or get inspired to plan your next adventure to some of Australia's best getaway destinations, subscribe to our weekly newsletter. We promise to send you only the best content.


