Wrought Iron Seasoning

Cooking on an open flame in iron cookpots is almost a rite of passage. The ability to turn out a steaming pot of meat and veg or a golden damper can turn you from camp hack to camp hero in the eyes of your fellow travellers.
But successful camp oven cooking takes more than the pot and a few ingredients. It takes maintenance. A well-maintained camp oven will give you years of enjoyment. Let it go rusty, however, and your culinary creations could turn from hearty meal to health hazard.
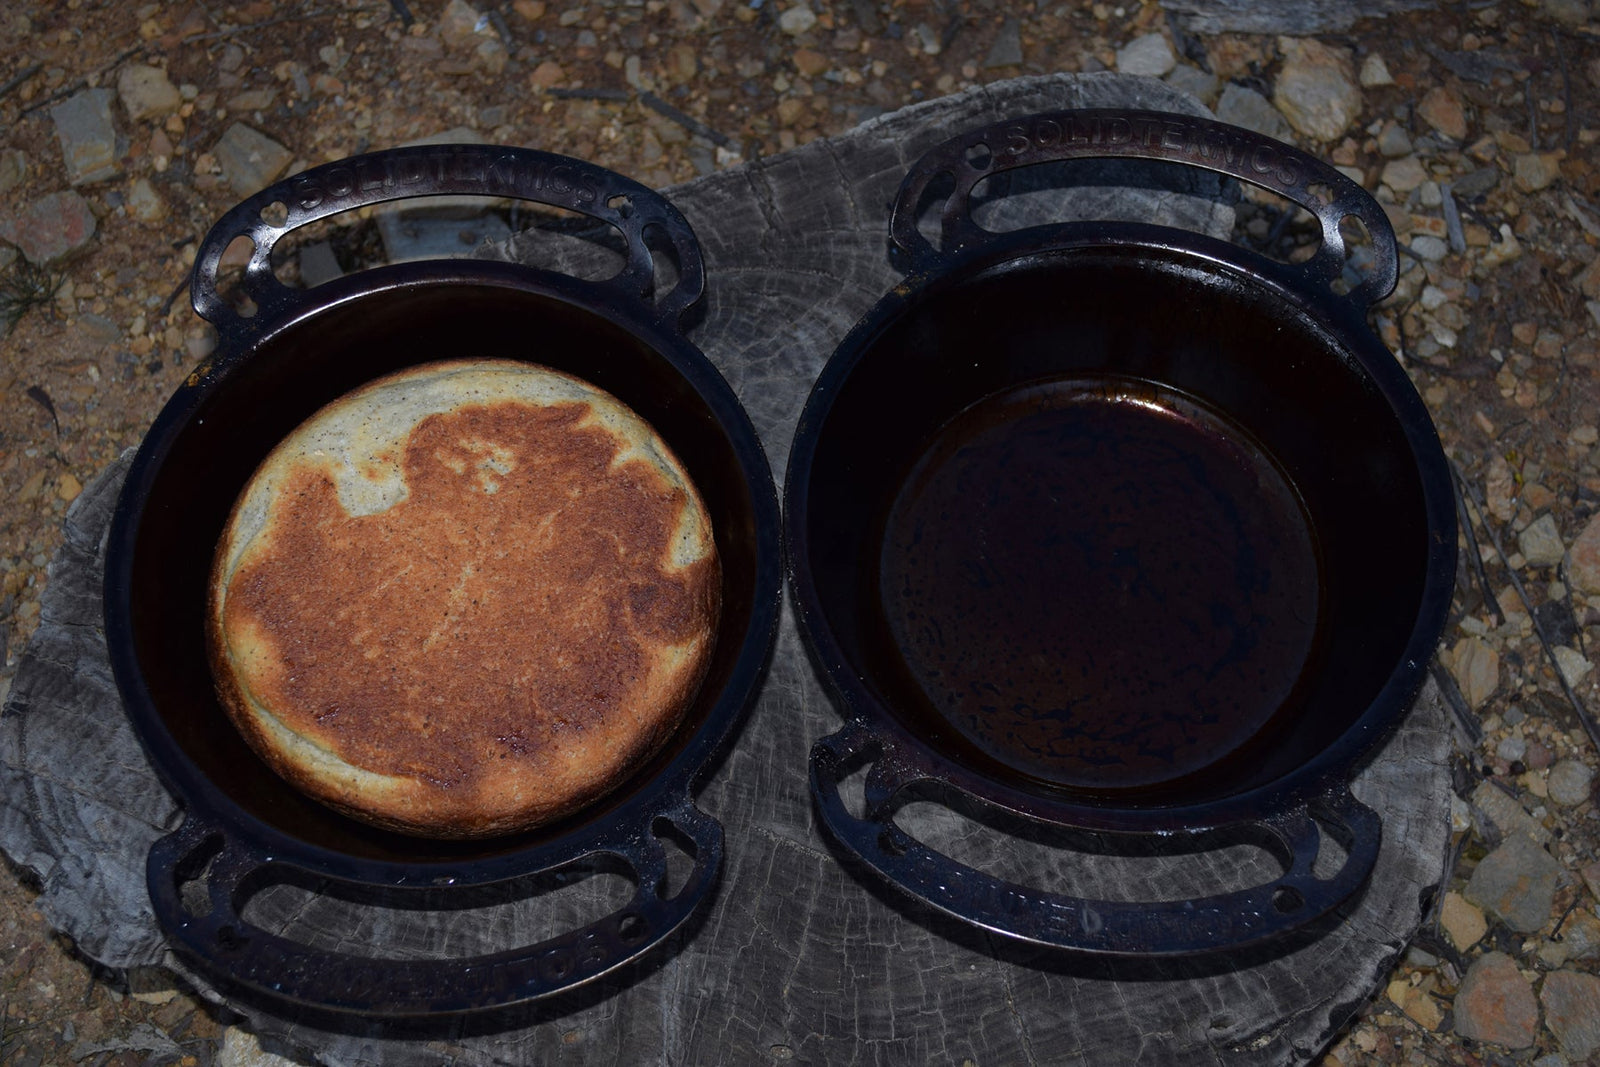
Whether you’re looking to resurrect grandad’s cast iron pot from the garage, restore an Op Shop bargain, or prepare your new camp oven for its first overland trip, the principles for preparing and preserving iron cookware are the same. We recently acquired an Australian-made wrought iron Dutch oven from Solidteknics. Keen to ensure that this high-quality piece of kit is properly prepared to take its place as a camp cooking essential, we put it through its paces with its first seasoning.
Whatever type of iron cookware you’re using, follow the steps below to achieve a non-toxic, sustainable, non-stick and even cooking surface.
STEP ONE — Prior Preparation
Old Cookware: If you’re refurbishing an old pot or pan, wash it with hot soapy water and grab a stiff brush. This is the only occasion when you should use cleaning products on your cookware. If you’re dealing with rust, try some elbow grease and steel wool. When the pan’s surfaces are clean, rinse and place it in the oven to dry (1hr at 180 degrees) and let it cool before taking the next step.
New Cookware: If your cookware is new, remember the manufacturer will have added a protective coating of wax or shellac to stop it from rusting on the shelf in the store waiting for someone like you to buy it. If this is the case, place the pan in a preheated oven for 10 mins. Be careful you don’t make the oven too hot. Some companies use a more natural beeswax coating which is potentially flammable over 100 degrees, so keep it at around 80.
Whether your cookware is old or new, place it upside down in the oven over a baking tray lined with aluminium foil to catch the drips from the coating. When time’s up, remove the pan from the oven and place it on a heat resistant surface. Rub off the residual coating with a cotton rag. You may have to repeat this process a few times to ensure you remove all the wax. When you’re finished, remember to remove the aluminium foil from the oven to prevent an accidental fire later.
STEP TWO — Oils ain’t Oils
You use the right oil in your tow-tug, and it’s equally important to use the right oil when seasoning your iron cookware. The reason comes back to principles of chemistry.
When heat reacts with an iron surface, it changes the molecular structure of the oil. This process is called fat polymerization, creating longer chain polymers and crosslinks with one another under extreme heat over time. Fat polymerization is useful in the seasoning process as it helps the oil to bond with the iron and form a thick film over the pan. It’s this film that hardens as it cools and builds overtime over time to keep your pan well-seasoned.
A by-product of fat polymerization are free radicals. The trouble is free radicals are widely considered to be carcinogenic in high concentrations. This concern prevails even though some free radicals occur naturally in your body and some are a by-product of digestion. As usual, it’s a matter of ‘moderation in all things.’ After all, as a wise Army chemist once told me, “enough marshmallows strategically placed, will kill you.”
Free radicals will only be generated when high heat causes the seasoning oil to smoke. It won’t happen as much if the oil is heated below the smoke-point and will stop when the cookware cools. So your objective when seasoning (or routinely using) your cookware is to maximise the benefits of fat polymerization while minimising the amount of smoke generated in the process, so choose an oil with a high smoke point. We used rice bran oil which has a smoke point of 230 degrees. Grape seed oil is a good second choice with a smoke point of 215 degrees. Compare this to olive oil which has a smoke point of 180 degrees. Vegetable oils are not bad either as most of them (like canola) have a smoke point of 204 degrees.
Regardless of what oil you use to season your cookware, open the windows and turn on the ventilation fan. At the very least, this will stop you stinking out your house or van.
STEP THREE — Scour the Surface
This step is only for wrought iron pots. If you have a cast iron cookware you can skip this as the surface of your pot is already rough enough.
You need to roughen the entire pot or pan using steel wool or 400–600 grit sand paper. While it may feel odd to be scratching your lovely shiny cookware, with wrought iron seasoning it can’t be avoided. The purpose is to give the seasoning oil something to stick to. It also reduces the likelihood that oil will pool, creating an uneven cooking surface that will flake-off in the future. Remember, don’t just focus on the cooking surface, scour the entire pot/pan, including the base and handle.
STEP FOUR — Corrosion Protection
Preheat your oven to 90 degrees, add a fresh foil-lined drip-tray, then place your cookware upside down in the oven for 15 mins. Then carefully remove your pot and, using a paper towel, wipe on a thin layer of high smoke-point oil.
The trick here is to go gentle on how much oil you use. If you use too much, you’ll end up with weak, flaking and sticky seasoning. So, get in touch with your inner Karate Kid — “wipe on-wipe off”. In fact, apply it so thin it looks almost dry. Focus on all of the surface, bottom, inside and handle.
Place the cookware back into the oven upside down and turn the oven up to 250 degrees. Leave the heat on for two hours, then turn it off but leave the cookware in place. Don’t open the oven door. Let everything cool down to room temperature slowly for at least 30 mins, but preferably overnight.
Now repeat this step three more times! Season your cookware this way and you’ll make it last far longer than if it only goes in the oven once.
STEP FIVE — Non-Stick
Grab your cookware and head for the stove top. Place the pot or pan on a ring and slowly heat it to a medium heat. Drop in a teaspoon of oil and wipe it around the cooking surface of your cookware with a folded piece of paper towel and a set of tongs.
Keep doing this until smoke starts to rise. Continue wiping for another 15–20 seconds and take it off the stove to let it cool. Repeat this process 3–5 more times.
There you have it, beautifully seasoned piece of iron cookware guaranteed to put a smile on everyone’s dial next time you’re on camp cook duty!
But, wait, you’re not finished yet.
STEP SIX — Ongoing Care
To ensure your iron cookware retains its seasoning and is protected for now and into the future, here’s a few tips to help you along the way:
- If you plan to cook over a stove, choose the diameter of your cookware to match the size of your burner rings. Too big a pan — or too small a ring — can damage the cookware.
- If you’re using an induction plate, be careful to warm the cookware slowly as these devices punch out a lot of heat quickly which can warp your cookware.
- Cooking acidic foods like tomatoes or tomato-based dishes — and boiling liquids like stews, curries, soups — can strip away your seasoning layer which will make things burn and stick to the bottom.
- When you’re finished, hand wash only with hot running water. Soaps and detergents will dissolve your protective seasoning.
- Wash your cookware while it’s still warm from use. This will make the food easier to remove. Dry it with a towel straightaway.
- To help dry it, place the cookware back on a warm stove top or over a low-med gas heat. At the same time, give the pot a quick seasoning with oil (Step 5). This will replenish and build your seasoning.
- Don’t be tempted to pop your iron cookware into a dishwasher when you get home. This is a sure way of removing your seasoning and non-stick layer.
- When in doubt, re-season.


