Wheel of Fortune
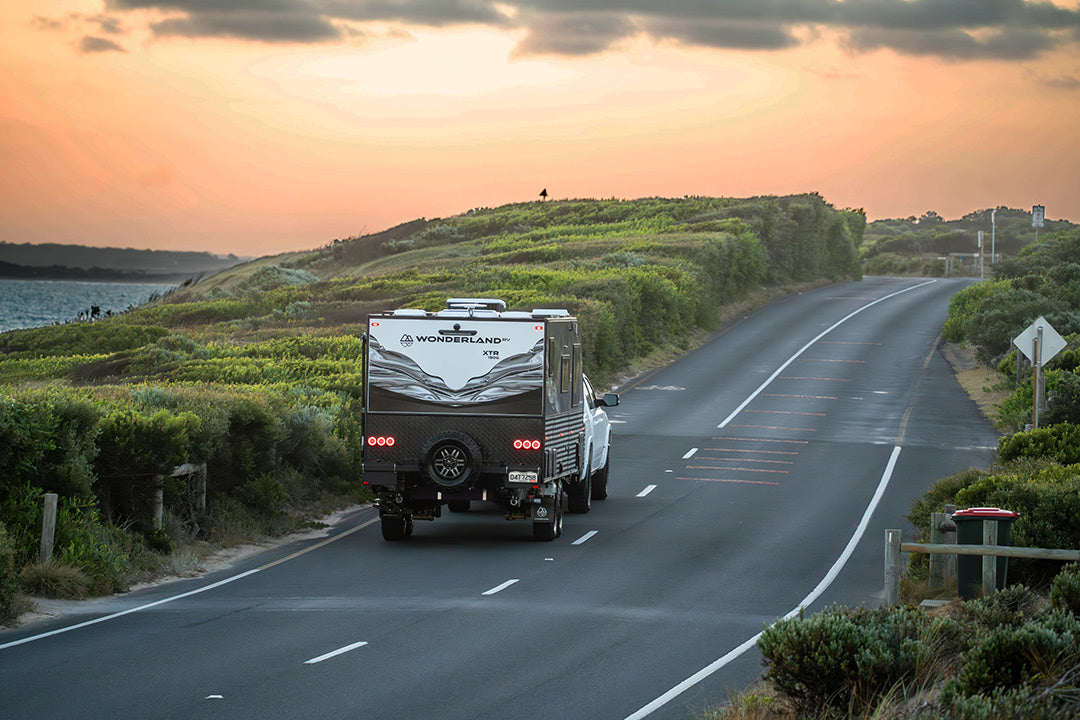
Whether it’s at point of purchase, or after spending time on the backtracks, at some point you’ll need to replace or upgrade your jockey wheel. After eight years of sterling service, it was time to replace ours. And it’s any wonder. From Balranald to Milparinka, through Sturts Stoney Desert down the Birdsville Track, the Flinders, Oodnadatta and beyond, our jockey had been peppered with rocks over thousands of kilometres. Even a set of Rocktamers fitted to the tow tug couldn’t prevent inevitable wear and tear.
To be honest, we’d never really enjoyed the jockey wheel we’d been using anyway. It simply wasn’t designed to cater for the places we tend to camp. The moment we’d try to set-up in slightly undulating terrain, it was simply too short for the job at times, and too long at others.
So, what to replace it with? Just as the long running advertising campaign proclaimed ‘oils ain’t oils’, it’s the same with jockey wheels. There are lots of options to choose from. Indeed, we’re spoilt for choice. From standard clamp jockey wheels, swivel brackets, ratchets, all the way to valet movers! While there are lots of styles on offer, however, there are a few key parameters to consider before replacing yours.
STEP ONE — LIFT LENGTH
The primary purpose of a jockey wheel is to lift and lower your van’s hitch point when attaching it to your tow tug. That being so, it needs a lift range compatible with that of your rig.
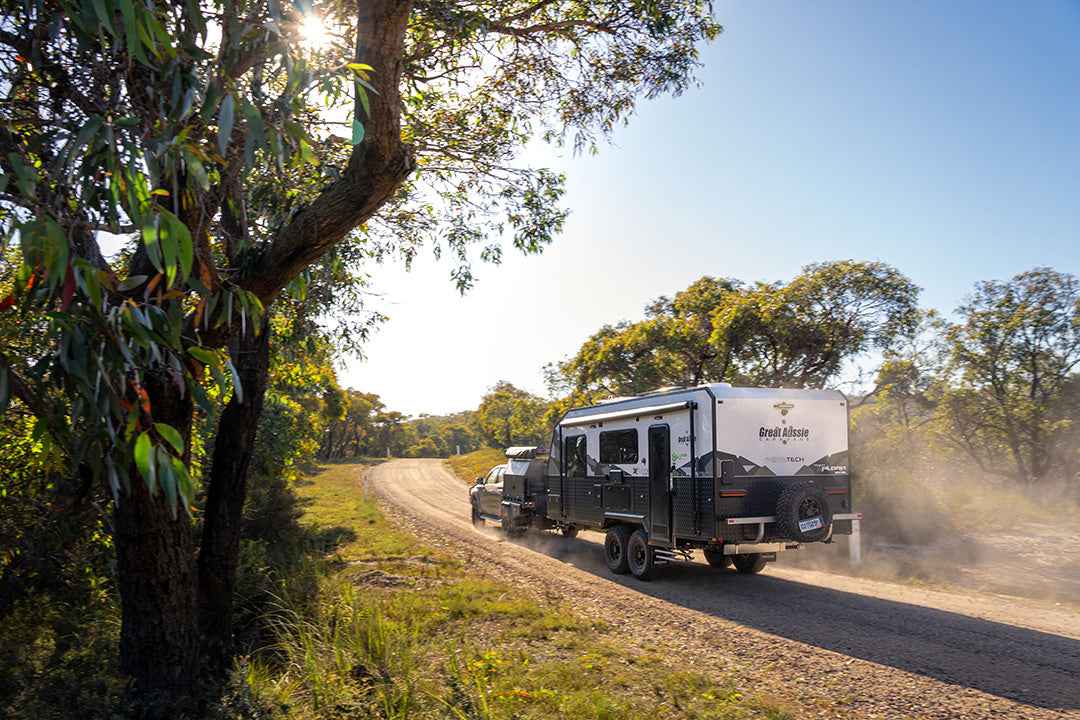
In our case, most of our camping is off-grid on undulating terrain, and it’s here that our previous jockey wheel tended to let us down. It simply didn’t have the versatility to deal with the articulation of the vehicle and van pointing in opposite angles. And we’re sure we’re not on our ‘Pat Malone’ facing issues like this.
Once you start modifying a rig, like adding a 2-inch lift to your tow-tug, changing tyre size, or even flipping the hitch over to get more height, these issues tend to compound and alter the height of the tow hitch. If you buy a jockey wheel that’s close to your drawbar height when closed, you’re likely to have issues on undulating ground. The opposite is also true. If you need to wind-out most of the jockey’s extension simply to touch the ground, you may not be able to achieve enough lift to unhitch.
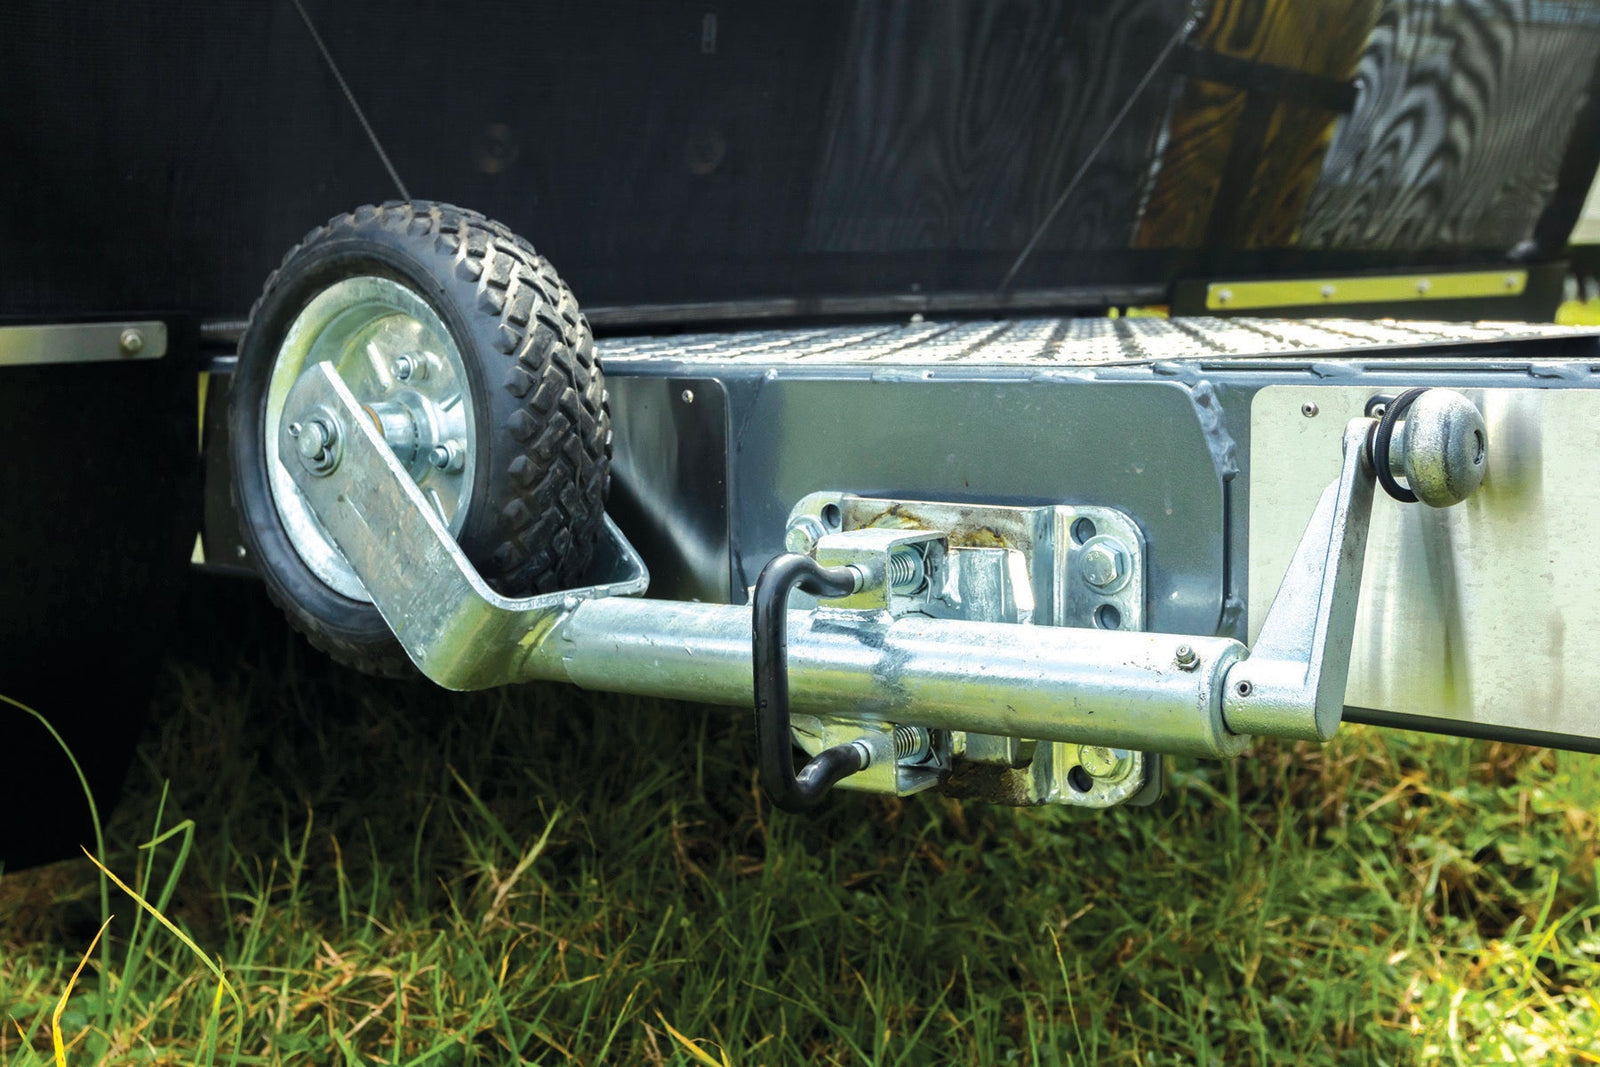
So, what to do about it? Some standard clamping jockey wheels (like the AL-KO 8 inch) offer three fitting rings, instead of just two. Others fitted in a swivel mount (like the Ark XO range) have a height adjustment before winding the wheel down. There are also jockey wheels that double as a jack and have multiple fitting points for a standard 50mm clamp. For example, Trail-A-Mate is a hydraulic jack designed to assist you to change tyres and the like, and it also has a jockey wheel attachment.
Regardless of what make and model you choose, you need to ensure that you’ll be able to use it without relying on its full extension. A fully extended jockey wheel can be unstable, and you also risk failure or collapse that could result in serious injury to the user.
STEP TWO — TYRES
When you choose a tyre for your tow-tug, you match it with the type of travelling you plan to do. The same applies with your jockey wheel.
A key purpose of your jockey is to help move your caravan to your tow hitch. And, despite the prevalence of reversing cameras, every now and again we all still find ourselves nudging our rigs around at a campsite.
So, consider what type of terrain you might face when using your jockey wheel to help manoeuvre your rig. Perhaps you’ll set up at a campsite with ‘that view’ and want to manoeuvre the rig to see the vista from the camp chairs set up under the awning, but the tow-tug can’t get you there. Alternatively, your style of camping may see you at formed campsites most nights. In which case, you’ll generally be operating on even ground and hard surfaces.
Traditionally, pneumatic tyres are most suited for softer or loose ground, while solid tyres are best on hard flat surfaces. That said, twin hard tyres will also help disperse the weight, as will tyre size. Depending on your style of camping, you might even consider removing the wheel and replacing it with a foot to disperse the weight over a larger area.
STEP THREE — WEIGHT RATING
The lifting capacity or weight rating of a jockey wheel is extremely important. Remember that there are lightweight jockeys out there intended for box trailers doing runs to the tip or hauling a tinnie. For a van, you’ll be looking for a rating of around 300–350kg for smaller rigs. But for larger twin axle caravans, set your sights on a heavy-duty model of 500kg or more.
STEP FOUR — PRIOR PREPARATION PREVENTS POOR PERFORMANCE
Before fitting or removing your jockey wheel, prepare your work site properly. This will ensure your safety and make sure you get the best performance out of your jockey in practice.
So, fit it on flat ground. If fitting a jockey to an unhitched rig, make sure all the leg levellers are down (particularly forward ones closest to the A-frame) and the wheel chocks are in place. Better still, hitch the rig to your tow tug to assist with alignment and to ensure you have the correct lift length.
This is also the perfect time to inspect and replace the leg levellers. After all, you’ll be using the same tools and safety precautions.
STEP FIVE — LOCATION AND FITMENT
Fitting a jockey wheel is just like choosing a campsite. It’s all about location, location, location.
Sure, it’s going on the drawbar/A-frame. However, you need to fit it to an area where it won’t obstruct or adversely affect other fittings and wiring. This goes for the working handle too. Get too close to the gas bottle, stone guard or toolbox and you may not be able to wind the handle at all.
Next is school room geometry. The further you fit the jockey from the hitch itself, the more lift you’ll get at the hitch. This is because the closer you have your jockey wheel to the pivot point (wheel hubs), the greater the angle you create when winding up the unit. While you may not add much, you may be pleased for the extra 10mm when you’re in the scrub. Drawing an appropriate balance takes an attention to detail and a keen eye.
Fitting the unit is actually the easiest part. Some manufacturers weld standard clamp fittings or brackets on the beam for you, while others have removable bolt-on fittings. If you have a standard 50mm clamping jockey wheel, it may be as simple as upgrading to a new one as you’ll be using the same clamp that’s already in place. Alternatively, if you’re bolting on a new one, simply fit the unit with the brackets supplied or two Square U bolts with four nuts. However, don’t forget about those good vibrations. Use lock nuts and consider spring washers and a washer as big as will fit to evenly apply pressure, or even dual bolts. Make short work of it by utilising an impact driver
As always, there’s marked differentiation between models, especially when talking of the swivel mount variants. Some have a base plate with multiple fitting points to allow for differing sizes of drawbars from 750mm x 500mm, 1000mm x 500mm, 1200mm x 500mm and 1500mm x 500mm. This is about the only time one size will fit all.