Stabiliser Maintenance
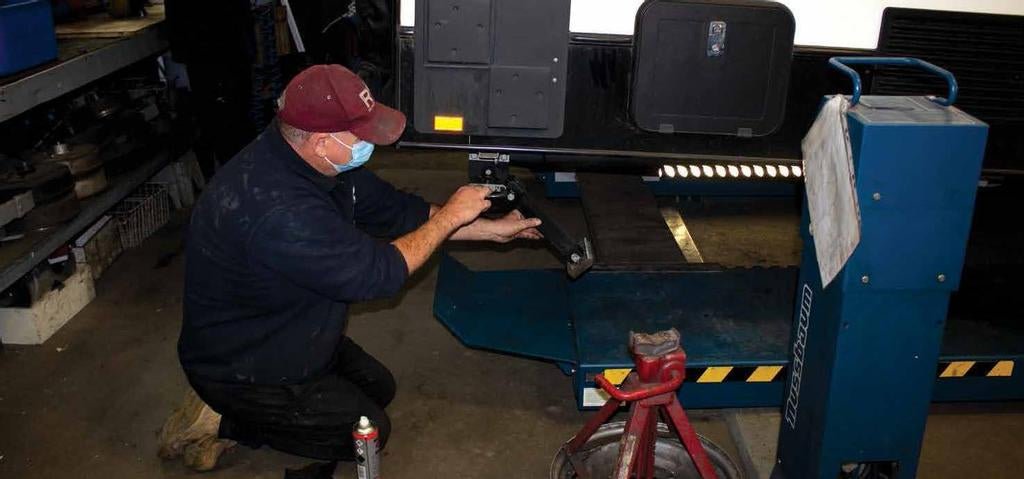
Now, this is where the misunderstanding comes in, your stabilisers are not designed to support the weight of the van. They can’t be used to level the van by cranking one stabiliser up more than another and they can’t be used as a substitute for a jack or a jockey wheel. Therefore, you should never support your van with the stabilisers and remove the load bearing jockey wheel or jack.
If you are lucky, this kind of abuse will only bend your stabilisers or break the internal gears rendering them unusable. If you are less lucky, you may damage the floor or the stabiliser could fail, causing the van to fall.
A cordless drill makes winding very easy but you do need to be careful not to put too much load on the mechanism. Another way to minimise the stress on your stabiliser is to use the legs in the vertical position rather than on an angle whenever possible.
VULNERABLE POSITION
Your stabilisers are vulnerable because they are exposed to whatever your wheels kick up including dust, mud, sand and rocks. The smaller stuff can get inside the moving parts and jam things up, and the rocks can give the stabilisers a belting, bending and breaking components. They are also vulnerable to copping a direct hit from the ground if you venture into rough terrain.
PREVENTATIVE MAINTENANCE
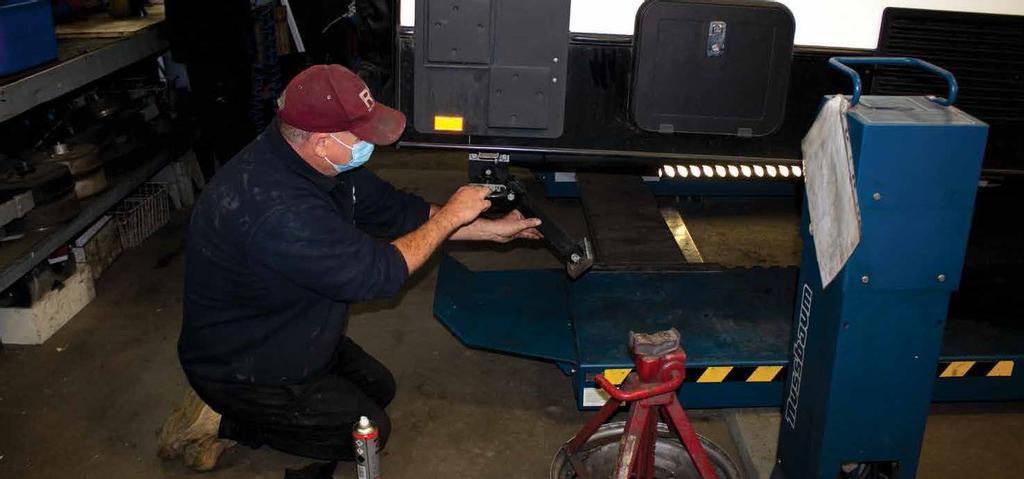
Cleaning and lubrication are key. If you have access to compressed air, it’s a great way to clear dust and grit if done judiciously — you just need to think about which way you are pushing the debris. Obviously, you want to be directing it out and away from moving parts, not driving it further in. An alternative is a gentle squirt of water with a hose, again thinking about where you are directing the gunk. Failing that, a brush will suffice.
As far as lubrication is concerned, grease should only be used if it becomes necessary to open up the stabiliser to access the internal winding gear. Otherwise, grease is a magnet for attracting sand and grit which will cause more jamming and wear. Instead, reach for a spray lubricant. Andrew recommends something like Inox or Mechoil. More basic spray lubricants, such as water dispersants, rapidly dissipate, only providing short term value, and practical excess spray lube should be gently wiped away to prevent attracting dirt.
POINTS TO CLEAN AND LUBRICATE
1. LOCKING/PULL PINS
This area is the most critical as it is most prone to jamming or corroding. The locking pins are pulled with a handle to enable the leg to be pivoted and locked at various positions. Pull the handle to expose the pins and spray with lubricant. Slide in and out a few times to distribute lubricant.
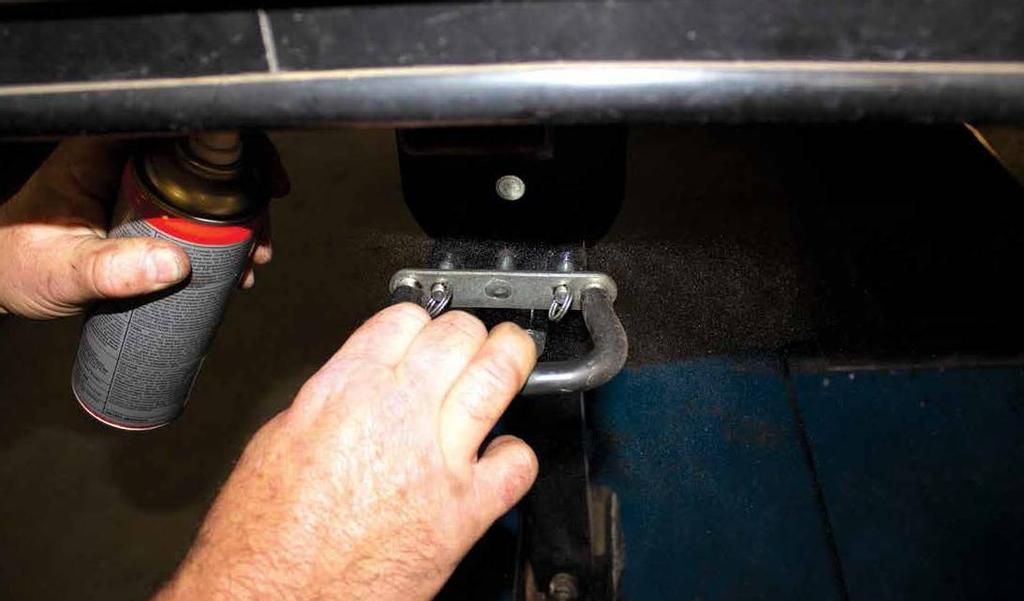
2. LEG PIVOT FACE
The leg has a plate welded on it with the locating holes. This plate faces up against the mounting bracket and pivots around it. Give this a squirt of lube to make pivoting easier. Move the pivot through its various positions a few times to distribute the lubricant.
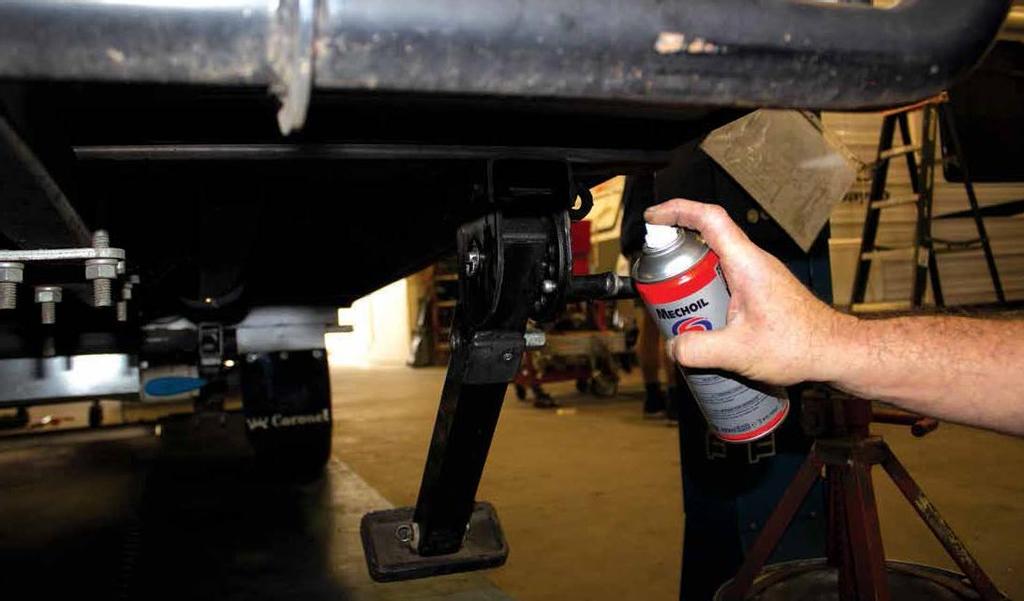
3. WINDING HEX
A squirt of lube onto the shaft will help keep winding smooth.
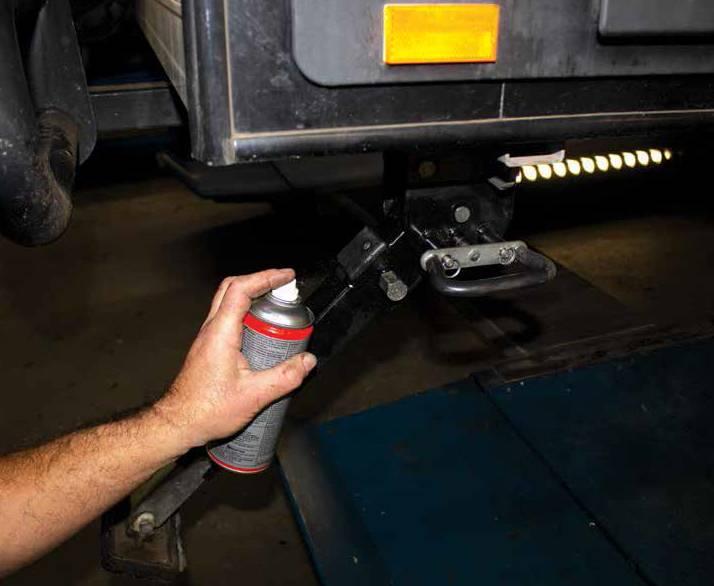
4. TELESCOPIC LEG
Wind the leg out and make sure it is clean. Give it a squirt of lubricant on all faces and wipe off excess lube to leave a fine film. Wind the leg back in again.
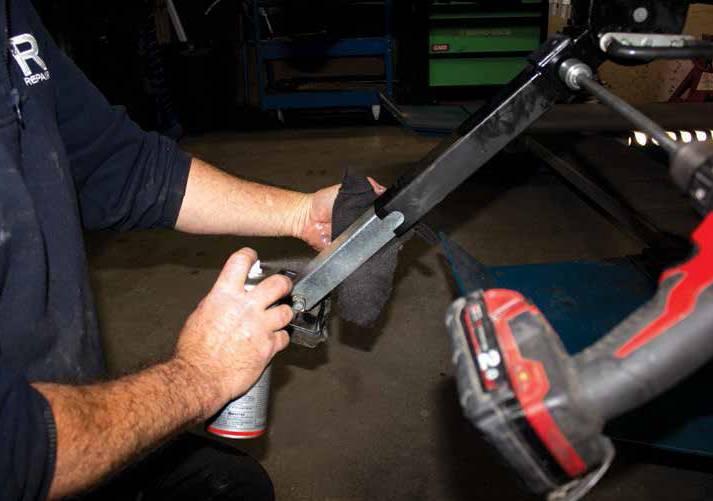
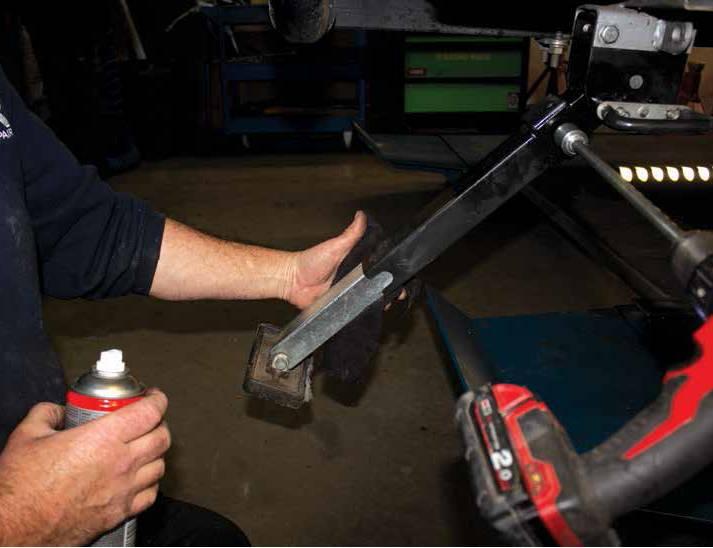
5. FOOT PIVOTS
Lubing the foot pivots will help the feet to easily swing to the correct position as the legs are pivoted.
CORRECTIVE MAINTENANCE
If your stabilisers are difficult to operate, they may be in need of corrective maintenance.
PULL PINS
The pull pins can become corroded or contain grit, preventing you from being able to pull the handle out. Sometimes, a gentle tap in with a rubber mallet and then gently levering the handle may be enough to free things up. We emphasise gently, as too much force can break the handle.
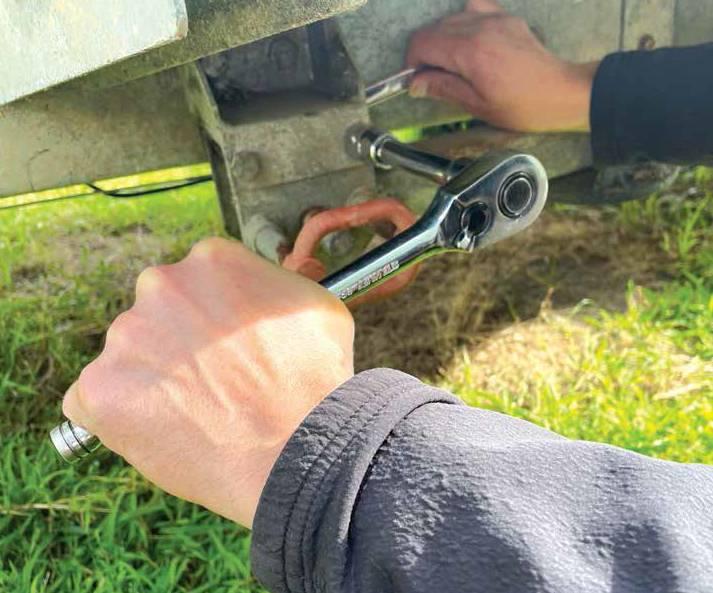
6. If this doesn’t free things up, the pins can be removed to either unseize them or replace them. The best plan of attack is to remove the entire stabiliser assembly so you don’t have to worry about losing little parts on the ground or work on your hands and knees. The assembly is removed by removing a couple of bracket bolts.
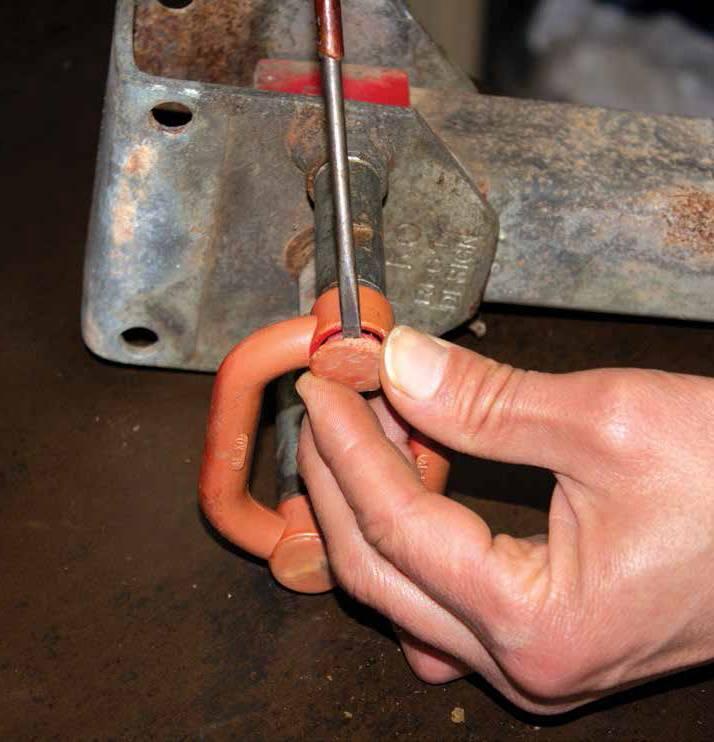
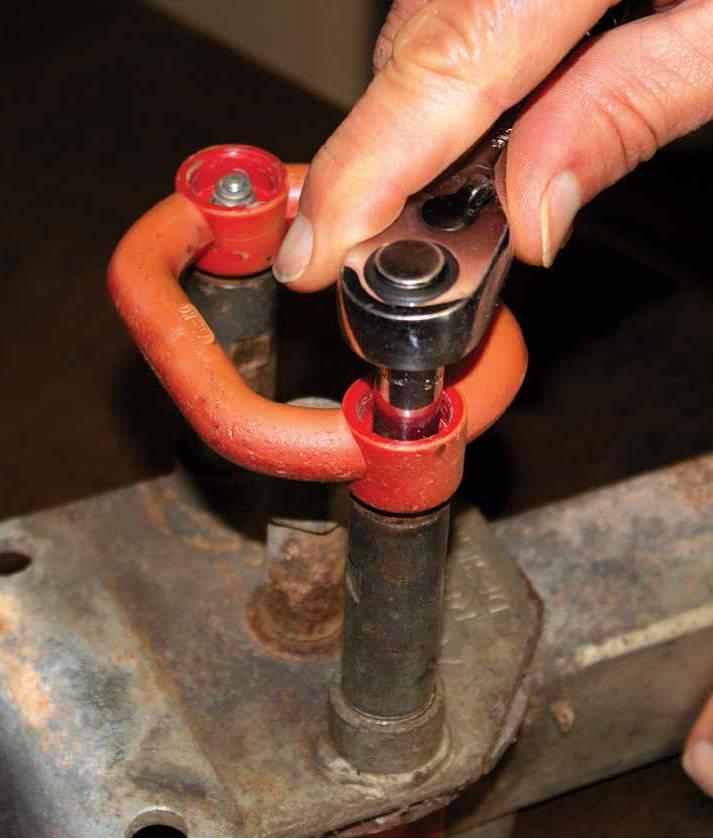
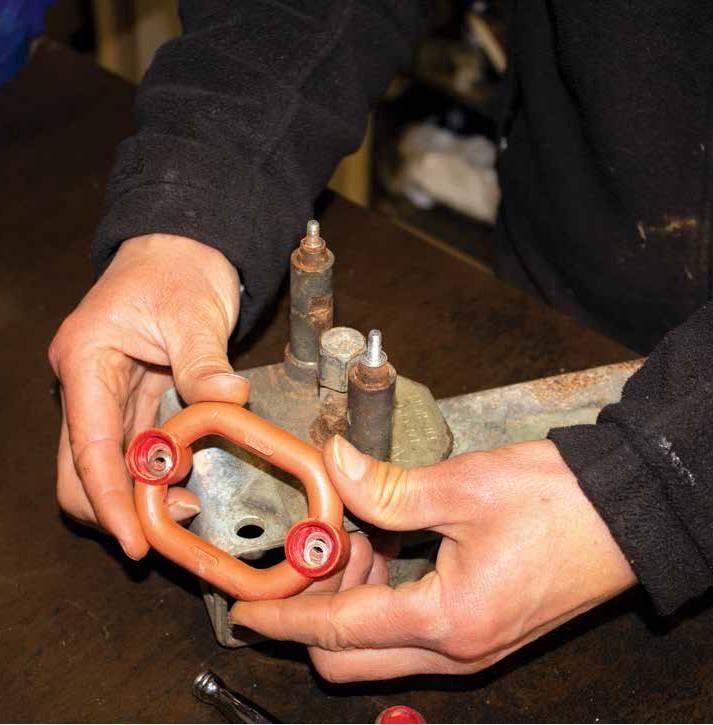
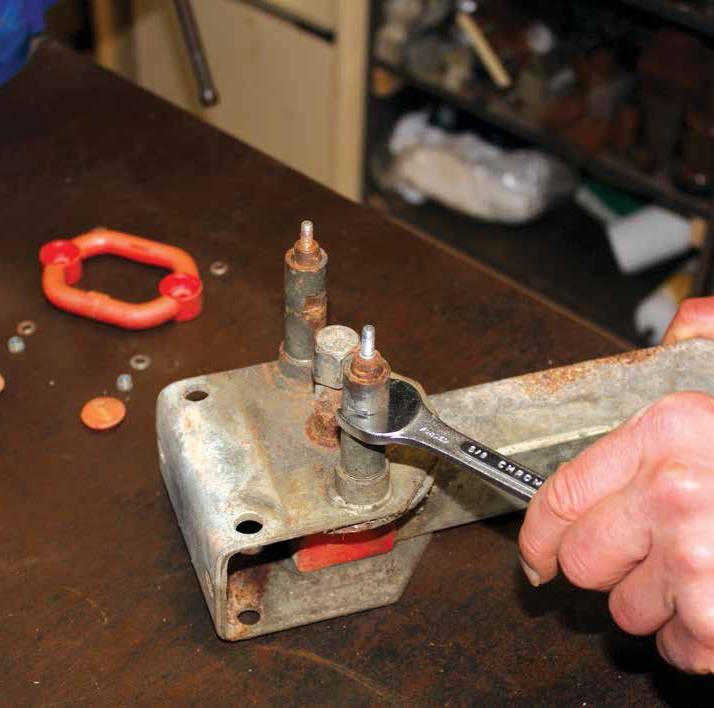
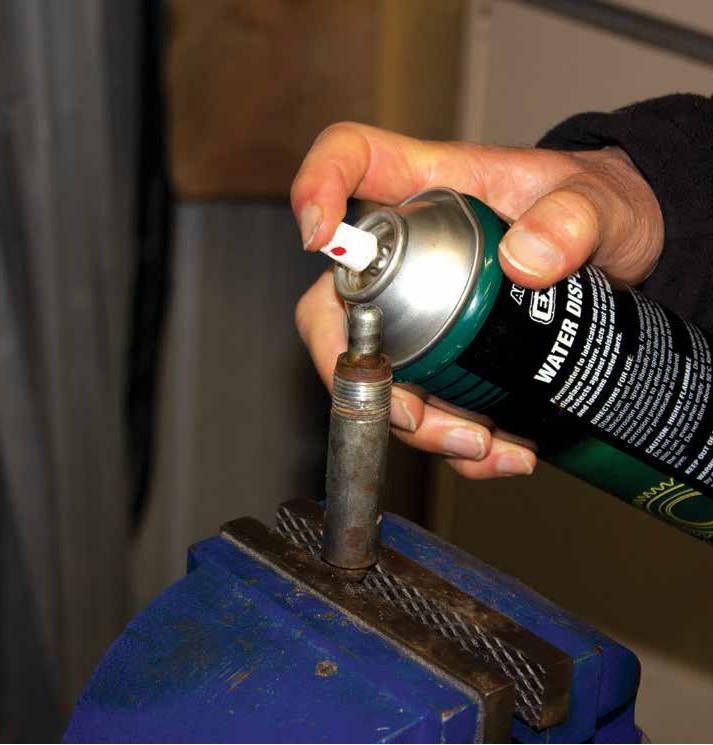
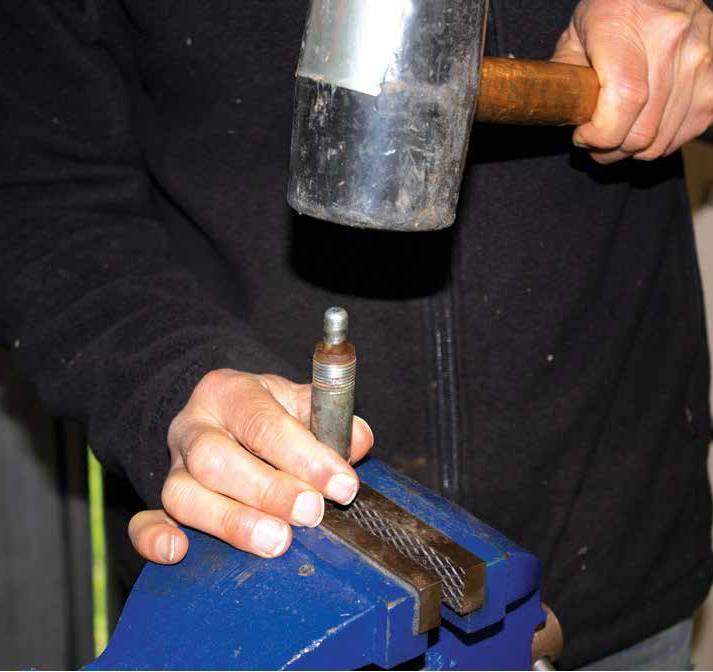
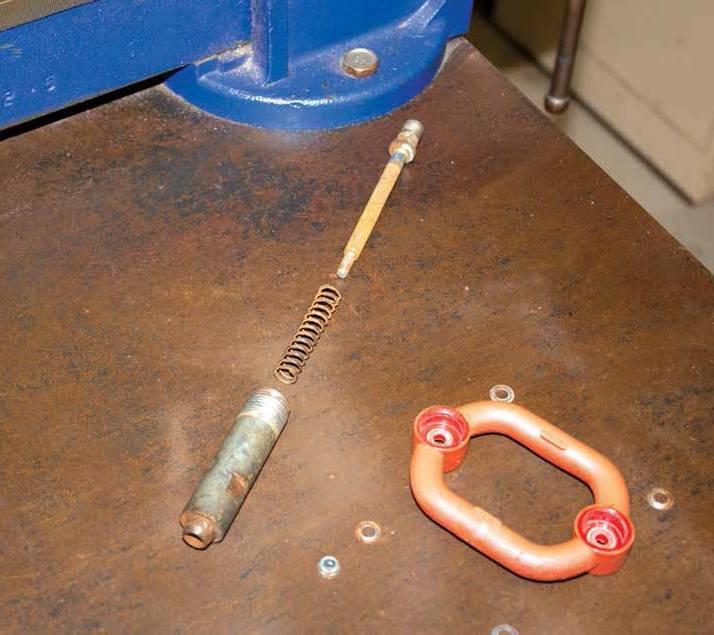
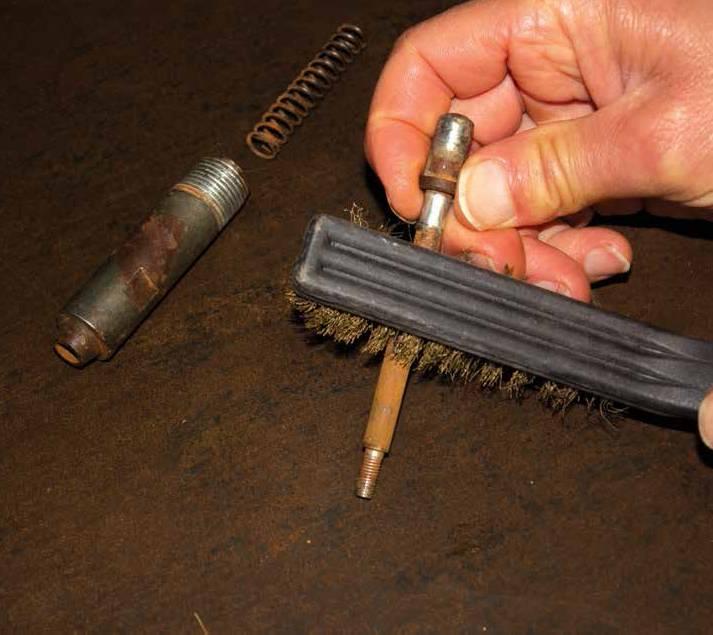
14. Remove rust with a wire brush and spray with lubricant.
This ends the pull pin maintenance — reassemble in reverse order.
Winding Mechanism
The mechanism to wind the telescopic leg can seize or break. Opening the gear covers will enable you to see if the parts can be freed up or need to be replaced.
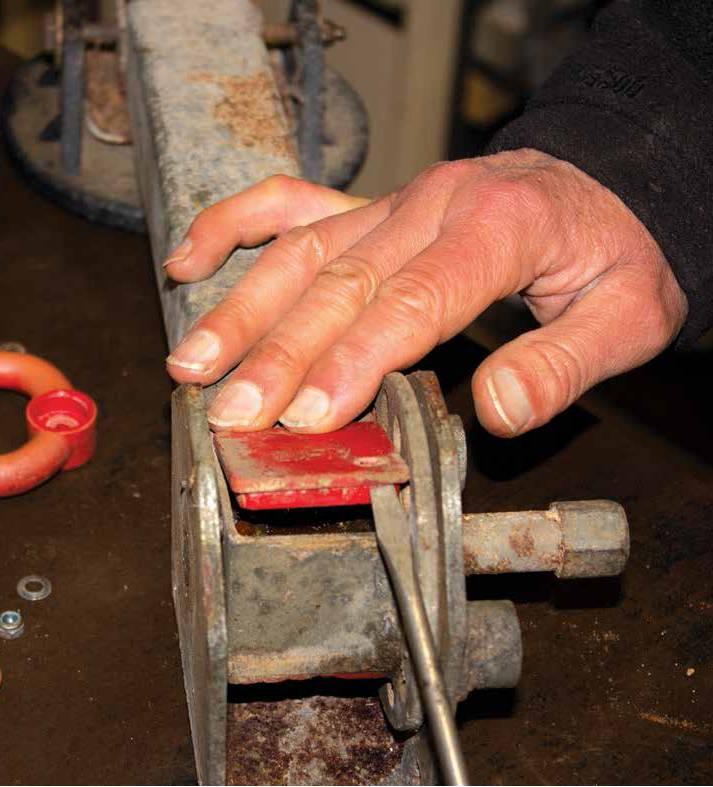
15. Remove the tiny screw and nut that holds the gear dust covers on.
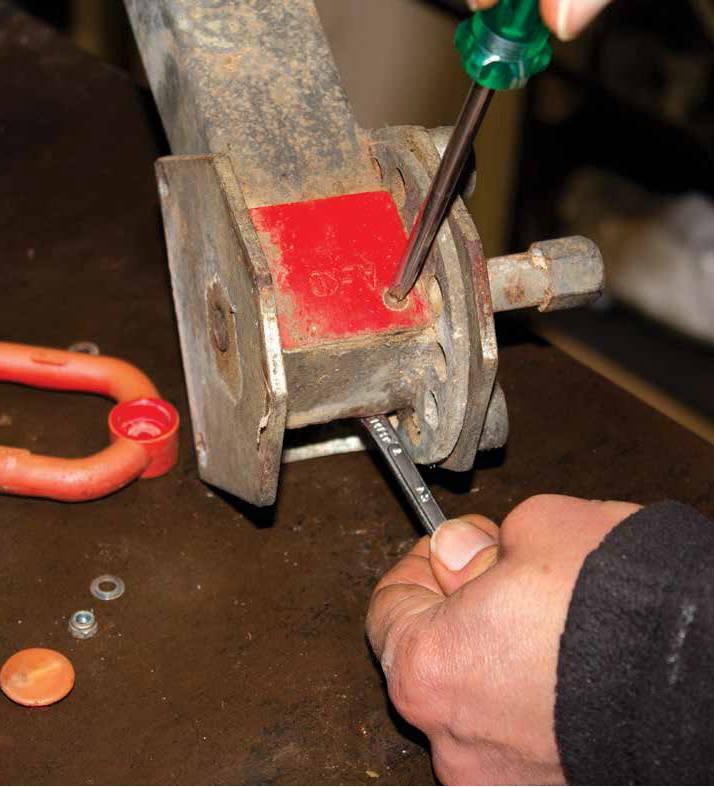
16. Pry off the dust cap on each side with a fine blade screwdriver.
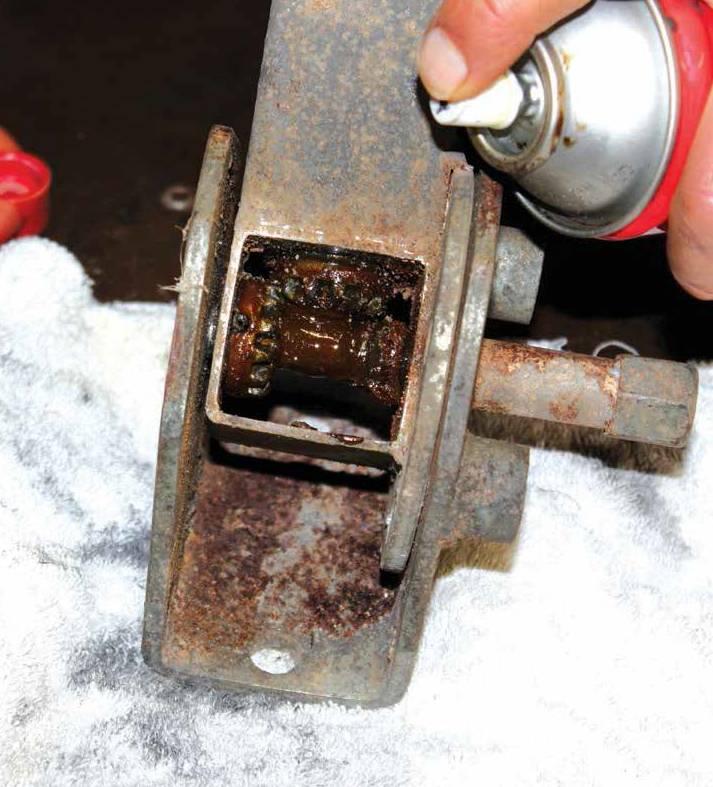
17. Clean the gear drive with some spray degreaser.
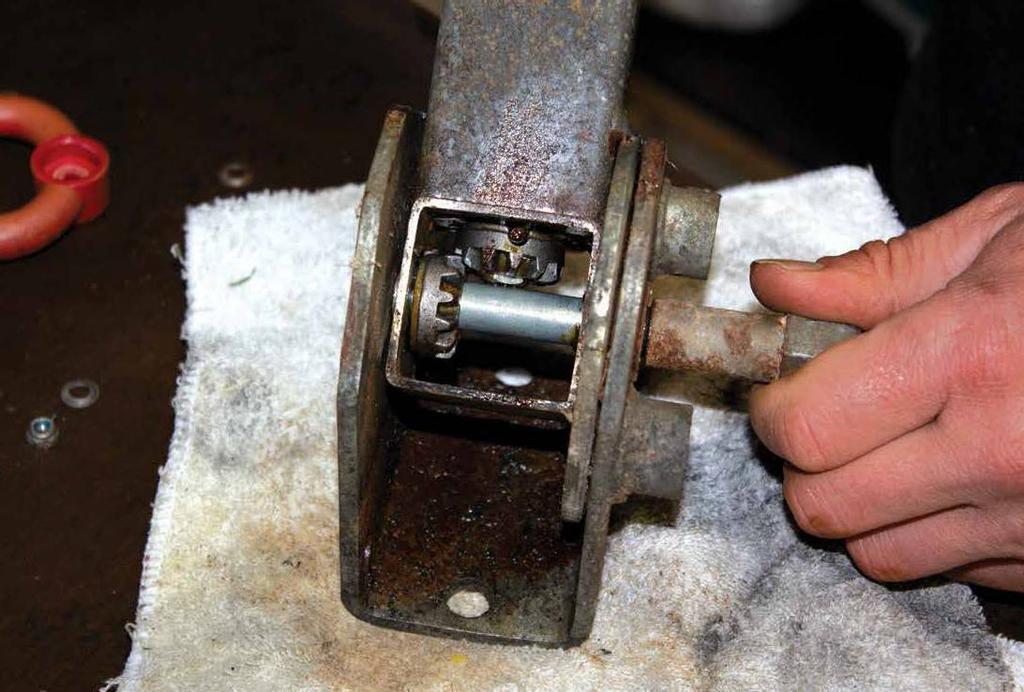
18. Inspect for any signs of damage.
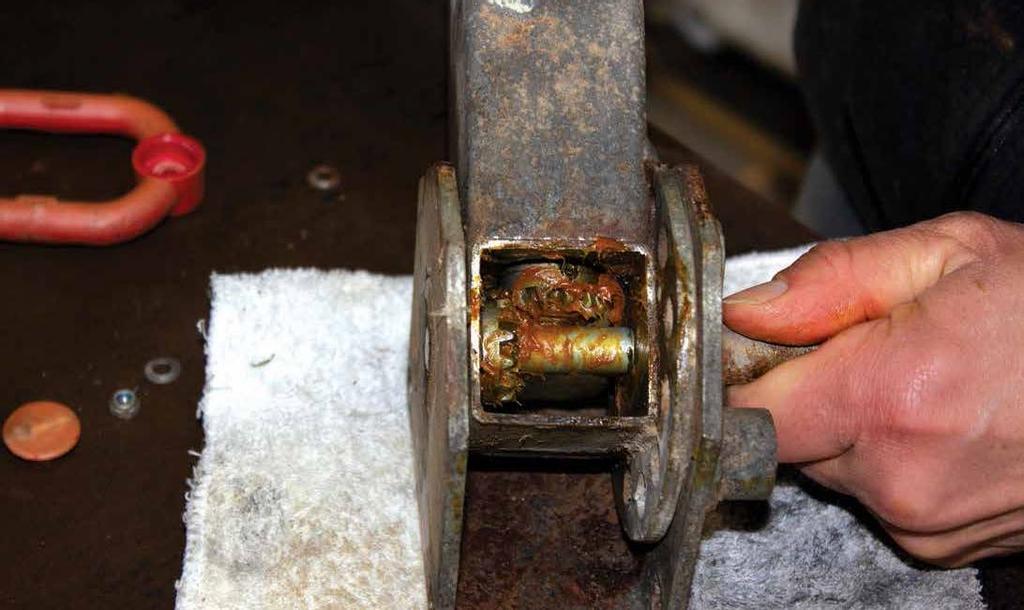
19. If the gears look good, apply grease and try to wind in and out a few times. If you are in luck, you will have restored your winders. If not, the winding gears can be replaced.
20. This ends the winding mechanism maintenance — reassemble in reverse order. The final thing to look out for is your mounting brackets and/or bolts may have been bent if the stabilisers have hit the ground on rough terrain. If you find this, replace the offending components to restore correct function.
Thanks to Andrew Phillips and the team from the RV Repair Centre, 120 Canterbury Rd Bayswater Nth Vic 3151, Ph: (03) 9761 4189.
Improper maintenance could lead to injury, death or property damage. Maintenance work of this nature should only be undertaken by persons with suitable mechanical competence. If in doubt, consult a professional. Information provided is general in nature and can only be taken as a guide. Individual discretion must be exercised and persons undertaking described tasks do so completely at their own risk. Publishers and creators of this content accept no responsibility for loss or damage.


