Kitchen Sink Refresh
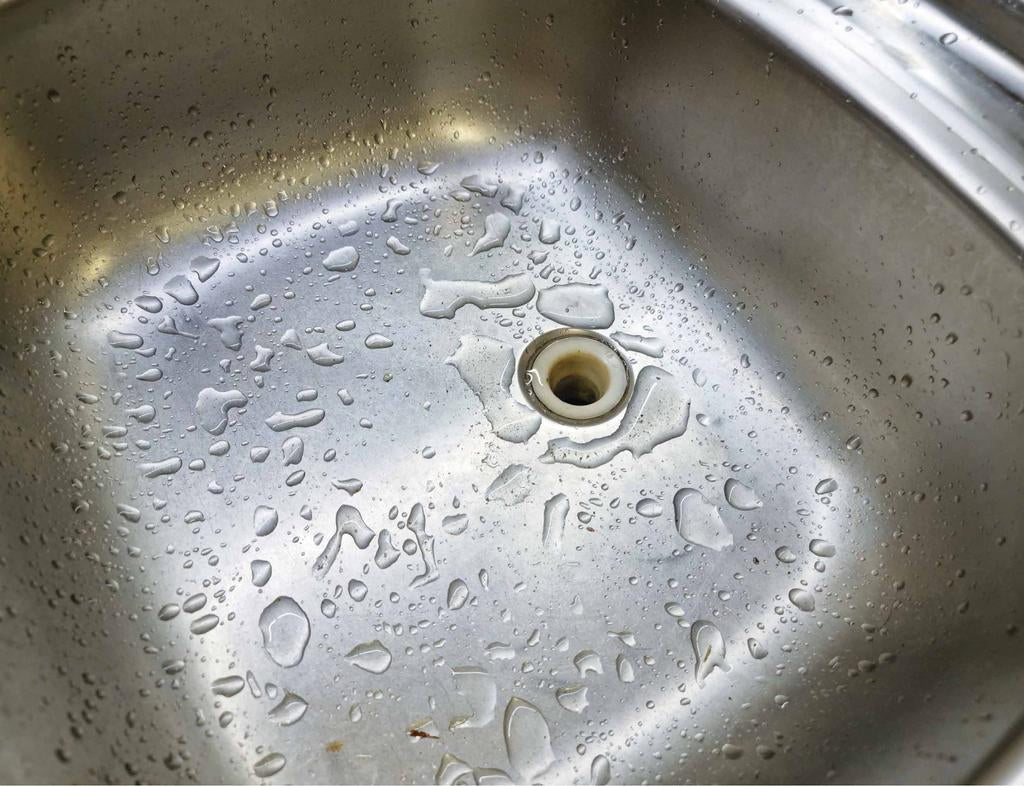
You could also follow this process if your waste outlet looks brittle or discoloured or if you have lost your plug and can’t find a replacement plug to fit. To ensure your replacement waste outlet will be suitable you just need to check: 1. The waste outlet sealing flange and male threaded part are suitable diameter for the hole in your sink and 2. The male hose barb is the right diameter for the waste outlet hose.
The waste outlet is sealed to the sink with a film of silicone rather than a rubber washer. You will need neutral cure silicone which will create a seal but won’t adhere so strongly that you can’t remove it later on.
The steps are as follows:
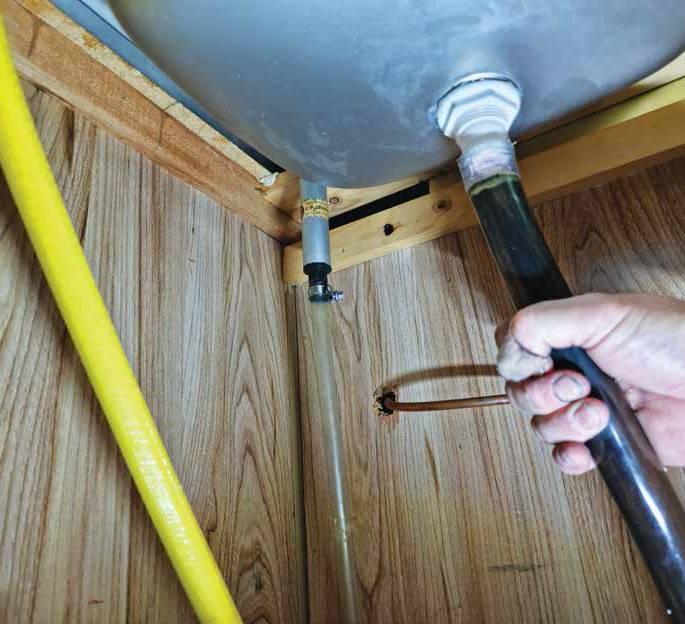
1. Undo the hose clamp securing the drain hose to the waste outlet hose barb.
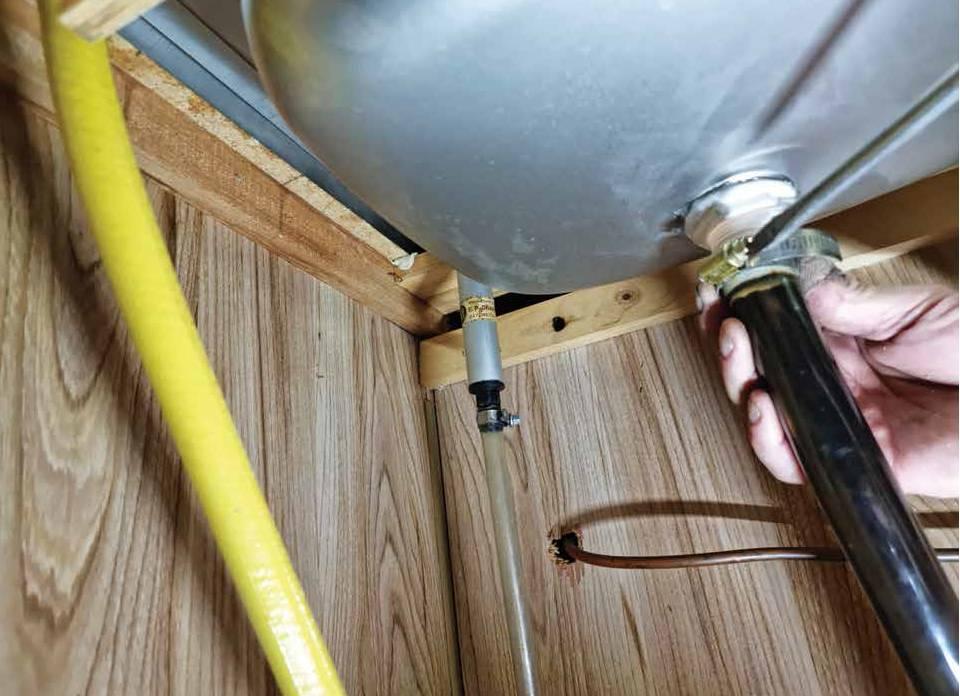
2. Remove the waste hose from the waste outlet.
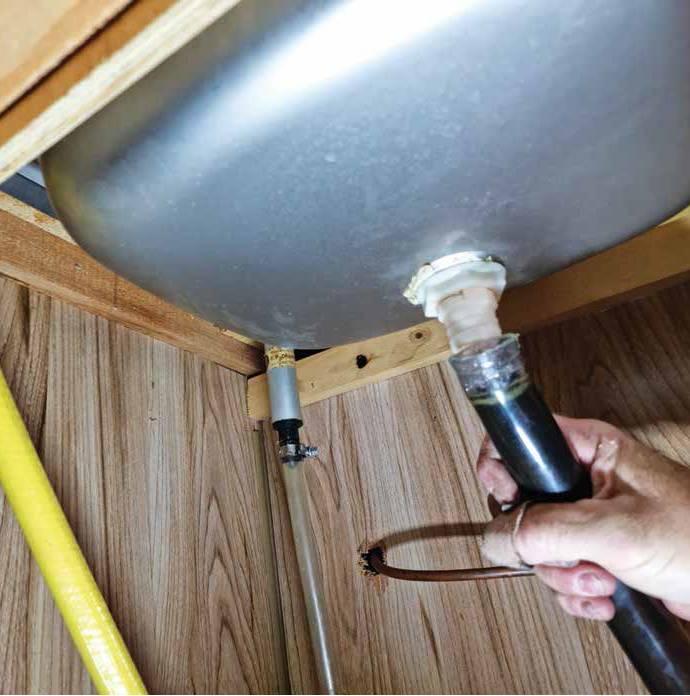
3. Undo the nut retaining the waste outlet to the sink
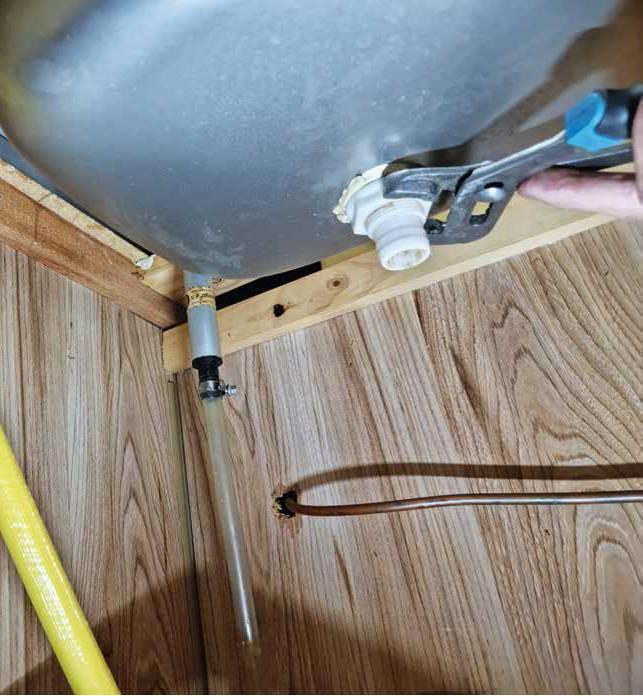
4. Remove the retaining nut.
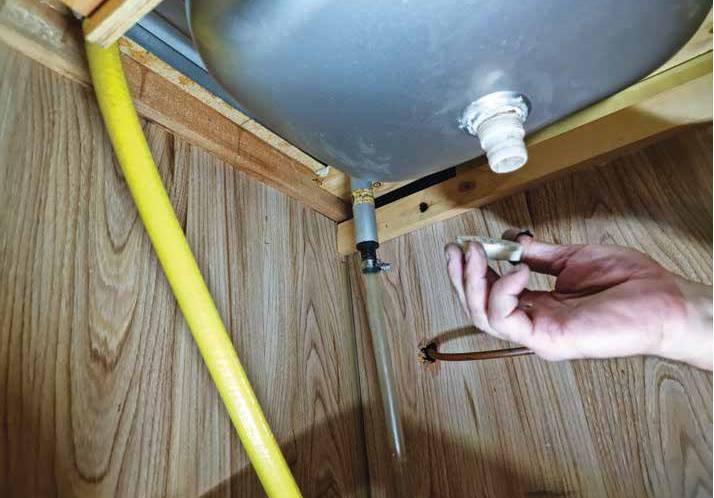
5. Remove the waste outlet from the sink
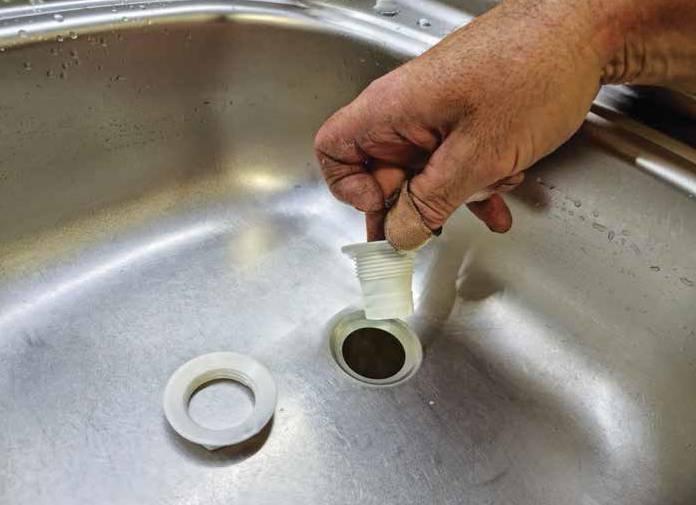
6. Clean the sink with methylated spirits to ensure good silicone adhesion.
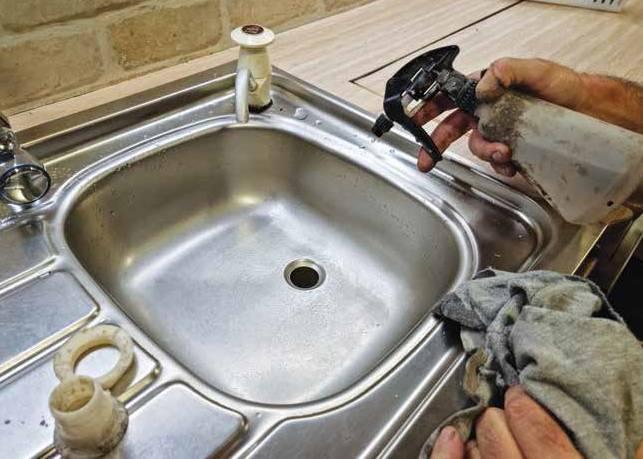
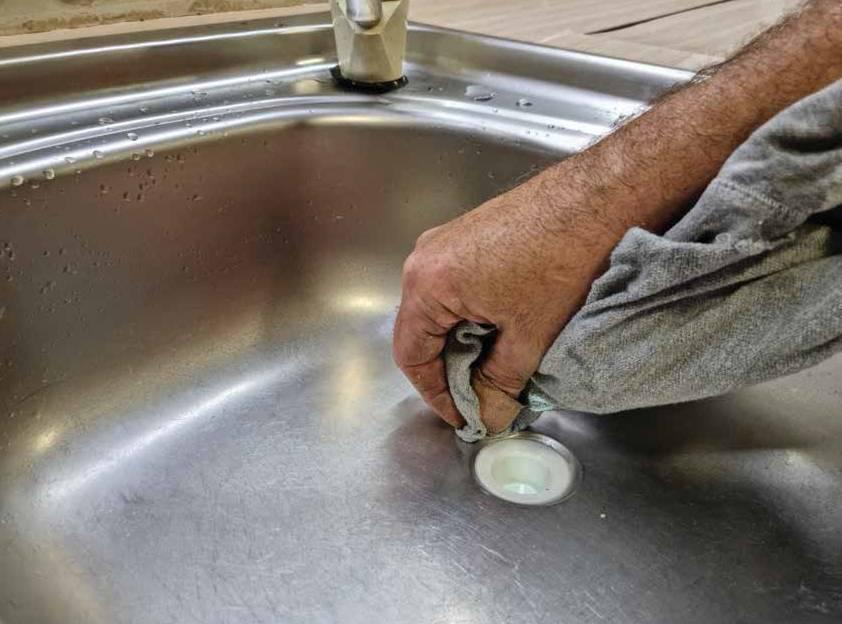
7. Wipe dry thoroughly with a clean cloth.
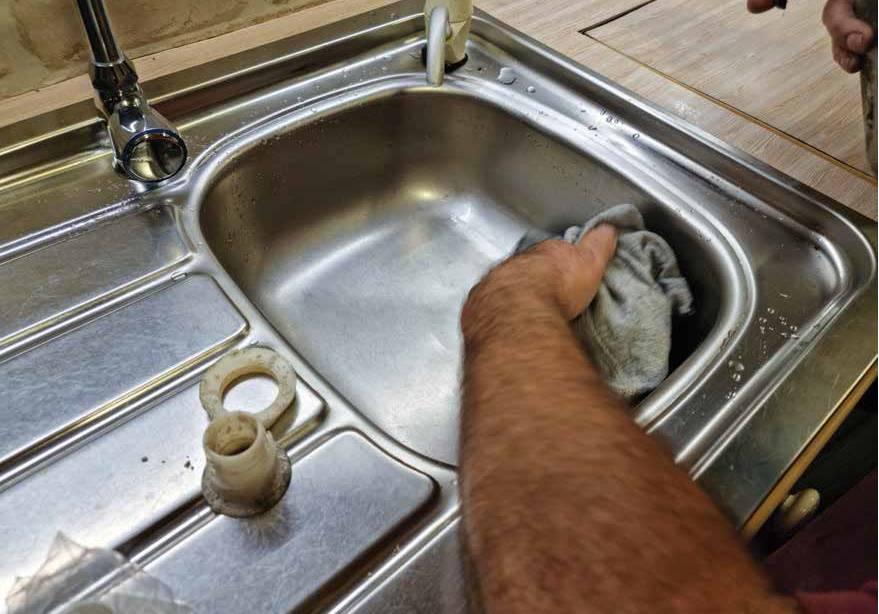
8. Apply neutral cure silicone to the underside of the waste outlet flange.
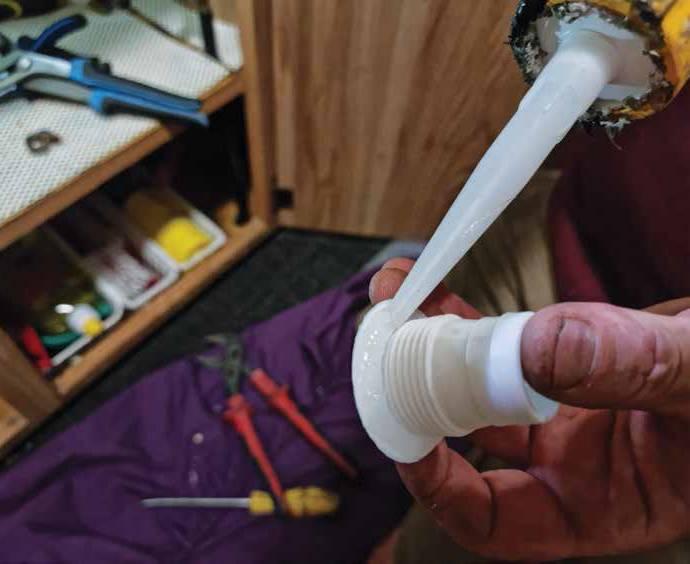
9. Replace the waste outlet into the sink opening avoiding smearing silicone.
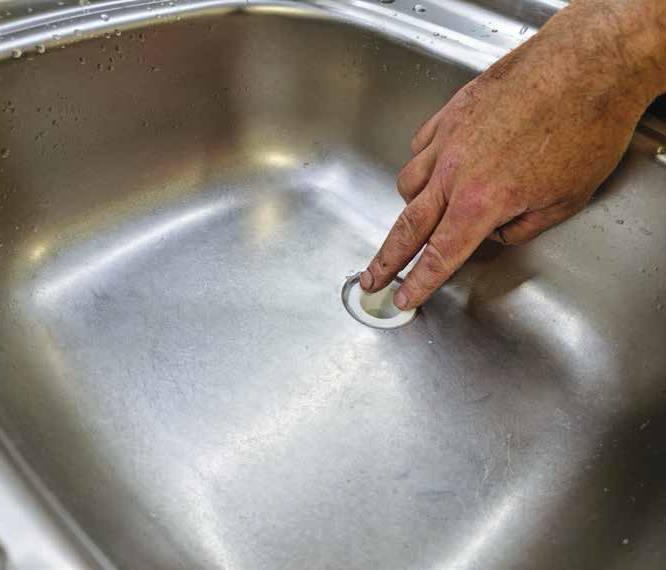
10. Refit the retaining nut.
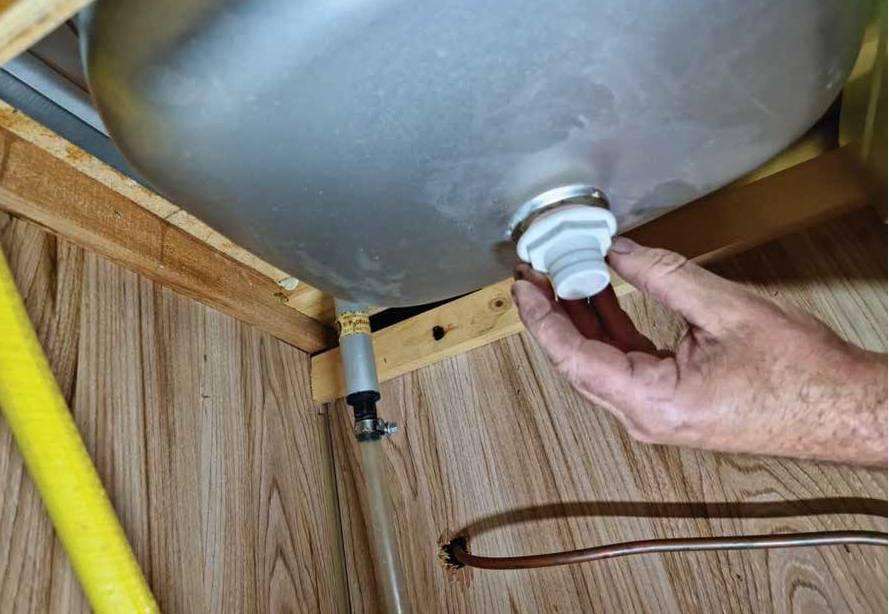
11. Gently tighten the retaining nut to avoid squeezing all the silicone out between the waste outlet flange and sink.
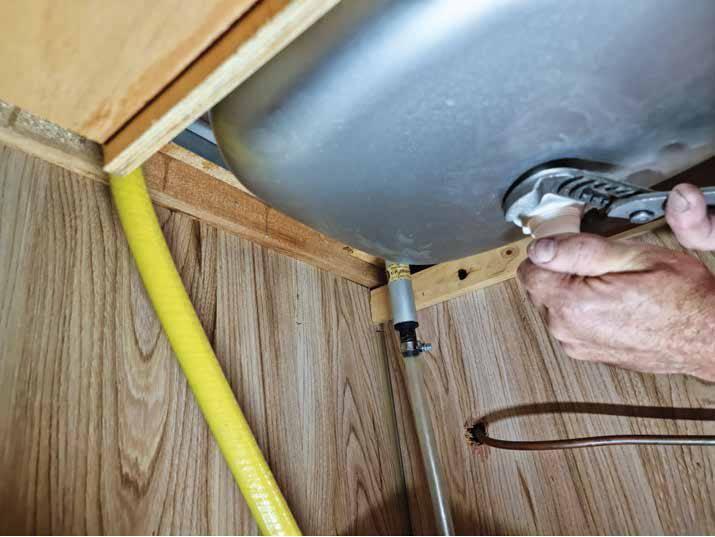
12. Wipe away excess silicone.
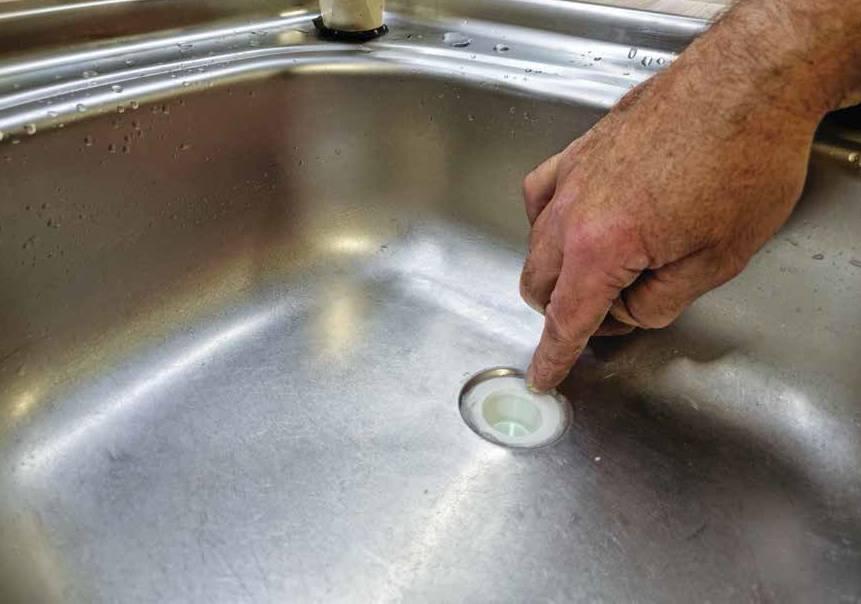
13. Do a final clean with a rag.
14. Reattach the waste hose.
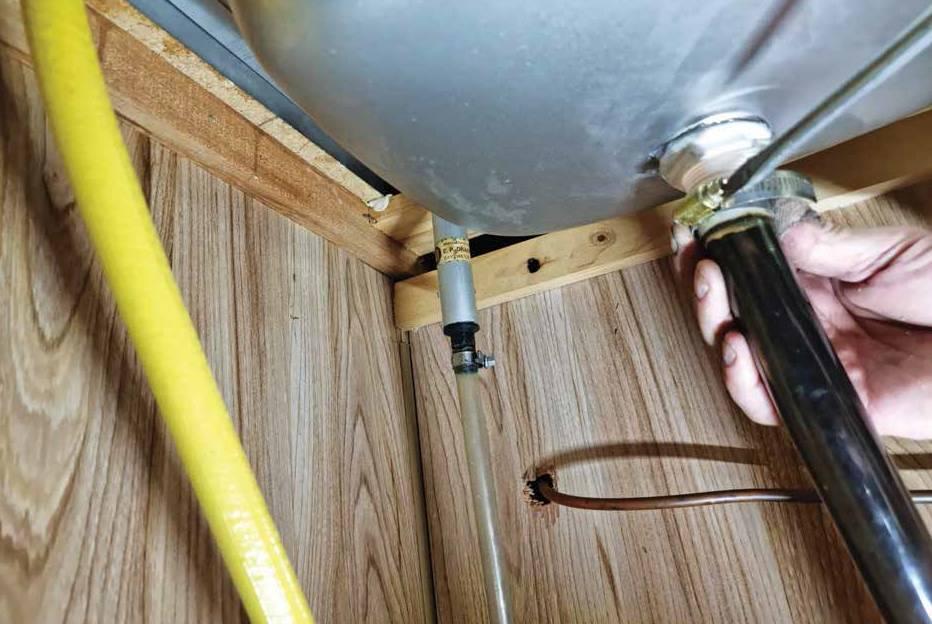
15. Tighten the hose clamp.
You can tell your hand pump washers need replacing if you experience the following: 1. Water leaks from the pump shaft or 2. The hand pump fails to push an adequate flow of water.
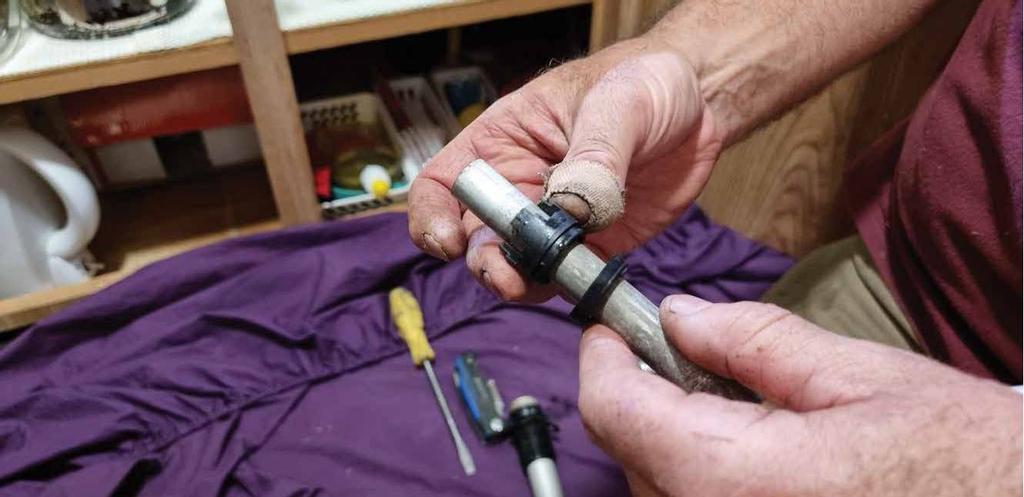
The fix can often be achieved by replacing the washers, which can be purchased as a kit. Refer to picture six showing the lower washer which creates the seal to pump the water and the upper washer which creates the seal, so water doesn’t leak out of the shaft. Alternatively, the complete hand pump assembly can be replaced.
To ensure your replacement hand pump will be suitable, check: 1. The hand pump sealing flange and male threaded part are a suitable diameter for the sink hole and 2. The male hose barb is the right diameter for the hand pump inlet hose.
The steps are as follows — if you choose to replace the whole assembly, skip steps 5-11.
1. Undo the hose clamp securing the inlet hose to the hand pump barb.
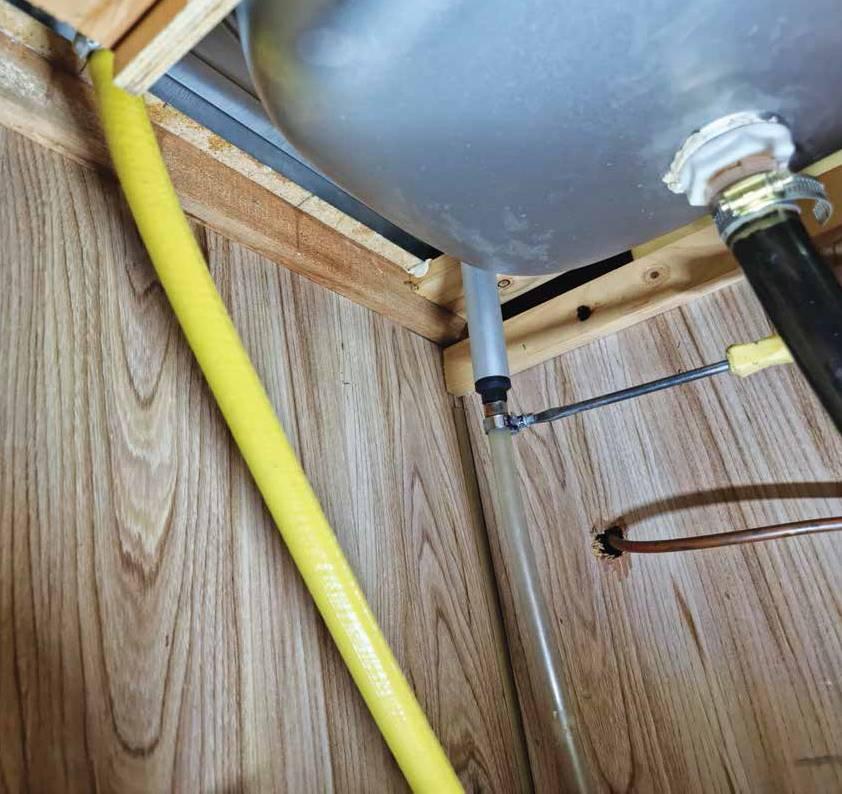
2. Remove the inlet hose from the hand pump.
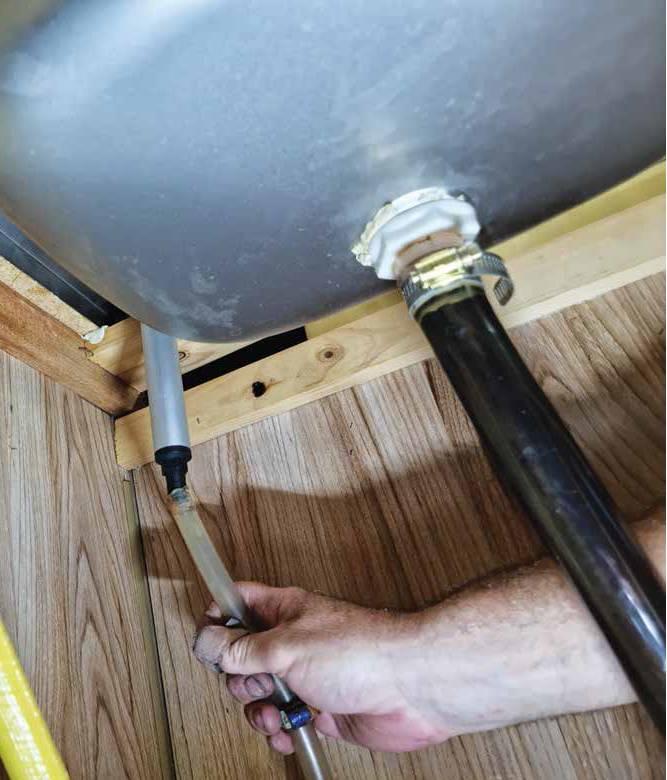
3. Loosen and remove the hand pump retaining nut.
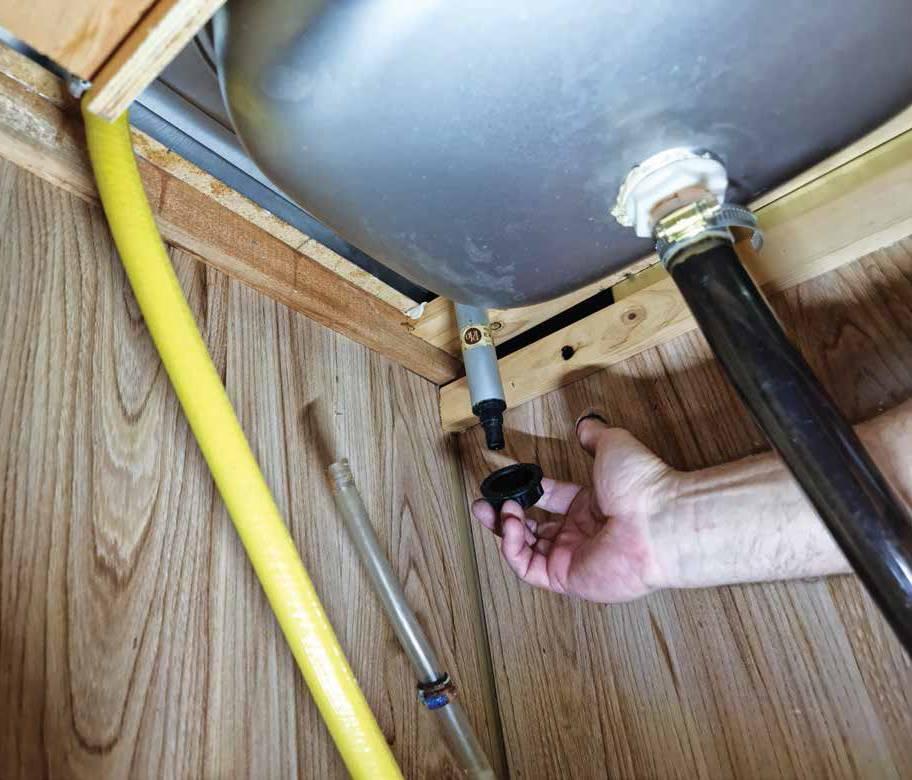
4. Remove the hand . pump
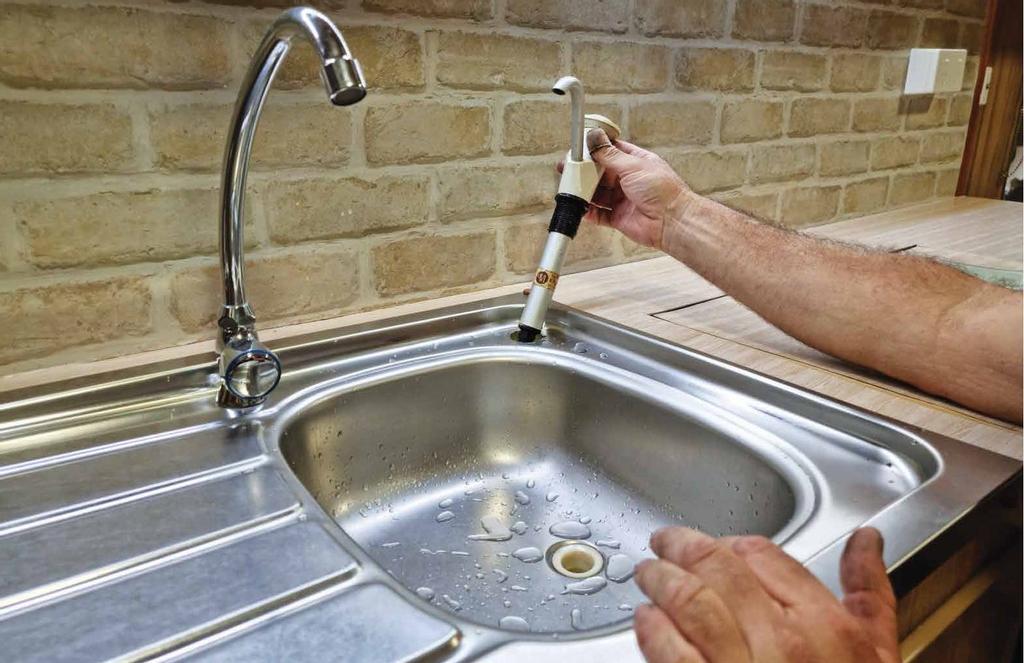
5. Remove the top half of the pump from the shaft by pulling. This is a press fit and a fair bit of force is required to release it.
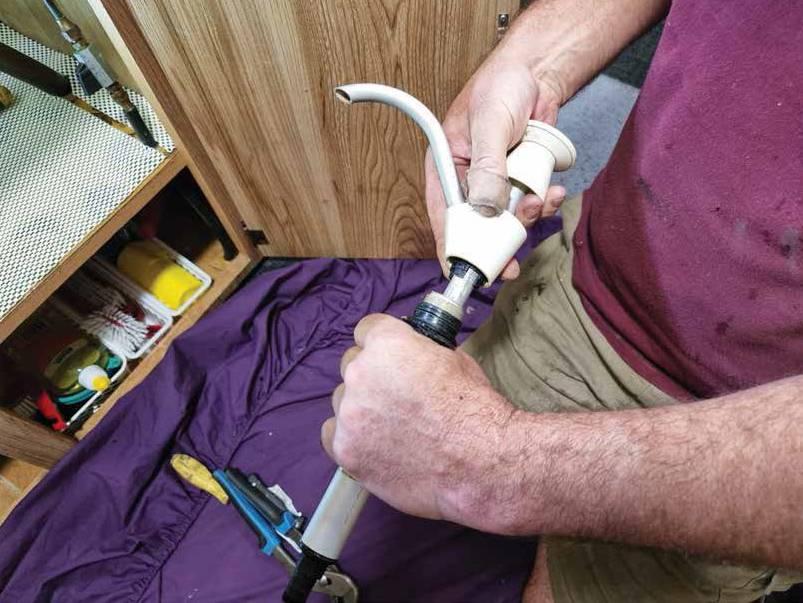
6. Identify the washers to replace.
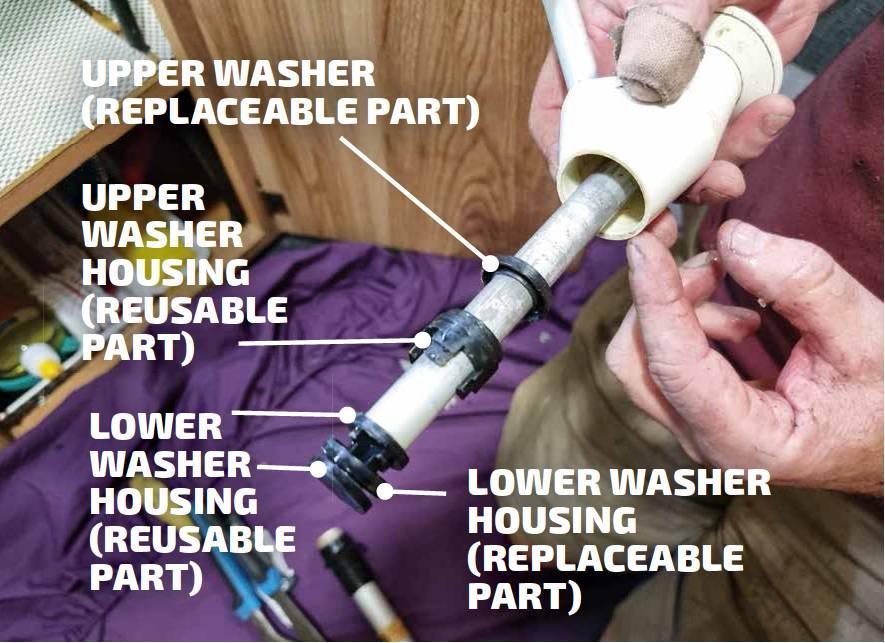
7. Remove the lower washer from the lower washer housing with a pair of pliers.
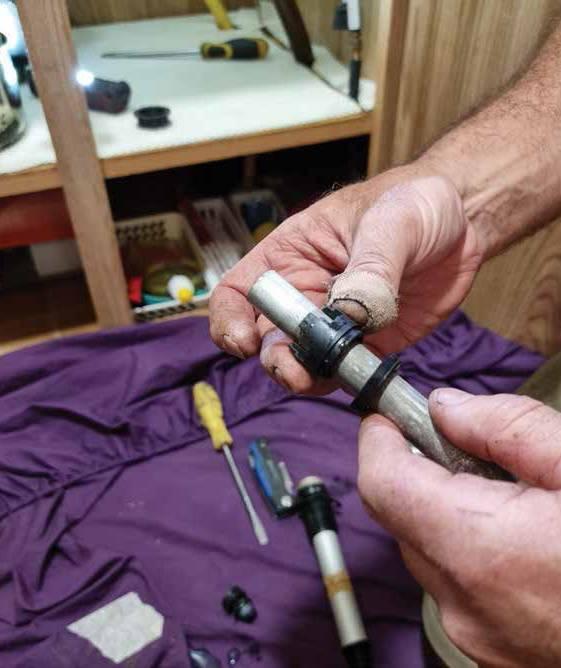
8. Unscrew the lower washer housing from the shaft.
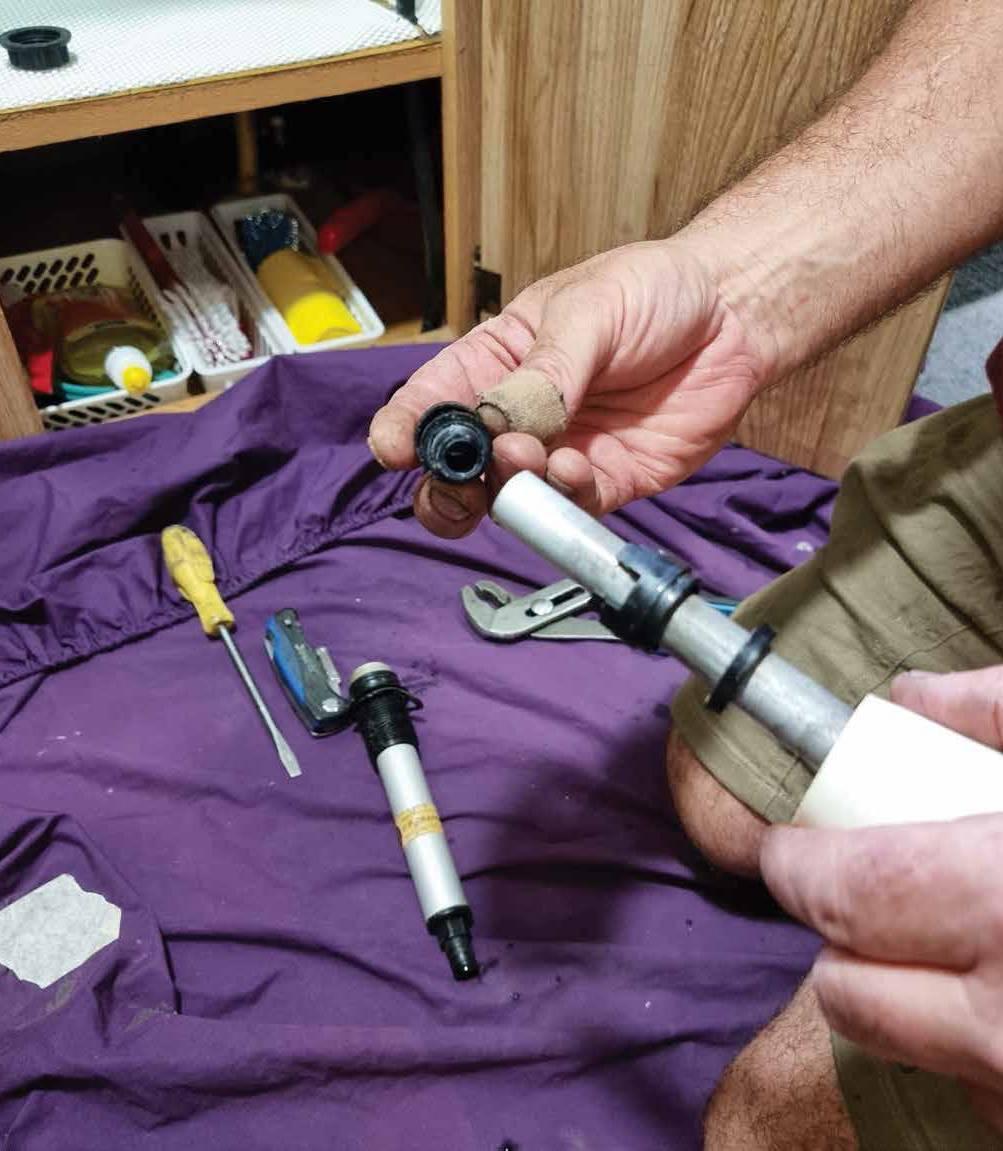
9. Slide off the top washer housing and top washer. Then clean the shaft with a rag.
IF IN DOUBT CONSULT A PROFESSIONAL
Improper maintenance could lead to injury, death or property damage. Maintenance work of this nature should only be undertaken by persons with suitable mechanical competence. Information provided is general in nature and can only be taken as a guide. Individual discretion must be exercised and persons undertaking described tasks do so completely at their own risk. Publishers and creators of this content accept no responsibility for loss or damage.
Thanks to Andrew Phillips and the team from the RV Repair Centre, 120 Canterbury Rd Bayswater Nth Vic 3151, Ph: (03) 9761 4189.


