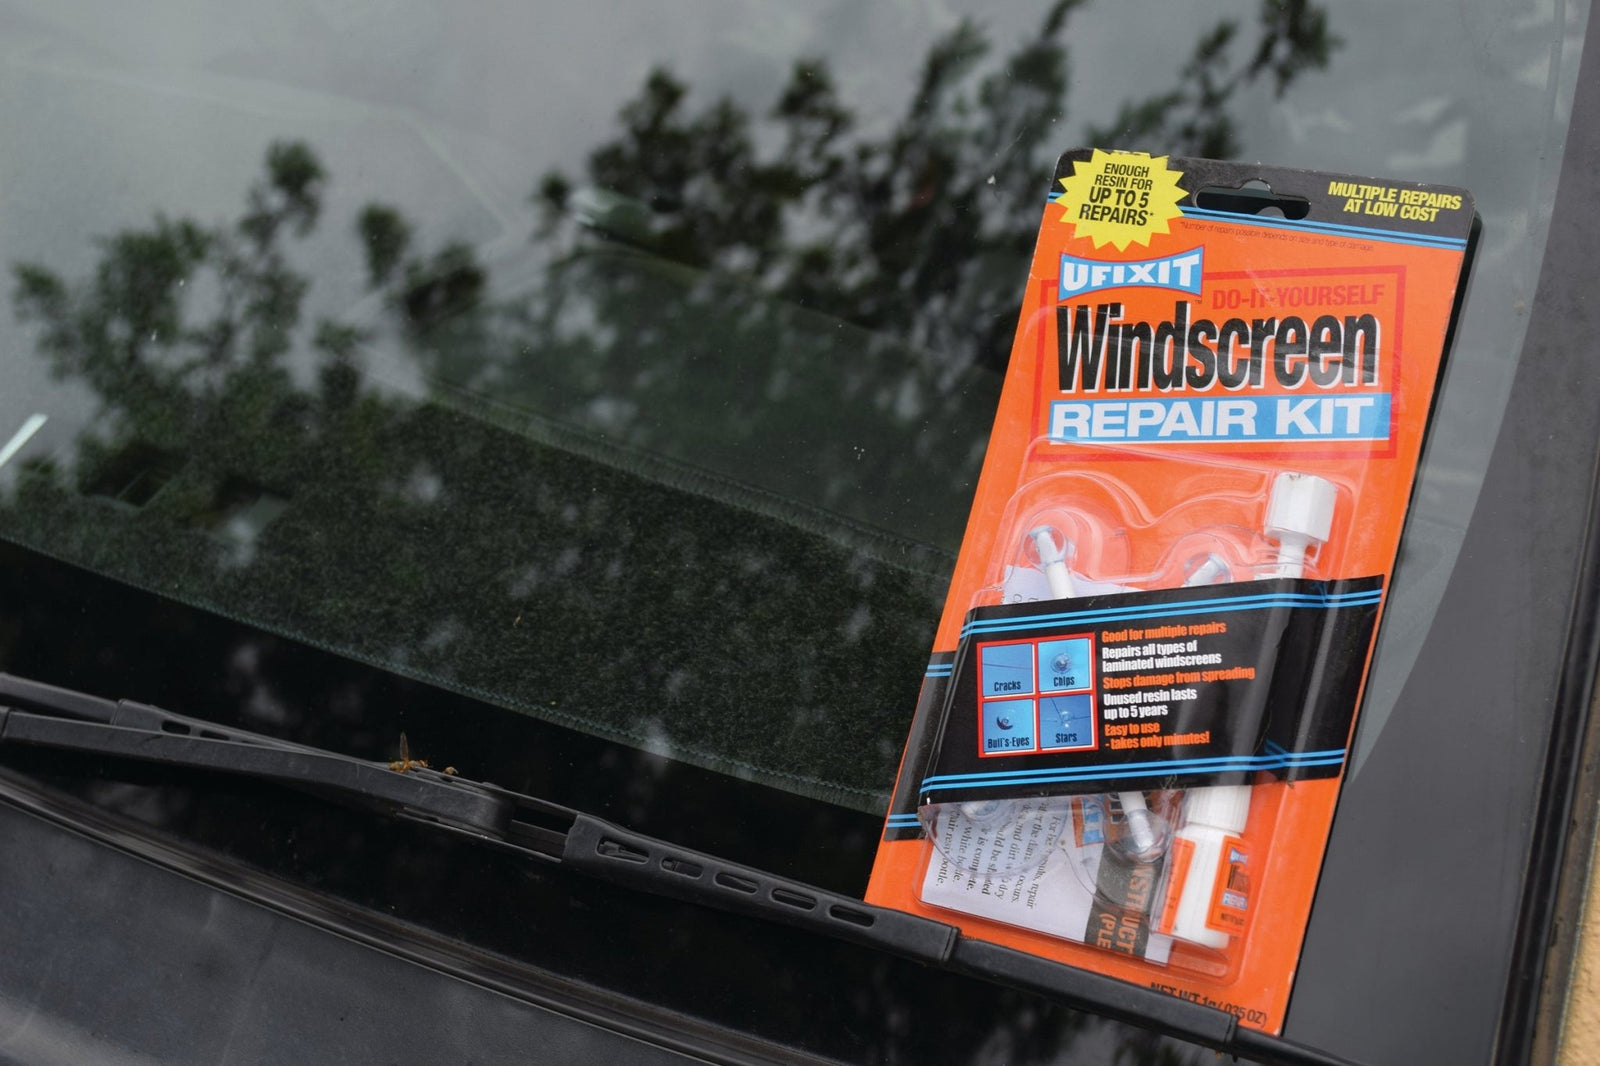
Easy Fix with Ufixit

How many times has an oncoming truck flicked stones onto your windscreen when driving a dirt road? Or how about the chips caused by an impatient driver who overtakes you in a roadworks zone? Whatever the cause, a chipped or cracked windscreen is enough to make an angel swear.
While you may not think much of them, windscreen chips and cracks can easily make your car illegal to drive. Depending on the provisions of the relevant road safety regulations, you can lose licence points and cop a fine. While rules differ between states and territories, the sorts of damage that will get you into trouble include:
- One or more bullseye cracks up to 16mm in diameter
- A hairline crack up to 30mm long
- A crack from the windscreen’s edge up to 75mm long.
If the damage looks like it’s impeding your vision, your chances of being busted just got bigger. Remember, the law you need to abide by is the law of the state you’re in, not where your vehicle is registered. So, cross a state border with a windscreen crack that’s been taking a drunken pub crawl across your windscreen and you could quickly find yourself in hot water.
So what to do about it? Obviously a repair is in order. If your windscreen is badly damaged, you’ll need a replacement and you’ll be hoping your insurance covers the cost. But for smaller chips and cracks, a solution could be as close as your glovebox and could set you back less than forty dollars.
We first stumbled upon the UFIXIT windscreen repair kit at a trade show over ten years ago, and it’s been keeping us on the road safely ever since. UFIXIT was invented in Taiwan in 2004 and first sold as a UFIXIT Repair Kit in 2006. To hit the Australian market, the manufacturer tweaked the chemistry to make it better adapted to our extreme conditions and slapped a patent on it to protect its secret sticky herbs and spices. These days, UFIXIT is widely available in auto accessory shops and outdoor retailers.
This is a true DIY product. Provided you’re dealing with a round crack that’s under 30mm in diameter — or a hairline crack no longer than 100mm — you should easily get the job done in under an hour. The tube is resealable and will see you through multiple repairs.
STEP 1
Move your vehicle into a shaded area (out of direct sunlight because the UV rays cure the resin). Wipe away any dust around the crack with a dry paper towel being careful of glass shards, then use a razorblade to scrape away shards and other glass fragments.
STEP 2
Next, place the applicator base (the thing with the suction cups on it) over the break. Ensure the centre ring is centred on the damage. Ensure the suction cups are not touching the cracks or you risk gluing them to the windscreen or having an incomplete job.
STEP 3
Screw in the resin chamber to the applicator base, ensuring it aligns correctly. The rubber mouth must be directly over the point of impact — you may like to have a look from inside the vehicle to double check. Once aligned, screw down gently to achieve a seal, then apply 3–6 drops of resin. If the resin leaks, gently screw the chamber down (clockwise) just enough to stop the leak, but not too hard.
STEP 4
Screw the pressure driver into the resin chamber to drive the resin into the crack. Tighten it until it’s almost all the way down. Then hop inside the car to check if the rubber mouth is open and the resin has absorbed into the break. If it hasn’t, apply a little heat — from a hair dryer or lighter — being careful not to apply too much. Then tighten the pressure driver a quarter turn to push the resin even further into the crack.
STEP 5
Unscrew the pressure driver and inspect for air bubbles within the crack. You may need to reinsert and screw down the driver to push the remaining resin in further. If this fails, try adding a couple more drops and reinsert driver.
STEP 6
Once there are no visible air bubbles or cracks, remove the applicator by unscrewing it anti-clockwise a half turn and lifting off the applicator base. At this stage, review the damage. If it is still visible (e.g. a hole at the point of impact or a crack) apply another touch up drop. When no further damage is visible, apply the curing strip. If there is a longer crack apply some resin along its length
STEP 7
Move the vehicle into direct sunlight and allow the resin to cure for 10 minutes. Attempt to lift the strip. If the resin is still wet, leave it a bit longer, but if it’s stuck true, scrape off the excess with your razor blade from Step One. Job done.


