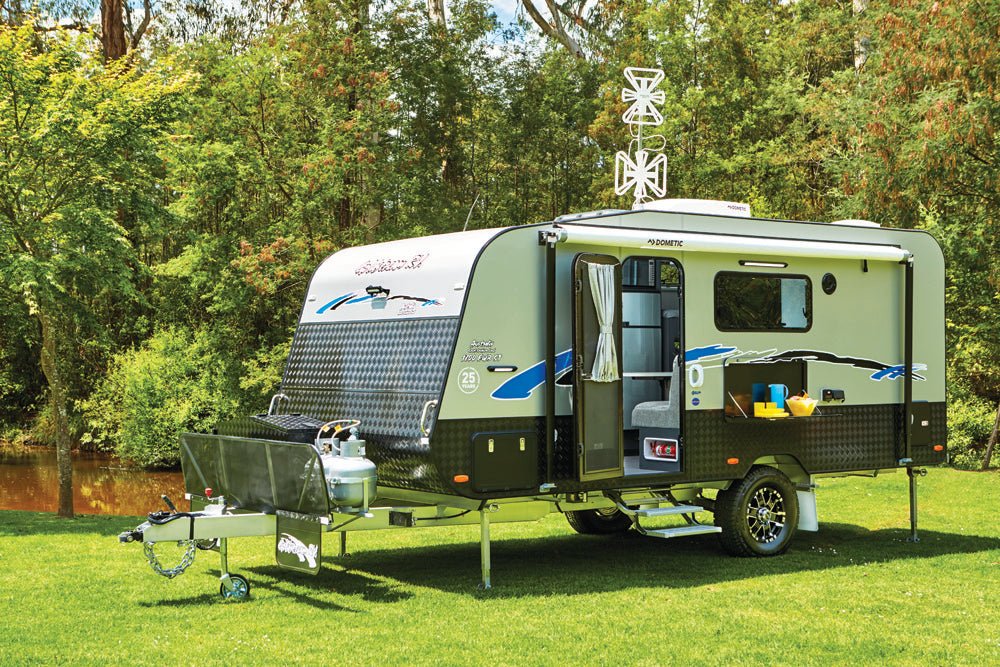
DIY folding picnic table

The role of the folding (drop-down) picnic table is a many-splendoured thing. It’s the ideal position for placing camping condiments and the like while cooking al fresco style on, say, a slide-out barbecue.
And they’re a popular location for an appetising cheese and wine platter when relaxing outdoors, or when pulled over at a rest stop — or even at Happy Hour.
Having a folding picnic table at your disposal is convenient after inviting your caravan park ‘neighbours’ over for drinks and nibblies, and also when you simply don’t want the hassle of dragging out the camping table from the tunnel boot. And they can be easily retrofitted to your existing van.
CW recently observed the DIY installation of a folding picnic table (supplied by Coast to Coast RV Services) on a Coronet RV caravan.
These images and step-by-step captions depict the simplicity of this installation of a folding picnic table performed by The RV Repair Centre foreman, Paul Hewat, in Bayswater (Vic).
STEP ONE
Check the contents of your picnic table: Your kit should contain a picnic table and backing plate, screws, double-sided tape and keys. The Coast to Coast RV picnic table includes a comprehensive installation sheet. Ensure you have the tools to complete the job.
STEP TWO
Remove the wrapping and clean all surfaces thoroughly before attempting to mount the table in a suitable location. Choose your preferred position to install the picnic table, ensuring that there are no electrical wires, plumbing lines, gas lines, or any other possible items in the way as you will be drilling and screwing into the wall.
STEP 3
Apply a suitable silicone/sealant bead all the way around the back of the frame of the picnic table. Apply some silicone/sealant in the pilot holes you have drilled in the side of the caravan. This will ensure it is well sealed once you install the picnic table.
STEP 4
Once your desired position has been chosen, you will need a ‘straight line’ along the side of the caravan. Position the picnic table at your preferred height making sure the bottom edge and top edge lines up.
STEP 5
Position the picnic table on the side of the caravan and make sure you align each hole in the frame with the pilot holes you drilled previously. Start inserting the screws to hold it in place and continue tightening until firm. (NB. The silicone/sealant is not only for waterproofing the installation holes. It will also add strength.)
Mount the picnic table on a checkerplate side wall.
Tip: Some ribbed aluminium cladding RV brands will require a foam sponge layer between the sidewall and the table, plus longer screws.
STEP 6
Wipe off any unwanted silicone/sealant that might have oozed out while you were tightening the picnic table to the wall. Clean off any excess silicone after all screws are firmly seated.
STEP 7
Open the picnic table and apply the double-sided tape provided inside the frame of the picnic table.
STEP 8
Once the double-sided tape is in place, add some silicone/sealant in strategic locations to add strength (but do not place silicone/sealant on double-sided tape).
STEP 9
Place the splashback into position. You are now ready to install the backing plate.
STEP 10
Simply align the edges of the backing plate with the internal frame and gently push into position. Please take care in this step as once the double-sided tape has adhered, it will be difficult to remove the backing plate to have a second attempt. Press firmly, commencing in the middle then working towards the edges as shown.
STEP 11
Clean off any excess silicone.
STEP 12
Your picnic table is ready to use.
Tip: Place the security key on your master key ring. Once the silicone/sealant has dried, you can open and start using your new picnic table.
(NB. Do not tow the caravan until the silicone/sealant has cured as vibration could interfere with the final adhesion strength.)
USING THE TABLE
To open, unlock with keys and lift both latches and lower table into position. To close, release the stays on each side and raise table until it is partially closed, lift both latches and press table firmly closed and release latches (do not slam or force this to close) and use the supplied keys to ensure this is in the locked position prior to travel.
MAXIMUM LOAD
The folding picnic table has a maximum load of 25kg that can be evenly placed on the table surface when in the open position. Ensure that the wall it is to be fitted to is able to support this weight or additional bracing may be required. If in doubt, please consult your RV manufacturer or a licenced RV repair centre.


