
Coupling Inspection and Maintenance
We paid a visit to Andrew Phillips from The RV Repair Centre to step us through guidelines for basic torque checks, adjustments, and visual inspections that a competent DIYer should be able to undertake. There is nothing overly technical here, but the stakes are high — so if you are in doubt, take your van to a professional!
Even if you decide this is not for you, it’s still helpful to know what to look out for in between scheduled services.
There are a variety of couplings on the market. Here, we will deal with by far the most common type: the ball coupling.
STEP ONE — COUPLING ATTACHMENT TO A-FRAME
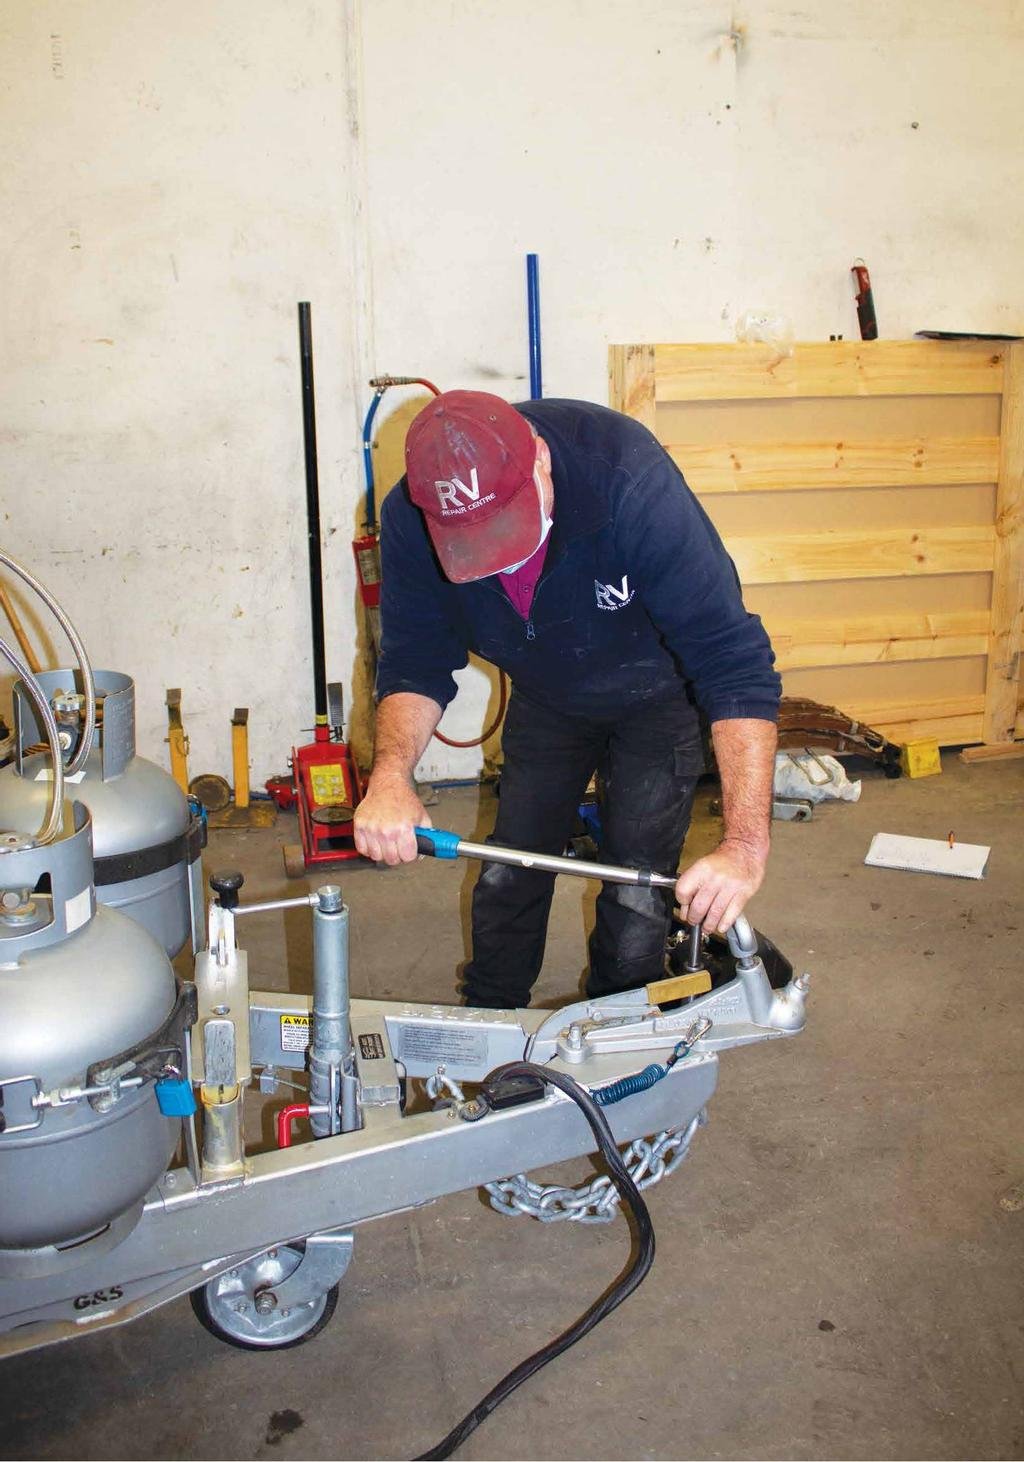
A coupling is not much help if it detaches from the A-frame! The coupling is generally secured to the A-frame by welded-on bolts under the coupling plate. The nuts need to be checked for tightness with a torque wrench — Andrew advises 150 Nm. The coupling assembly, A-frame, and fasteners should also be inspected for signs of excessive corrosion, cracks, or other abnormalities that could cause the coupling to detach from the A-frame.

Applying grease to the plunger will make it smoother to operate, protect against corrosion, and most importantly make it easier for the coupling to engage on the ball.

Applying a light film of grease inside the coupling cavity will reduce wear, minimise corrosion, and make coupling and uncoupling a little easier.

The ball and or coupling can wear over time, creating excessive play. The adjusting screw/lock nut can also become loose. The first step to check for this is to attach the coupling to the towball. This exercise will need to be done on level concrete with the van park brake off and safety chains attached.

Loosen the adjusting screw lock nut. Tighten the adjusting screw until it just stops (while holding the lock nut still). Loosen the adjusting screw the minimum amount, which will enable the coupling to be detached from the ball using the jockey wheel. Note: overtightening the adjusting screw can cause wear to the screw and the ball, or cause the screw to break. You may have to trial this adjustment a few times until you get it right.
Once optimally adjusted, hold the adjusting screw in position and tighten the locking nut. Recheck that the coupling can be attached and detached from the ball. Further note: This adjustment procedure will not compensate for an incorrectly sized or excessively worn ball or coupling.

THANKS TO ANDREW PHILLIPS AND THE TEAM FROM THE RV REPAIR CENTRE, 120 Canterbury Rd Bayswater Nth Vic 3151, Ph: (03) 9761 4189
Improper maintenance could lead to injury, death or property damage. Maintenance work of this nature should only be undertaken by persons with suitable mechanical competence. Information provided is general in nature and can only be taken as a guide. Individual discretion must be exercised and persons undertaking described tasks do so completely at their own risk. Publishers and creators of this content accept no responsibility for loss or damage.


