
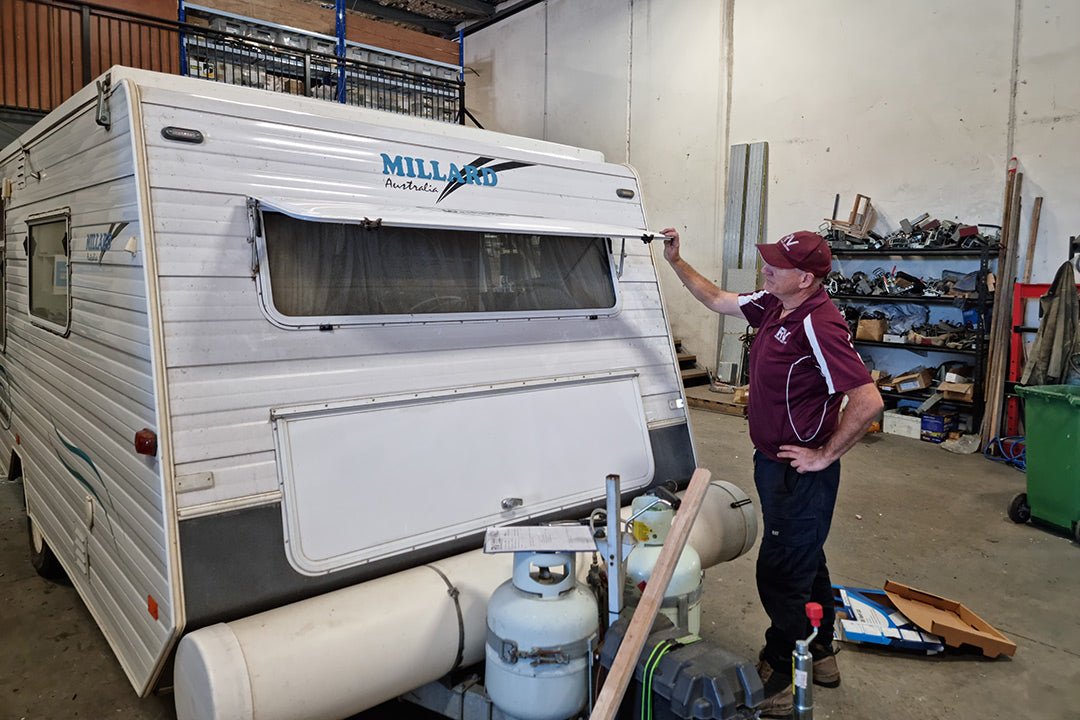
Exposure to the elements can cause various exterior components on your caravan to deteriorate over time. In this feature, the RV Repair Centre takes us through a few simple external repairs the average competent DIYer can take on.
The protector shade that covers the front window on a van has two common component failures. First, is the pair of little stays that hold the protector shade up in the open position. The stays can corrode over time making the locking knob difficult to turn. The solution is to replace the stays as a pair as they are relatively inexpensive parts. If you can use a screwdriver, a drill and a pop rivet gun this job will be in your skillset. The second common component failure is the little plastic latches that keep the shade in the closed position are prone to breaking. This is another inexpensive parts replacement exercise using the same tools above.
The last job on our list is to replace the cover on a roof hatch. These can fail due to UV exposure or hail damage. We have picked the Jensen-style hatch to show you which only requires a Phillips head screwdriver. It should be noted that some other styles of hatches are significantly more complex to replace. The toughest part of this job is to access the roof with a ladder. Every caution should be exercised when using a ladder as it is a common cause of serious fall injury.
Protector shade stay replacement
 STEP 1 Prop the protector shade up with a piece of timber STEP 1 Prop the protector shade up with a piece of timber |
 STEP 2 Open the window to enable free access to work on the stays STEP 2 Open the window to enable free access to work on the stays |
 STEP 3 Locate the screws retaining the protector shade stay to the window frame STEP 3 Locate the screws retaining the protector shade stay to the window frame |
 STEP 4 Remove the screws retaining the protector shade stay to the window frame STEP 4 Remove the screws retaining the protector shade stay to the window frame |
 STEP 5 Detach the protector shade stay from the window frame STEP 5 Detach the protector shade stay from the window frame |
 STEP 6 Drill out the rivets retaining the protector shade stay STEP 6 Drill out the rivets retaining the protector shade stay |
 STEP 7 Remove the protector shade stay STEP 7 Remove the protector shade stay |
 STEP 8 Clean up the hole using the drill, being careful not to drill right through the frame STEP 8 Clean up the hole using the drill, being careful not to drill right through the frame |
 STEP 9 Select suitable length and diameter aluminium rivets to secure the new stay STEP 9 Select suitable length and diameter aluminium rivets to secure the new stay |
 STEP 10 Insert a rivet into the upper section of the new stay, being careful to orient the stay in the correct direction STEP 10 Insert a rivet into the upper section of the new stay, being careful to orient the stay in the correct direction |
 STEP 11 Locate the stay onto the protector shade STEP 11 Locate the stay onto the protector shade |
 STEP 12 Rivet the stay to the protector shade STEP 12 Rivet the stay to the protector shade |
 STEP 13 Screw the stay to the window frame STEP 13 Screw the stay to the window frame |
 STEP 14 Ensure the new stay can hold the protector shade up STEP 14 Ensure the new stay can hold the protector shade up |
 STEP 15 Repeat the process with the stay on the opposite side STEP 15 Repeat the process with the stay on the opposite side |
Protector shade latch replacement
 STEP 1 The protector shade latch is mounted to the edge of the shade STEP 1 The protector shade latch is mounted to the edge of the shade |
 STEP 2 Drill out the rivets retaining the latch STEP 2 Drill out the rivets retaining the latch |
 STEP 3 Remove the latch STEP 3 Remove the latch |
 STEP 4 Source a replacement latch STEP 4 Source a replacement latch |
 STEP 5 Use a pop rivet gun suitable for accessing recesses STEP 5 Use a pop rivet gun suitable for accessing recesses |
 STEP 6 Rivet the latch to the protector shade — do the slotted hole first STEP 6 Rivet the latch to the protector shade — do the slotted hole first |
 STEP 7 Close the protector and engage the opposing latch STEP 7 Close the protector and engage the opposing latch |
 STEP 8 Slide the new latch sideways slightly until it is able to engage STEP 8 Slide the new latch sideways slightly until it is able to engage |
 STEP 9 Make a pencil mark to indicate the correct position STEP 9 Make a pencil mark to indicate the correct position |
 STEP 10 Secure the second rivet STEP 10 Secure the second rivet |
 STEP 11 The lower part of the latch rarely fails but can be replaced, if necessary, by removing two screws STEP 11 The lower part of the latch rarely fails but can be replaced, if necessary, by removing two screws |
Hatch cover replacement
 STEP 1 Open the roof hatch to gain access to the roof hatch cover screws STEP 1 Open the roof hatch to gain access to the roof hatch cover screws |
 STEP 2 The roof hatch cover is retained with two screws STEP 2 The roof hatch cover is retained with two screws |
 STEP 3 Remove the screws STEP 3 Remove the screws |
 STEP 4 Pivot the roof hatch cover up away from the winder mechanism metal brace STEP 4 Pivot the roof hatch cover up away from the winder mechanism metal brace |
 STEP 5 Lower the hatch cover at the pivot point to disengage the hinge STEP 5 Lower the hatch cover at the pivot point to disengage the hinge |
 STEP 6 Remove the roof hatch cover STEP 6 Remove the roof hatch cover |
 STEP 7 Source a replacement hatch cover (we reuse the existing metal brace) STEP 7 Source a replacement hatch cover (we reuse the existing metal brace) |
 STEP 8 Remove the two screws retaining the metal brace to the new roof hatch cover STEP 8 Remove the two screws retaining the metal brace to the new roof hatch cover |
 STEP 9 Remove the metal brace STEP 9 Remove the metal brace |
 STEP 10 Engage the new hatch cover hinge STEP 10 Engage the new hatch cover hinge |
 STEP 11 Insert the metal brace tab into the roof hatch cover slot STEP 11 Insert the metal brace tab into the roof hatch cover slot |
 STEP 12 The metal slot should protrude into the hatch cover as pictured STEP 12 The metal slot should protrude into the hatch cover as pictured |
 STEP 13 Pivot the hatch cover down to align with the holes on the metal brace STEP 13 Pivot the hatch cover down to align with the holes on the metal brace |
 STEP 14 Secure the roof hatch cover to the metal brace with two screws STEP 14 Secure the roof hatch cover to the metal brace with two screws |
 STEP 15 Wind down the hatch cover STEP 15 Wind down the hatch cover |
If in doubt, consult a professional
Improper maintenance can lead to injury, death or property damage. Maintenance work of this nature should only be undertaken by people with suitable competence. The information provided is general in nature, not comprehensive and should only be taken as a guide. Individual discretion must be exercised and persons undertaking described tasks do so completely at their own risk. Publishers and creators of this content accept no responsibility for loss or damage. Thanks to Andrew Phillips and the team from the RV Repair Centre, 120 Canterbury Road, Bayswater North Vic 3153, P: 03 9761 4189.
THE NEXT STEP
If you want to learn the latest caravan news, find the most innovative new caravans and camping gear or get inspired to plan your next adventure to some of Australia's best getaway destinations, subscribe to our weekly newsletter. We promise to send you only the best content.
Related articles:
DIY: How to clean fresh and grey water tanks
DIY: How to repair a Cruisemaster DO35 hitch
Tow safe, tow smart | How to tow your caravan safely


DIY: 3 easy exterior van fixes