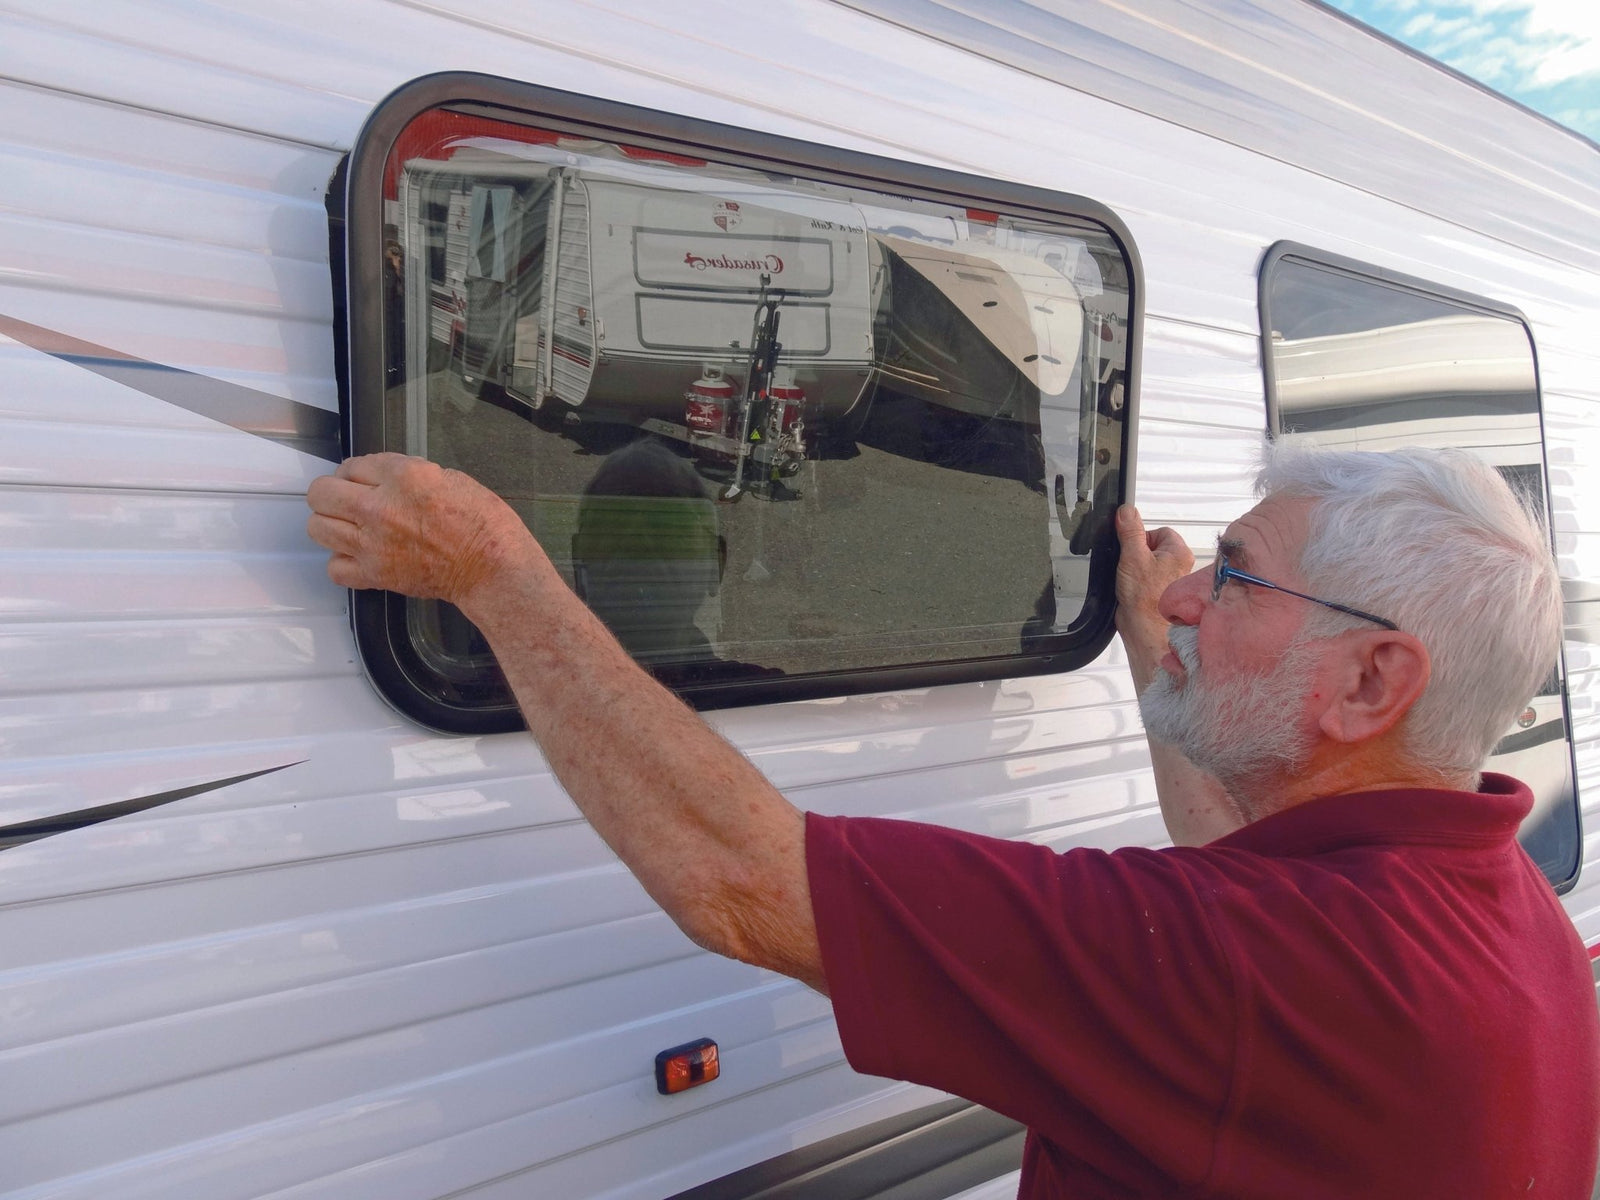
Seal a window

STEP 1
Remove the plastic plugs around your leaking window to expose the screws below. Remove the screws with a drill.
STEP 2
Remove the window cassette and store in a flat, secure place.
STEP 3
Remove the window clips with a drill. Size of the screw will vary — this window required a Torx drill bit.
STEP 4
Remove the window from the outside. If it’s stuck, use a flat blade like the one shown above to carefully pry it out by levering around the edge. Store on a flat, clean, dry surface.
STEP 5
Remove any remaining foam tape or silicon from the van’s surface. Use a plastic scraper to gently scrape it off.
STEP 6
Clean any remaining residue off the van’s surface using methylated spirits and a clean, soft rag.
STEP 7
Lay the window on a clean, flat surface and remove any residue from foam tape with methylated spirits and a soft, clean rag.
STEP 8
Re-seal the window with new foam tape. Start at the bottom of the frame, in the centre, and work your way around the window frame.
STEP 9
Just follow the corners with the tape, moving the window as you go.
STEP 10
When you reach your starting point, cut the tape very slightly longer than needed (so that it overlaps). Use a very sharp blade or a stanley knife to cut the tape.
STEP 11
Then butt the end of the foam up against your starting point around the window so it sits flush.
STEP 12
Run a tiny bead of silicon on top of the foam and around the perimeter of the window.
STEP 13
Insert the window back into its hole carefully. Sit the bottom edge in and push it in gently.
STEP 14
With someone holding the window in place on the outside, head back inside and screw the window clips back in with the drill and Torx drill bit. Work your way evenly around the window.
STEP 15
Get the person on the outside to make sure the window is sitting flush and square before you tighten everything up.
STEP 16
Put the cassette cover back on the window and screw it back into place.
STEP 17
Finally, replace the plastic clips covering screws.


